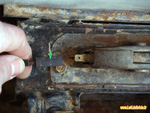
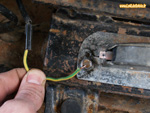
I thought I would spend 'an hour' investigating the handbrake warning wire on my 1992 TL.
Whilst preparing the car for front floor replacement ( another story for another day ) I noticed that the handbrake warning wire ran diagonally from the handbrake, under the rubber flooring to the windscreen washer foot pump and then back up through the plastic panel underneath the steering wheel/ instruments.
So with new floor in I thought I must tidy this up and run it a shorter neater route.
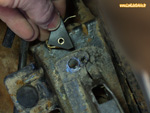
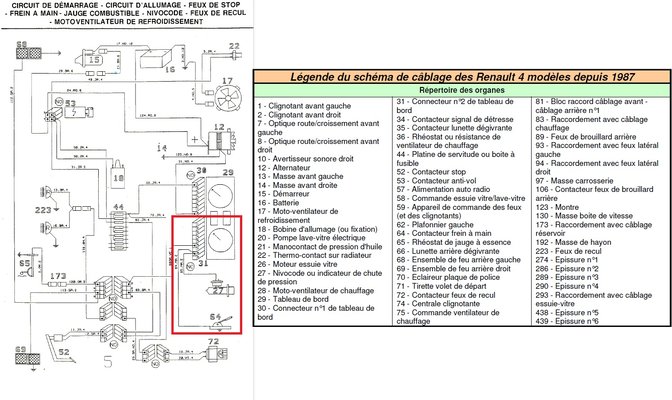
Somehow, I managed to pull the spade connector loose from underneath the steering column and I now can't seem to find where it dropped out from. It doesn't wire directly into the warning light cluster as wiring diagram suggests( yes I have stripped the whole thing down in my 'hour' to have a look ) and all the other wires seem neat and tidy ( well, dusty ).
Does anybody know where this should go before I start ripping more things apart?
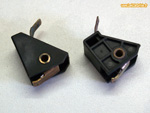
Of course, a previous owner might have 'dabbled' in the past and just reconnected the wire with spade connection, but I'm assuming there might be a block where it joins with the master cylinder wire, but I can't see it !!
Andrew


