mojobaby
Enthusiast
- Messages
- 1,320
Quite recently I took my car for a Controle Technique (MOT) and failed because of some issues I had with my brakes and brake hoses. All that has been repaired and I went back a second time and passed the test.
However one of my advisories was for a split seat cover. I couldn't understand why it was an advisory, and although it has to be fixed by my next visit in 2 years time, I decided to fix it now because it just doesn't look nice.
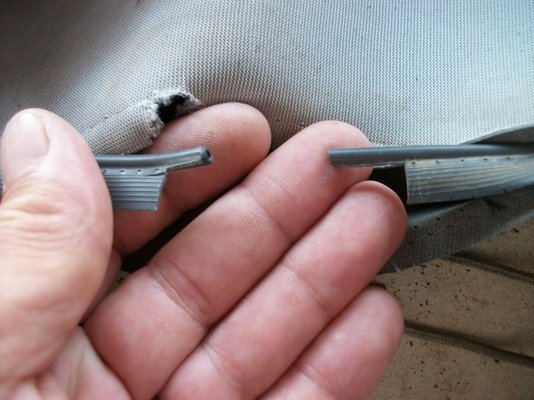
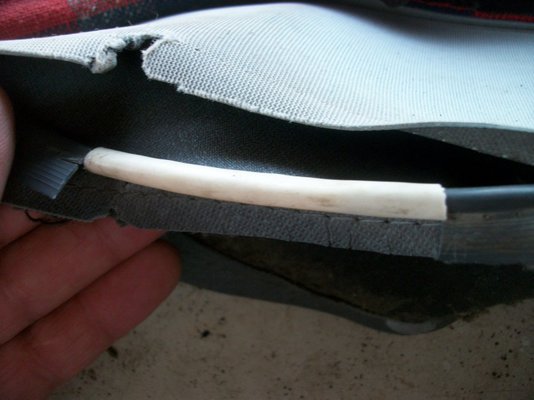
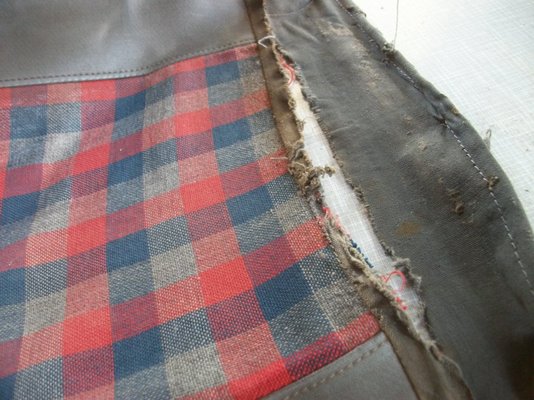
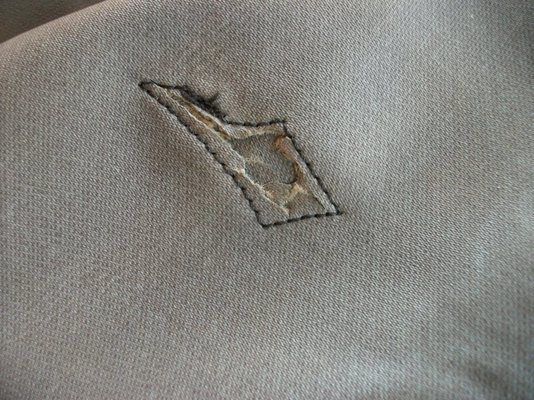
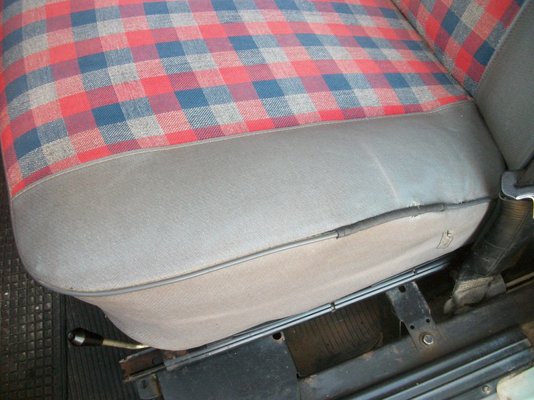
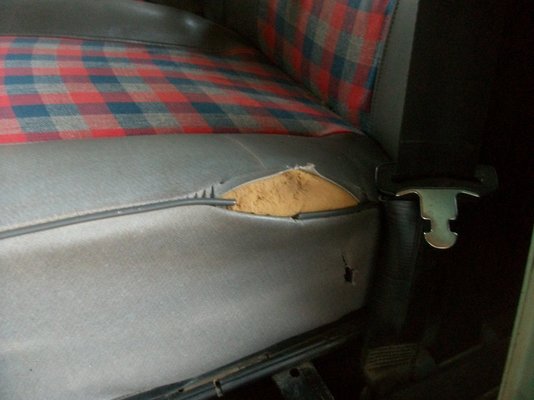
This is how it looked before I started. You can see that apart from the stitching that has come undone, there is a huge gap, about 5cm, where the plastic piping has broken. There is also a hole further down.
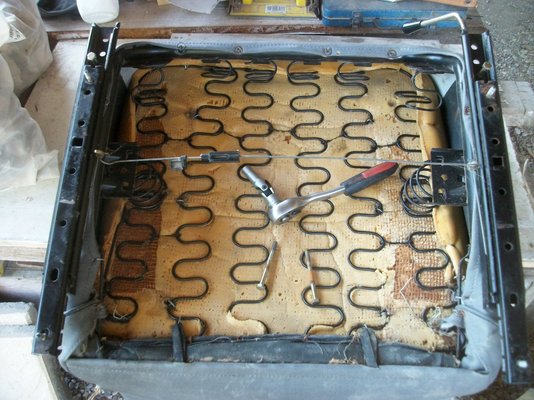
After removing my seat, I turned it upside down and it started to look very complicated
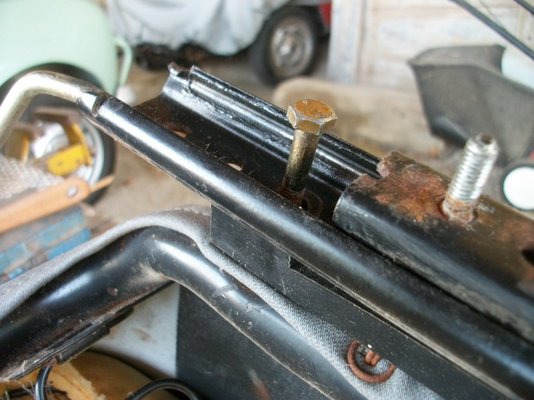
First I had to remove the sliding rails and the plastic rail beneath them.
Some of the clips were also quite easy to remove, especially the ones that fitted the cover to the frame. They just popped out using a screw driver
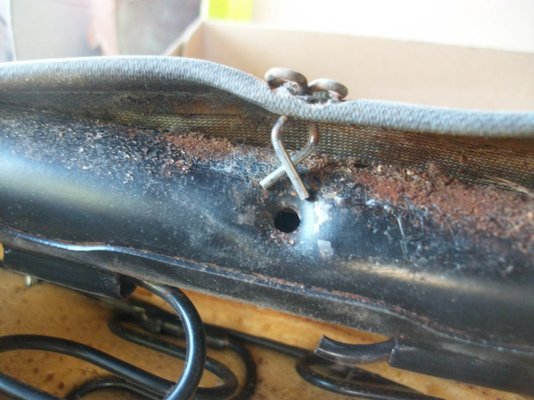
There were a lot of these staple clips that hold the cover to the seat springs. i had to bend the clips open with long nosed pliers and just hope I can use them again
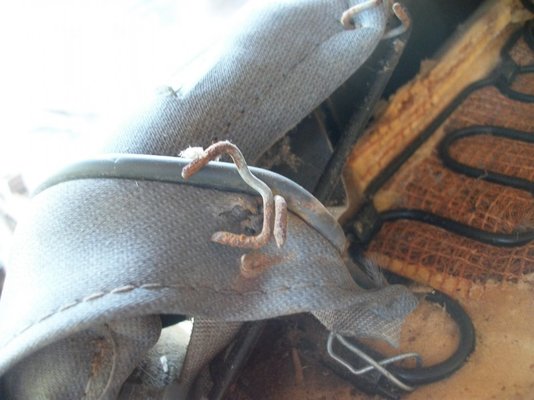
There are also some stiffening wires in the seam where it passes underneath the back rest
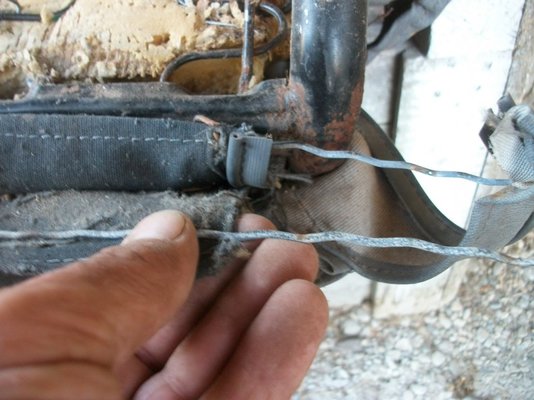
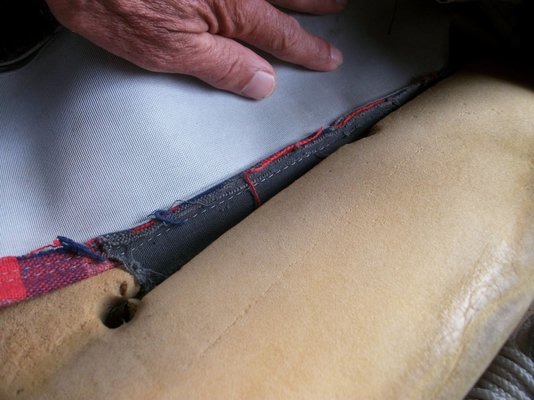
There are also 6 staples which link the springs to 2 stiffener wires that are stitched into a hem between the tartan centre and the 2 side vinyl panels. they serve to pull the cover downwards and give it shape
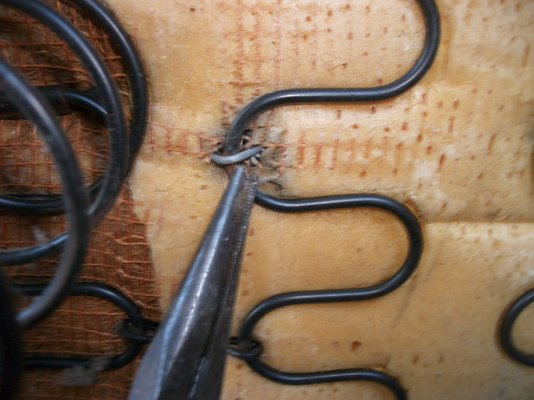
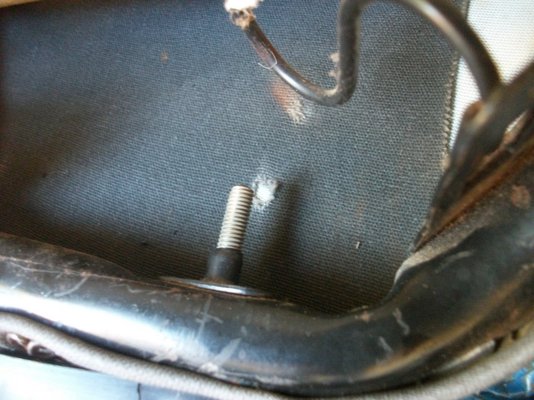
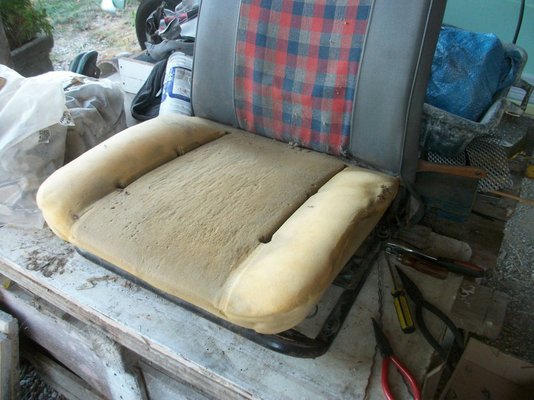
Finally the cover can be removed, and you can now see the 6 holes where the cover stiffener wires can be attached to the springs underneath as per the previous photo
However one of my advisories was for a split seat cover. I couldn't understand why it was an advisory, and although it has to be fixed by my next visit in 2 years time, I decided to fix it now because it just doesn't look nice.
This is how it looked before I started. You can see that apart from the stitching that has come undone, there is a huge gap, about 5cm, where the plastic piping has broken. There is also a hole further down.

After removing my seat, I turned it upside down and it started to look very complicated


First I had to remove the sliding rails and the plastic rail beneath them.

Some of the clips were also quite easy to remove, especially the ones that fitted the cover to the frame. They just popped out using a screw driver

There were a lot of these staple clips that hold the cover to the seat springs. i had to bend the clips open with long nosed pliers and just hope I can use them again

There are also some stiffening wires in the seam where it passes underneath the back rest

There are also 6 staples which link the springs to 2 stiffener wires that are stitched into a hem between the tartan centre and the 2 side vinyl panels. they serve to pull the cover downwards and give it shape

Finally the cover can be removed, and you can now see the 6 holes where the cover stiffener wires can be attached to the springs underneath as per the previous photo


