daviddb
Enthusiast
- Messages
- 86
Soooo, I'm about to tackle replacement of the upper and lower ball joints as the rubber covers are shot. There appears to be little wear so if I can source suitable covers I'll skip the drilling out of the rivets rites of passage malarky and just change the rubbers. If not I see Franzose have the ball joints but there are several types on offer with little advice on which is which which is a slight arghhh!
Car is a 1977 R1126 TL of 845cc lhd - drum brakes.
The upper ones look like a doddle - indeed I've split one apart already - plenty of access which ever route I choose but having read Haynes I've had a major attack of the self doubts and am ( once again) seeking some advice. As a mechanic I never really got beyond a number two Meccano set but sort of feel this is something I ought to, want to, be able to do.
Haynes speaks of a drive shaft retaining tool. I freely admit I don't understand the mechanics of how the drive shaft joins to the gear box, there are roll pins to drive out and then wires to insert and the tool to attach to stop something auto-dismantling but first up do I even need to remove the drive shaft? Is it just possible to displace it upwards or inwards to give myself enough room to get at the lower ball joint. Or have I completely misunderstood the mechanics how of the hub-carrier/shaft/ball joint move in relation to each other.
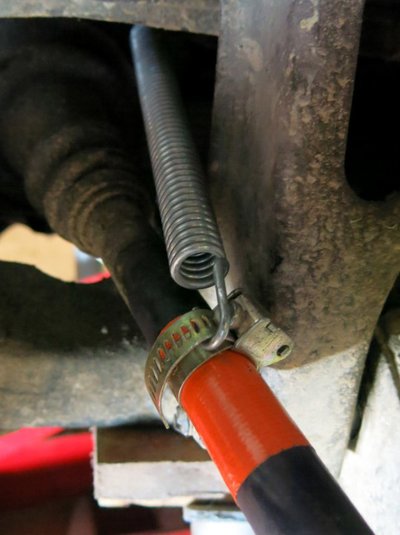
I'm thinking that to stop the drive shaft moving laterally in relation to the gear box it should be sufficient just to run a band of gaffer tape around the shaft, do up a jubilee clip f-tight and run a taught wire between that and something immoveable in the same alignment within the engine bay.
Second question is should I only undo one ball joint at a time, that is fix the top one & refasten it before moving on to the lower one. I'm worried that the when the lower one
is undone the suspension arm will spring up with force under the influence of the torsion bar. Does it help to remove the damper so that there will be a greater range of movement to get at stuff?
Presumably if the drive shaft has to come out then the drum brakes have to come off first? I feel my comfort zone to be a rapidly vanishing spot in the distance.
Or given my phobia about drive shaft removal ( and in gloomy moments associated oil seal displacement) can one just tackle this by 'popping off' the drum brake , and then the hub carrier and then all is accessible. I have access to a modest three legged puller and a ball joint splitter.
Very happy to receive any advice from any direction on this - I really have no idea but you probably guessed that already!
many thanks
David


