Clementine's Garage
Clementine the Cat
 
Image of flower
Yellow R4
 
Réparateur d'automobiles

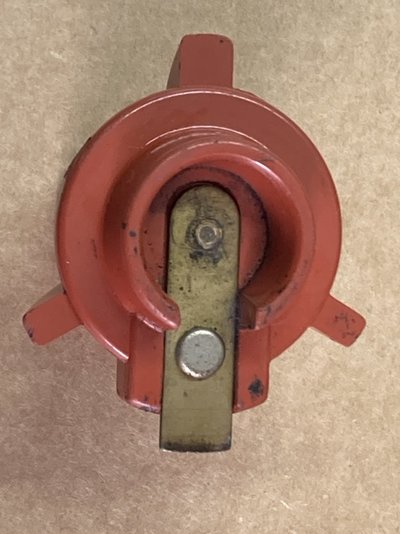
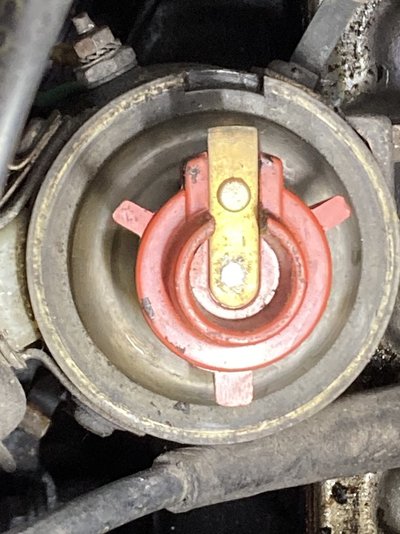
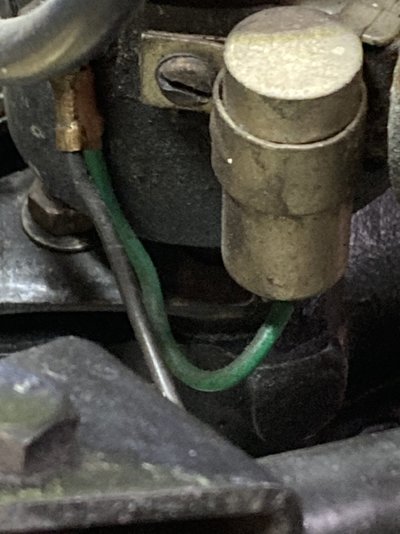
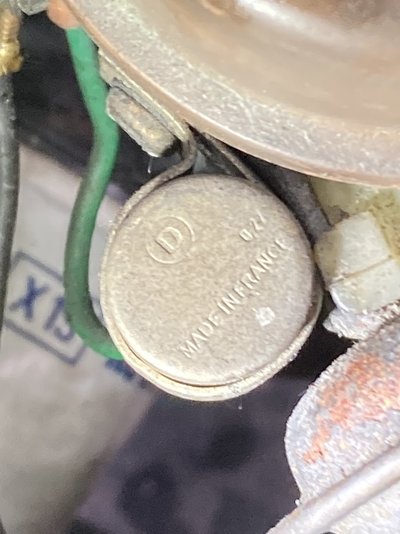
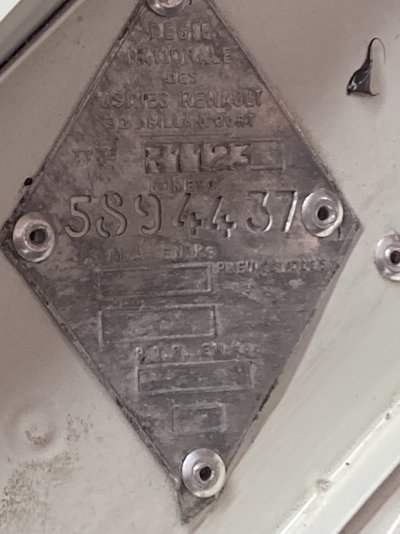
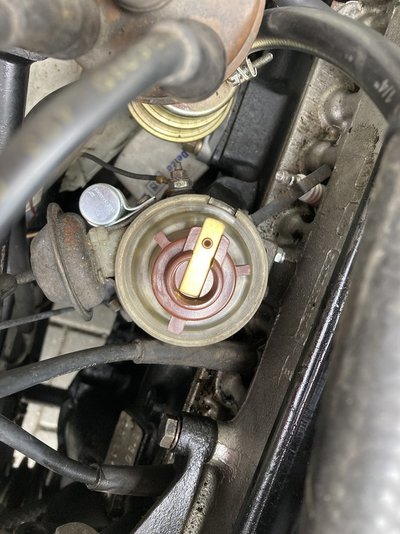
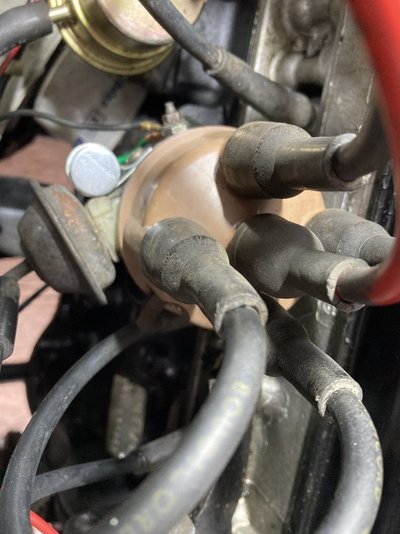
Trying to identify the various Ducellier parts to replace? Points, condenser, distributor cap and rotor arm are all in line for replacement

CWJH

Enthusiast
Messages
11
Location
Somerset
My Malibu has started to stutter and the consensus is points/condenser failure. So will want to replace the cap and rotor too while at it.

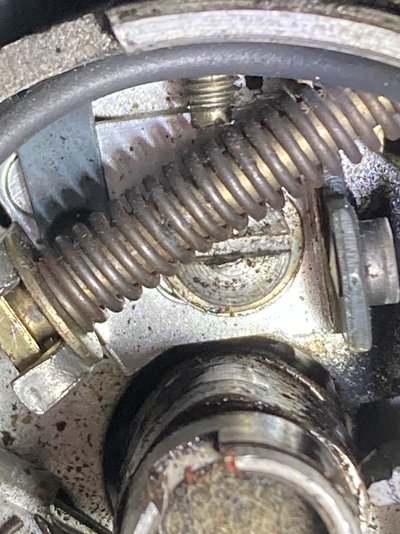
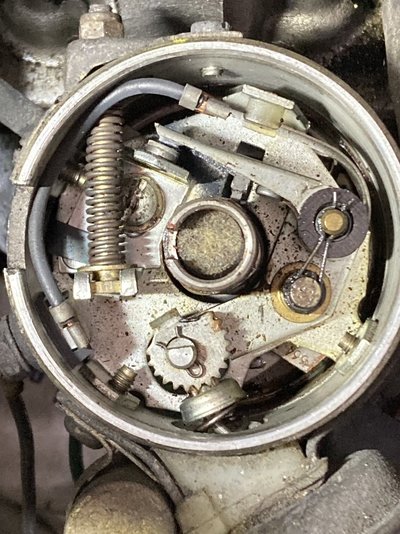
From previous stalking on the forum I can see I’ve got the adjustable setup type of points. What we’re struggling with is identifying the right combination of parts from the plethora of different types.

I’m sure the combined expertise on here can solve this conundrum…
IMG_0655.jpeg IMG_0669.jpeg IMG_0665.jpeg IMG_0667.jpeg IMG_0663.jpeg IMG_0662.jpeg IMG_0661.jpeg IMG_0660.jpeg IMG_0659.jpeg IMG_0671.jpeg
 
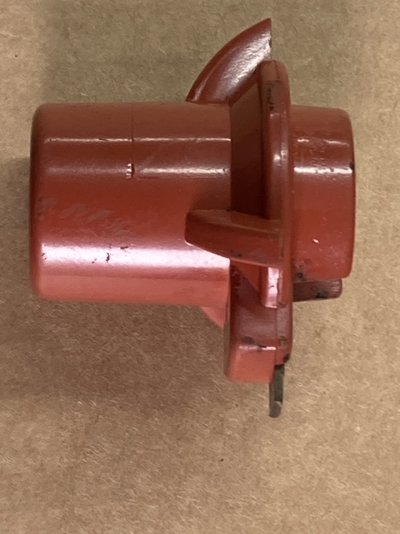
I've only looked at the pictures you've posted, but it looks like the points gap is too small. The engine appears to have come to a halt with the points at the highest gap (I may be wrong on this, and it may be the angle of the picture) and this looks too close. I also noticed the rotor arm would benefit from a polish. I'd be tempted to adjust the points gap and give the rotor arm a brush with a file first.

I apologise if you've done all this already!
 
These are the Intermotor and Lucas numbers:

Points: 22380/DSB204
Condenser: 33650/DCB221
Rotor arm: 47400/DRB205
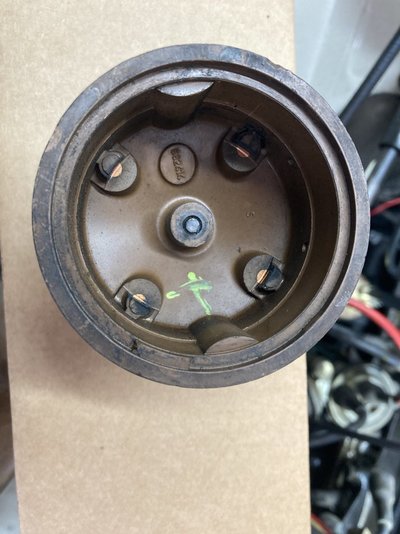
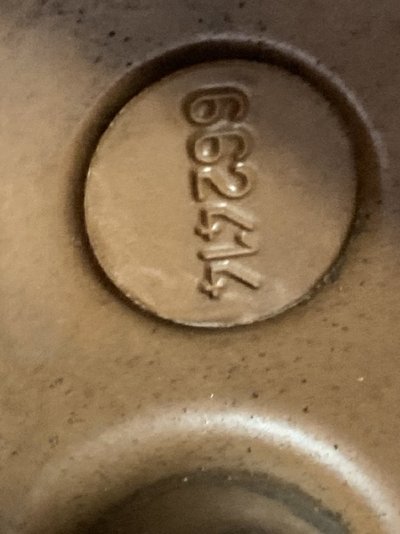
Your distributor cap has the number 662414, which matches up with 46040/DDB208. If the car was running well with this cap, fine. If not, it may be that the cap should be 46050/DDB209.

Hope you get it running smoothly again soon!
 
Boom! As I’d expected the crucial information delivered at lightning speed.

Very much appreciated.

Mechanic coming this evening. So once we’ve conferred and done what’s appropriate I’ll update with the results.
 
Ordered a set of Lucas parts from three different suppliers and all four came in under £25.

Mechanic and I had a wander down memory lane this afternoon remembering how to fit points and fiddle about adjusting them and then find the correct connections for his Snap On timing equipment to set the dwell and fire up the timing light. ✅

“Dartagnan”, as he’s know in our house, is now back to his arthritic 38bhp

Many thanks for the crucial information and offers of parts, much appreciated.

IMG_0698.jpeg IMG_0699.jpeg
 
Mechanic and I had a wander down memory lane this afternoon remembering how to fit points and fiddle about adjusting them and then find the correct connections for his Snap On timing equipment to set the dwell and fire up the timing light. ✅
"Old school" mechanicing-nothing beats it!
 
Further update after the refresh of the various ignition electrical items.

Full breakdown a few days later ‍♂️

What’s the one thing we didn’t change…

the coil

The new looking coil had been over tightened on the mounting bracket and there was a consequential crack where the plastic top meets the metal.

New one installed and carefully secured and Dartagnan is back to 100% ✅
 
Back
Top