Bluebell the Renault 4 - Dismantling
We had a garage clear out last weekend and finally there's some room for Bluebell. So we took her apart.
Technology has extended it's wicked arm towards the farm, and below should be a cool timelapse video of disassembly.
Dismantling
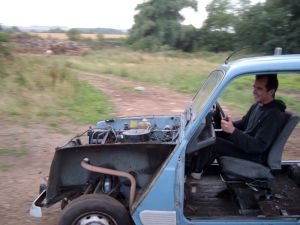
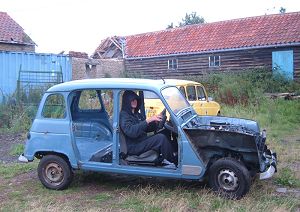
Once the panels were off Gary suggested we get her running to check out the mechanicals.
Starting was difficult as the float chambers were full of water, but once the water had been removed the car went well. There were no noticeable mechanical faults, but the headlining did rattle a lot.
These blue cars really are quick. I had Seb in the back during my drive (roughly equivalent to the weight we'd removed from the car) and the car felt very eager.
Not much else to report about the car, but the barn in the background has made some progress. We've removed the roof to save some tiles from damage in the inevitable collapse.
I'll keep you posted on the barn's progress. Unfortunately Bluebell will have to wait until I finally get rid of the Aston.
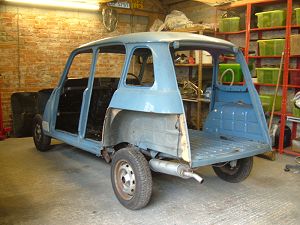
Back in the garage the rear wings, bumpers and windscreen and headlining were removed. The car is ready for some work.
The right hand rear wheel arch is worse than it looked, and the front floor and rear chassis need some welding, but otherwise the original seam sealing has held up well and the body is in good condition.
One of the best things about this car is that it still has most of it's original wings. The wings were sealed on the inside by the factory to prevent water from being trapped in the joint.
Without fail, garages that fit replacement wings will only seal them on the outside, so the trapped water coming from the inside very quickly rots the body around the wing, so fitting new wings can seal the fate of an otherwise good Renault 4.
This one will be sealed properly on reassembly, so with luck should last another 20 years before the wings need replacing again by some lazy mechanic who'll ruin the car.
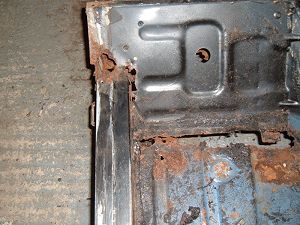
The car had been botched for an MOT in the past with huge plates under the front floor. These plates were easy to remove (using a screwdriver) as they hadn't been fastened on all that well.
A bit of mud must have made it's way into the front of the chassis and has been busily eating it's way throuh whatever metal it could find since.
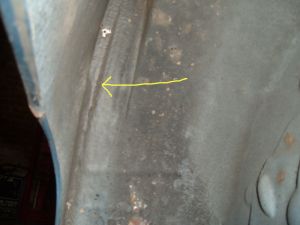
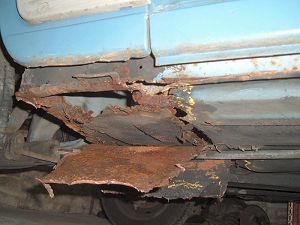
The real shock was how far the rust had spread. The connection between the outer sill members and the front inner chassis members had completely disappeared (there is no structure forward of this photo to speak of). The front of the floor was resting on the torsion bars.
The front of the chassis has moved around 5mm from it's original position. It'll need a jig to put it right. Fortunaletly I've ordered a whole lot of steel, so an appropriate jig might appear on the scene within the next week or two.
Apart from the nasty rust at the front of the chassis the car is in very good conditioion. There'll be more soon. I'm hoping I'll be able to avoid any real work for long enough to get this one finished.

