Clementine's Garage
Clementine the Cat
 
Image of flower
Yellow R4
 
Réparateur d'automobiles

Homegrown Garage Green One -75

Homegrown

Enthusiast
Messages
274
Location
Sweden
I have some Renaults i will try to make a tread on each. I made tiny presentation on my cars earlier.
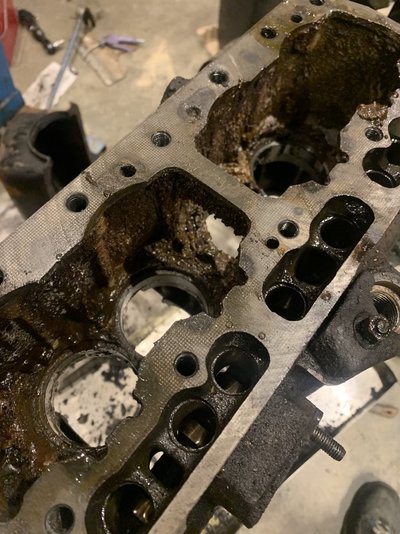
Green One is supposed to be a daily driver. I used it a lot until engine gave up due to faulty cylinder gaskets with the result of major overheating and sized engine.
I from 1975 845cc 800-05 engine, four speed square box, drums all round has tow-bar and very versatile.
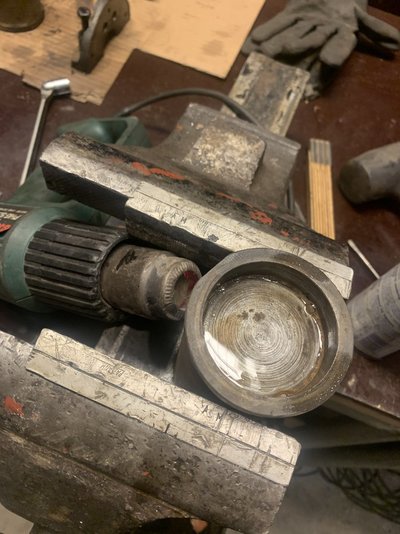
I already dismantled the engine and it’s a lot of scoring in bearings crank pistons and cylinders. So I dismantled another similar engine from 1972 that has been standing decades due to worn out camdrive. Look much better inside but two pistons was siced in then cylinders due to stuck piston rings. First I could get out with diesel soaked and heating the sleeves with heat gun and cooling with snow inside piston. The other still stuck.
I put it in my ultrasound bath and hoping to be able to get growes cleaned so rings get space in the pistons
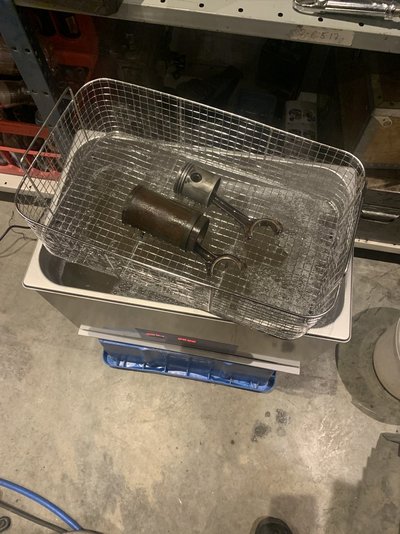
image.jpg
 
Last edited:
Goal is to make one good engine out of two.
Probably use bottom end from1972 engine will reuse bearings cos they look nice. Needs new rings and cam drive (seems to be hard to find)
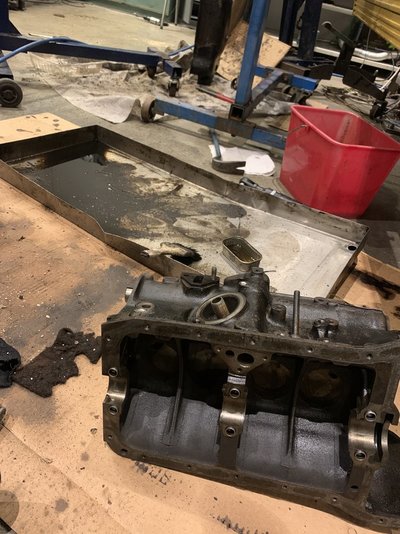
Anlot of sludge both in water jacket and in oil pan
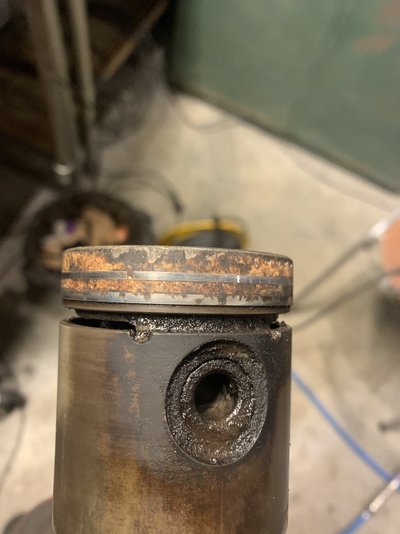
Try to cook out rust from ring land area

4081A5BB-A91B-4BCA-8B38-61C8F2C2E8B9.jpeg 939BAE94-970F-4013-A99A-F9225823132E.jpeg
 
Made some special tools during the process.
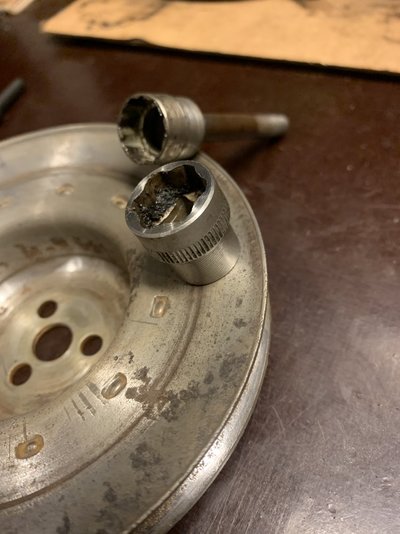
On the Billancourt engine it’s very tight to loosen the head bolt.
So I made some special 14mm sockets.
First on is made from 3/8 14mm socket that i have shortened just enough to cover the complete hex on bolt.
The second is made from 1/4 14mm socket. This one don’t need to be strong though there is no big force needed. Just for undo the already loose bolts. So I lathered them thin enough to take out bolts. Welded a long M6 insex bolt as shaft for cordless screwdriver See pictures
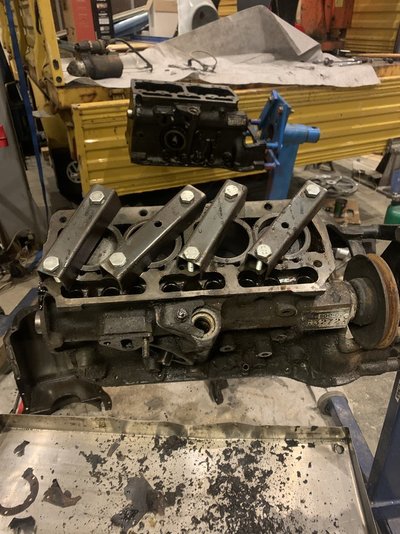
Also made som cylinder “holders “ from scrap U-iron

14B6D036-B7AE-4460-BB60-64F35A2290FA.jpeg 940D2F36-B1A2-4C82-99D8-77BFB2E50B73.jpeg
 
Have a feeling french engine’s getting more burnt oil debris and coal inside engines compared to other brands, maybe engines have had less oil service or bad oil quality or maybe engines get hotter inside. So far none of the engines have been clean inside. They all have burnt oil here and there.
Or maybe oil from earlier days didn’t have the good cleaning capacity like modern oils.
Happy I picked engine appart and cleaning it inside out.
Used ultrasound wash diesel wash and back to ultrasound and it comes out oil debris in what feels like newer ending story.

image.jpg
 
Two pistons were really stuck in the cylinder due to carbon buildup behind piston rings bonused with rust.
Heating cylinders cooling pistons combined with brute force did the work.
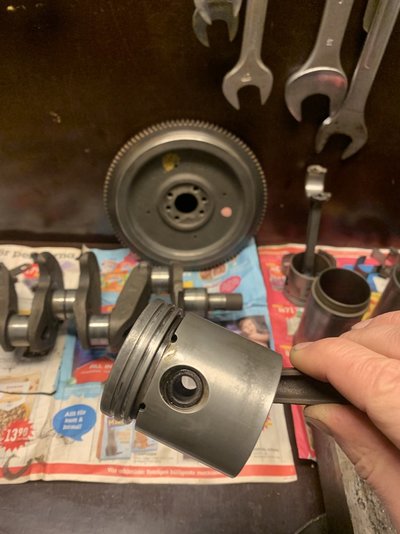
After cleaning in ultrasound bath and take away carbon in ring growes with an old piston ring that I brake in quarters. Surprised with rhe outcome seems like most parts can be used again.

F3A43E90-E7D5-4B53-AC60-33D3A53CBE1C.jpeg 7A71EC16-560C-45DB-86A6-910EB616F635.jpeg
 
Keep on dismantling the block today.
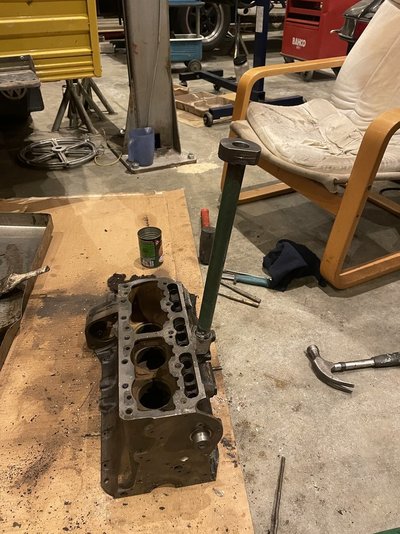
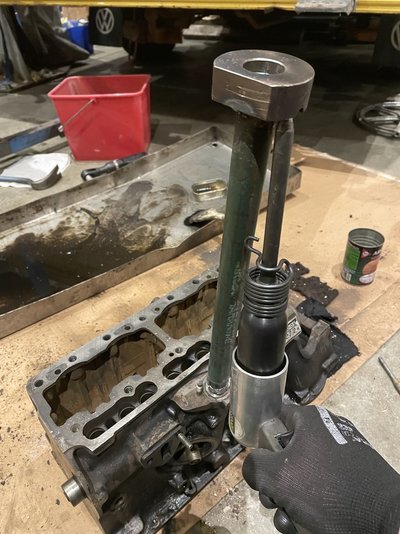
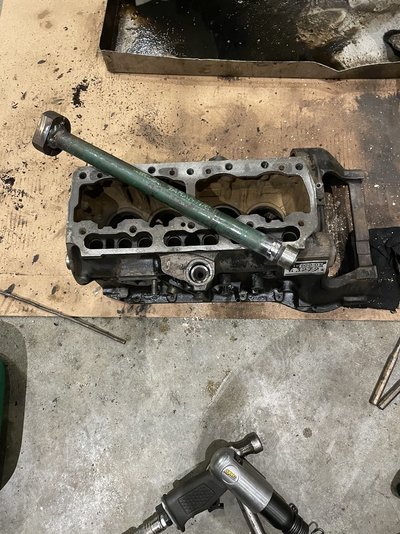
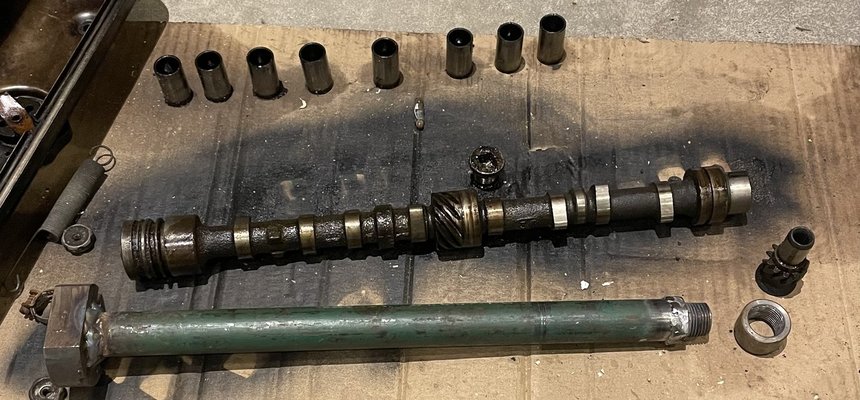
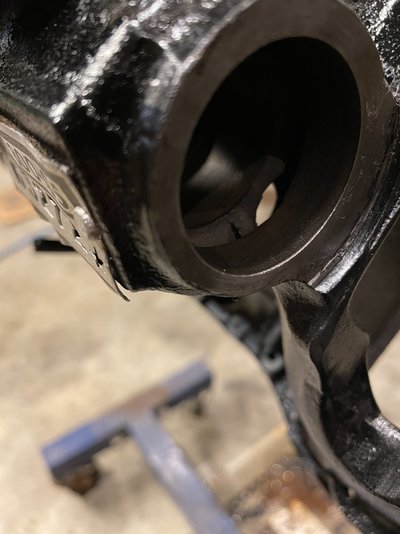
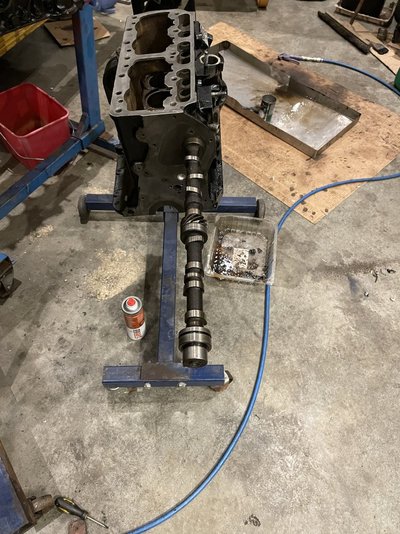
Was stuck on removing camshaft but due to the knowledge on this board I could make a tool from scrap metal.
Thanks mojobaby to led me in the right direction when I see your water tap in the bushing.
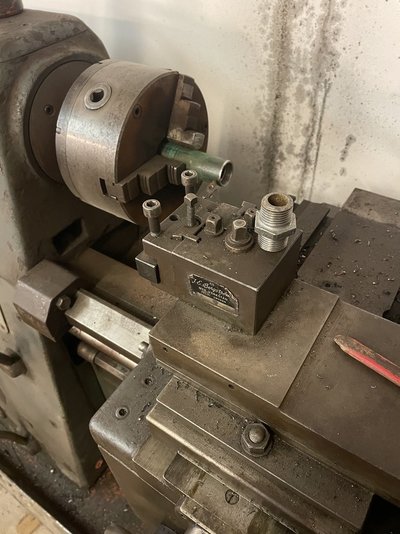
Found a double treaded pipe joint made in weldable material, a piece of pipe in right size and some solid end for my air chisel too work on.
Starting up the lathe to adjust diameters on the pipe to fit the rest. Bench grinder with wire wheel clean up before welding.
20min later i have a tool.
Screw it in the bushing, put on some ear protection. Start air chisel and bushing coming out with ease.
Tool is very effective can recommend to copy if you do this more than once.
I really love my air chisel (wonder how I managed before) use it very much.

8165A542-7858-4600-A1D0-FBBA892EFC1E.jpeg 18DC06FB-1905-4C4A-BE11-8FB542195DAA.jpeg 9FC24B79-7FF6-405E-B3D3-76BF4C8E8576.jpeg 2C9C362E-DB63-426B-B544-C74E62F91A12.jpeg AD6B8C32-AA7C-41AF-AB85-450C853C6A91.jpeg
 
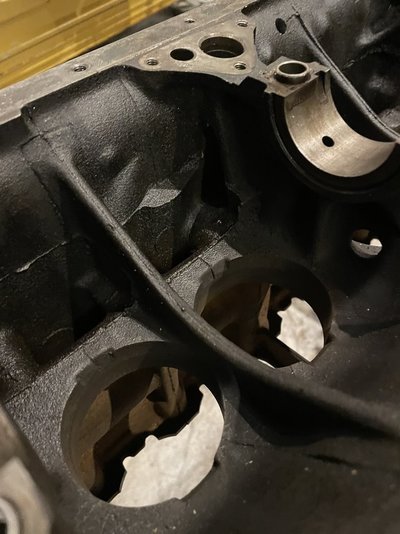
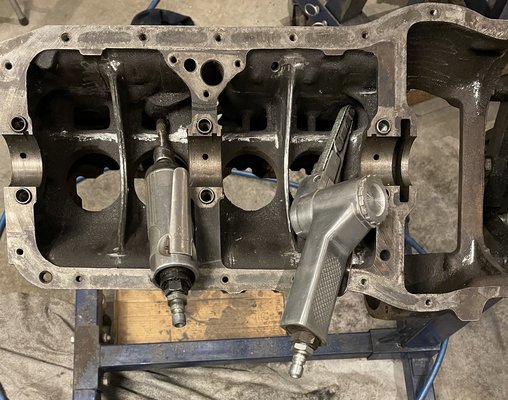
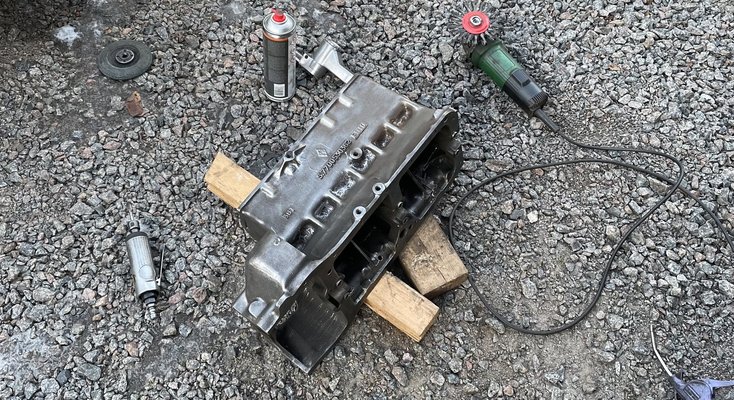
When all moving parts are removed from block I start cleaning up all imperfections from the casting.
Both to make oil go quick to the sump and remove places for cracks to start. Did the same on the water jacket side.
Lots of thin cast iron debris in the mold joints that can fall fall of.
Half an hour vid rotating file and belt sander I’m happy with the transformation.

71932679-A3A8-4F1C-87FA-00FA5FBC89FB.jpeg AC678FC4-2254-4DCB-97D8-C64859179056.jpeg
 
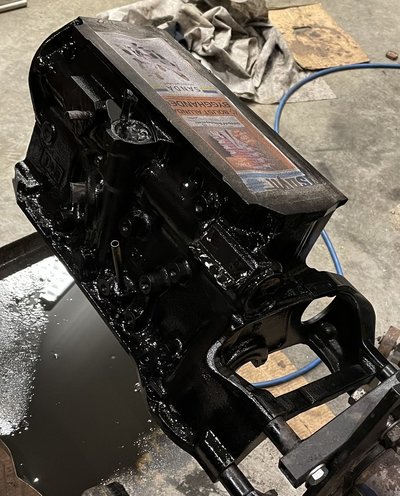
Wire brush block inside out and took away all sharp imperfections.
Diesel wash everything again then breakclean wash combined with compressed air afterwards.
Then mask everything that isn’t supposed to be black.
Will be a final layer before I call it a day.

DFAFFAAD-2924-49F1-ADFE-9B9830E94718.jpeg 98F8EC01-9184-422F-ABED-A192CB5028C1.jpeg
 
The case getting ready for reassembly.
When camshaft was going in again I found another imperfection in the casting partly blocked oil return from camchaft. Gave it a good hit with a chisel and got rid of a lot.
I will reuse all bearings cos they look very good.
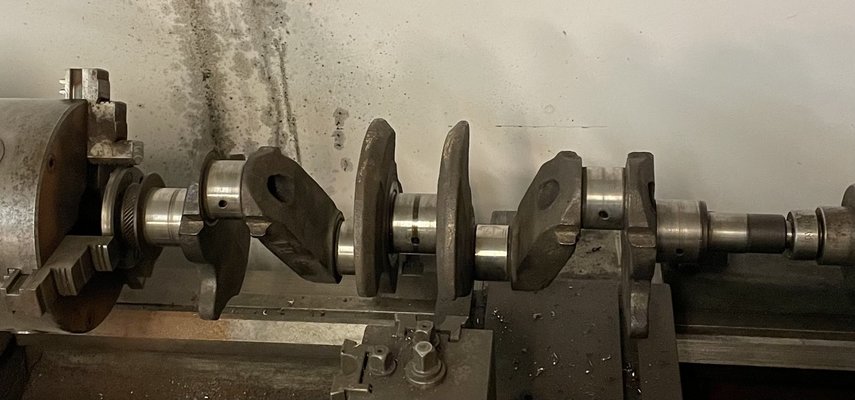
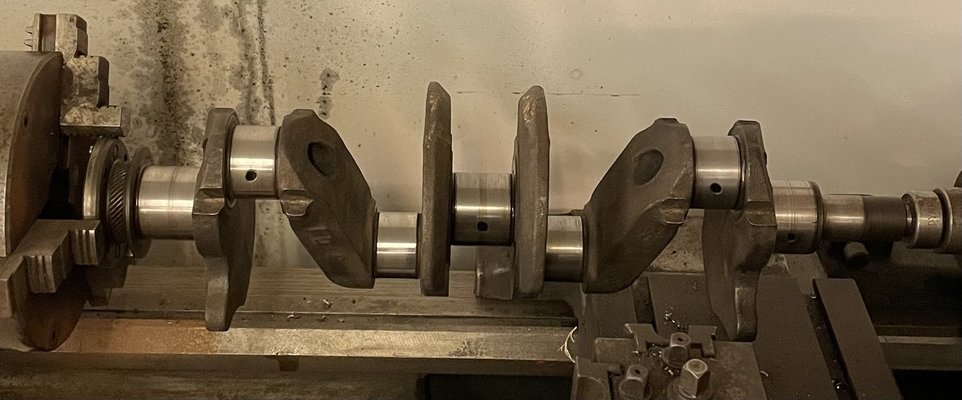
Crank I put in the lathe for a quick polish. Used low speed, 800-paper with WD40 not for remove just clean/polish.

A74081FB-DBBA-4980-ABB1-3C7D6D096BF9.jpeg 499F548B-58D3-4BC7-943A-3B67A6B9AE05.jpeg EFB9E0B7-74A8-4805-979D-9E10B795F3F6.jpeg D0EC21BA-31F8-4EF0-B6BA-A47AC80221A5.jpeg
 
I like that French ingenuity not one shaft seal in this engine.
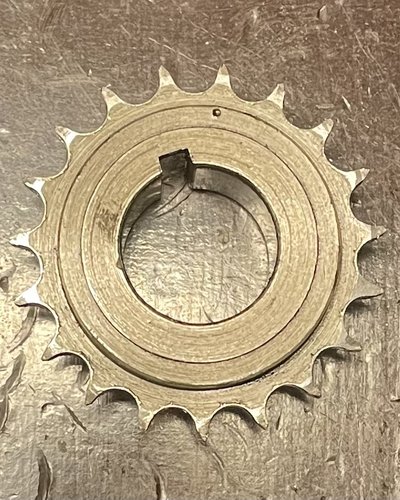
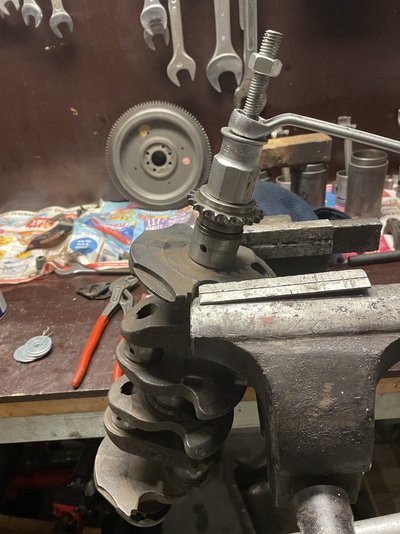
Clean crank again. Will reuse timing gear from the “best” engine. Crank sprocket start show signs of wear just file some debris away and it have to do.
Easy to fit just using M12 bar big socket up in the wise and screw it together.
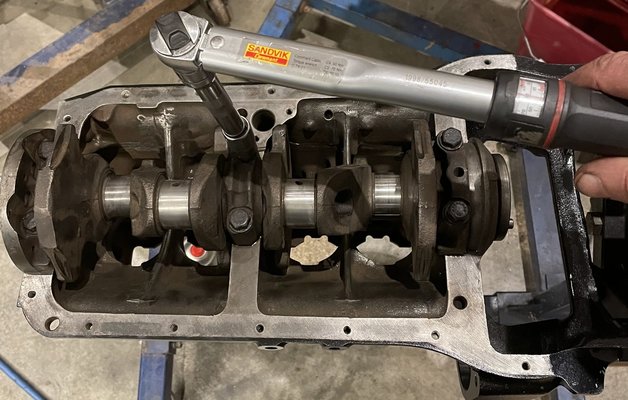
All bearings will be reused no signs of wear and good crunch when you set them in. Just oil everything and tighten 20,30,45 lbft (60Nm). Rotate smoothly.

DCD6DC72-9C09-4527-B7CA-6FFF3AAFDAB7.jpeg AFF8EF24-EC0F-48F8-8959-1E6FC3487EAB.jpeg 0B146DBA-3E7D-4EEE-A466-2FB22F4F89C1.jpeg
 
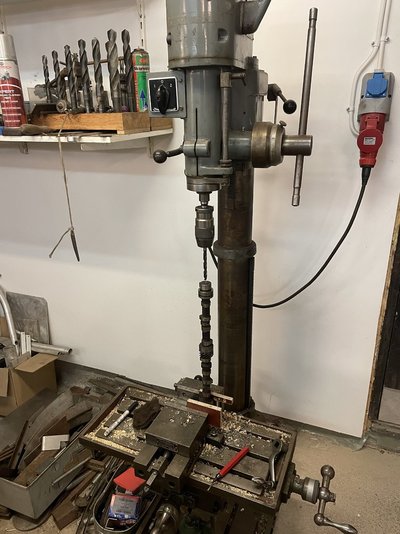
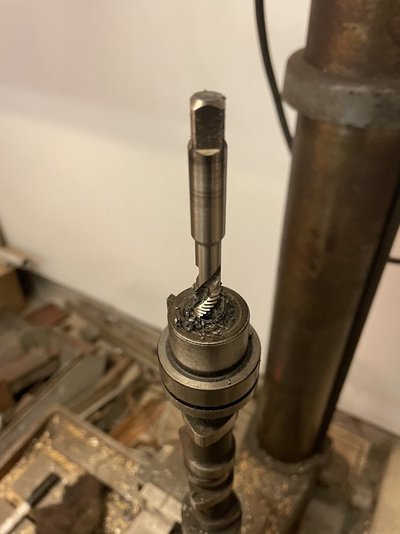
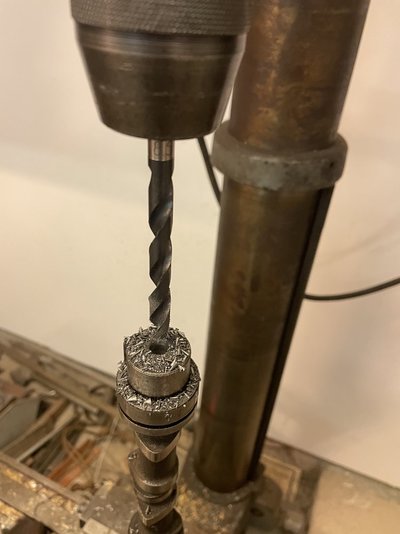
Have to prepare camshaft for sprocket mounting. Did accordingly Renault instructions to the workshop.
Drill 8.5mm hole 20mm deep, tread it to M10. Lathe pinion hole wasn’t big enough so have to use the press drill instead. Prepare, drill, tread and camshaft is redy.

E18BC7AF-F44F-43D1-B202-20BA0FEB7DBE.jpeg DAE764BD-34AD-4B10-B8EA-E8496A307D46.jpeg 6A5561AC-3C60-41A5-9B8A-65CC41801B59.jpeg
 
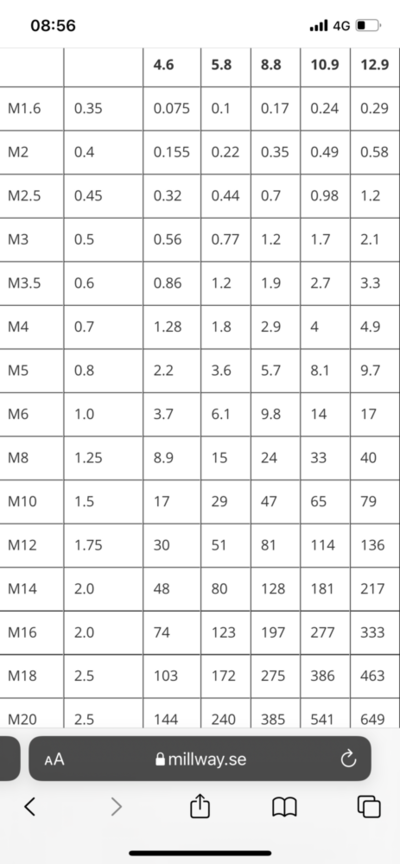
Couldn’t find what torque setting to use for bolts on cam transmission. Al bolts are M6-10/9 according to pic i shold use max 14Nm so I choose 12Nm on all.
Grease all paper seals gently, mount backplate check so all screws have clearance in respective holes.
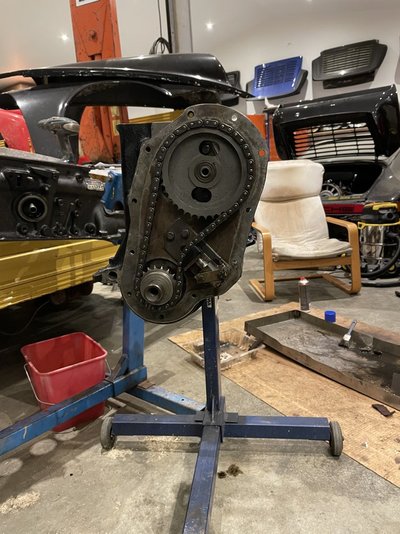
Next up is timing chain and cam sprocket.
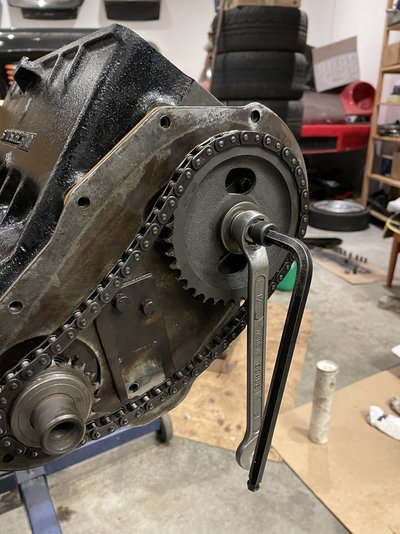
All marks correct so just use the gear I fixed for assembly sprocket to camshaft. Cam/sprocket should be flush then it’s good according to factory handbook.
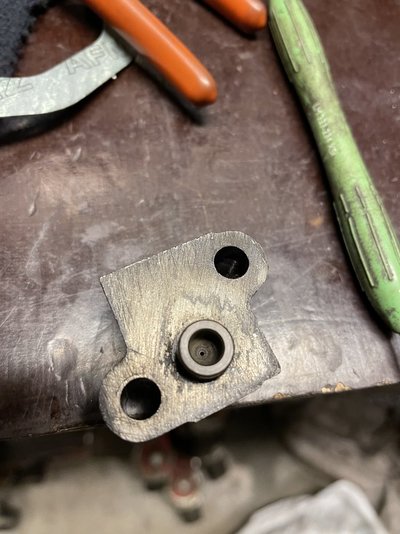
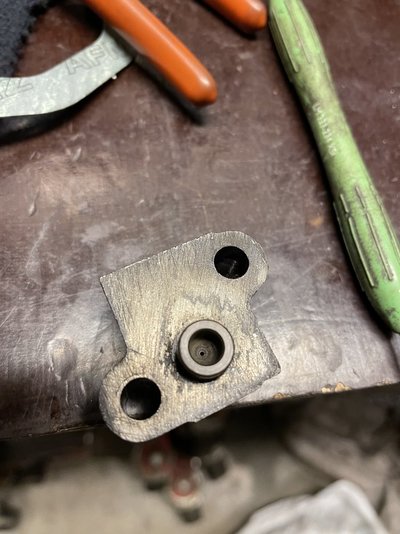
Hydraulic tensioner have no function cos tine hole for oil was blocked. After cleaning prefilled the tensioner with oil.
Time for lunch.

5F250035-06DE-4301-9BD8-4067F314FCDF.png 660A8C9D-793E-47BF-85FD-F8D6799F1AA7.jpeg ECB90D0C-6B26-402F-B3F4-44C6C3FDB5AB.jpeg CBB9A76C-4DE7-4E4A-8D1A-6D49C4D8B6A4.jpeg
 
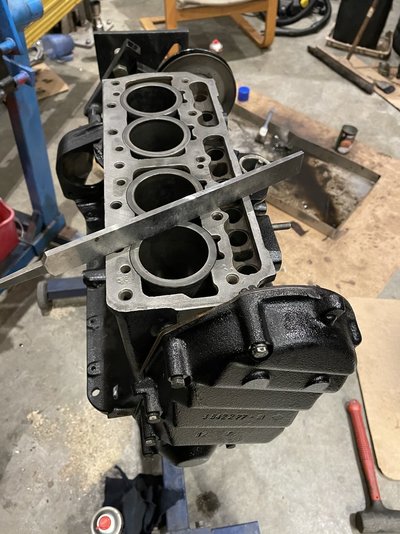
Start check cylinders vs casing. Have a file that is milled and dead straight for that. Seems like the all are flush with deck maybe No1 cylinder is tiny tiny under.
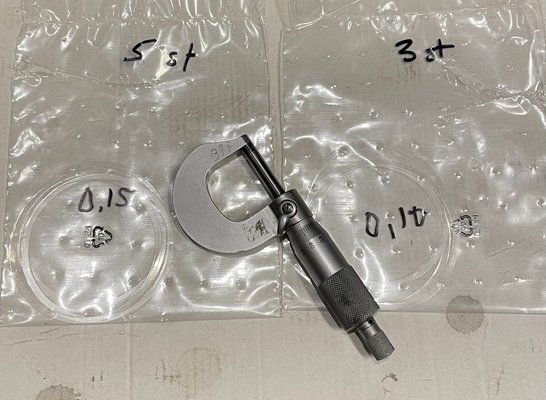
Took a micrometer to check cylinder foot sealing. Two plastic bags unmarked with four in each. There was five 0.15mm and three 0.10mm hmmmmmm.
Think it’s time to order piston rings and some other stuff.
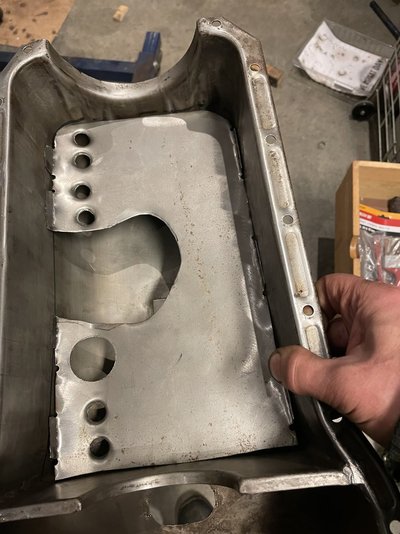
Also start thinking of oil control system in oil pan. Want oil pickup always suck oil it air.

4D77311C-7707-404A-9BD3-B46380B2F913.jpeg B913FB04-F1E9-4827-9283-E78D7178EE55.jpeg BEA9CE17-EA6B-4FE3-8F1E-80986A7FC0F2.jpeg
 
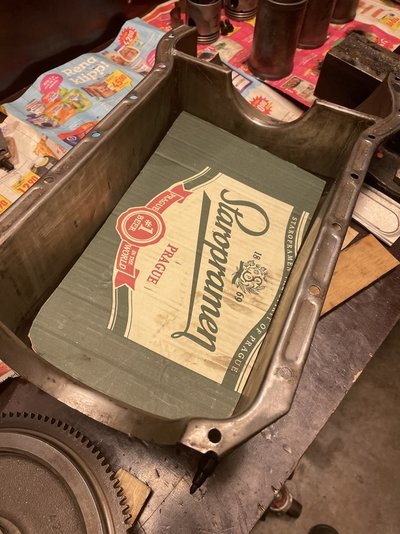
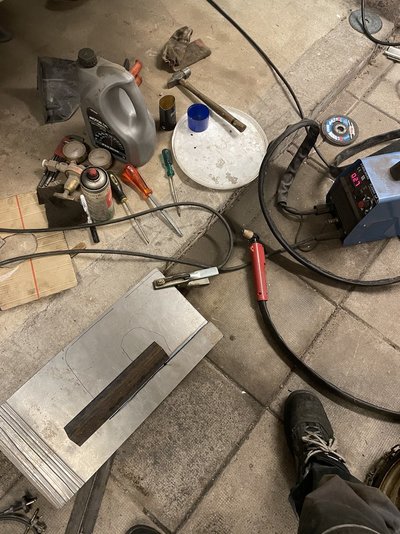
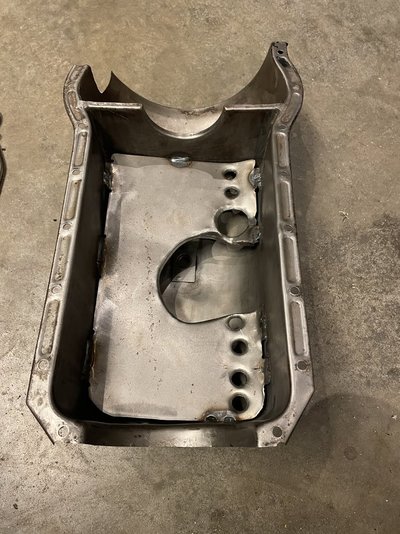
Staropramen box transferred to 1mm sheet metal. Contours by plasma cutter holes for oil return and oil pump, dimple the holes and fine cut with snipps. Fitts the engine but needs some tidy up before weld in.
Ordered piston rings (Goetse) and oil filters today from AUTODOC earlyer I bought Viktory Rienz gasket set from same place. Hade 32% discount today so saved 40€ just on the rings compared to other suppliers.

E4DB6D7C-F9BC-45F2-BEAC-D7836F3D9F34.jpeg 2A7AB2DD-0525-40D7-A3E1-6A2A4F55F4C5.jpeg
 
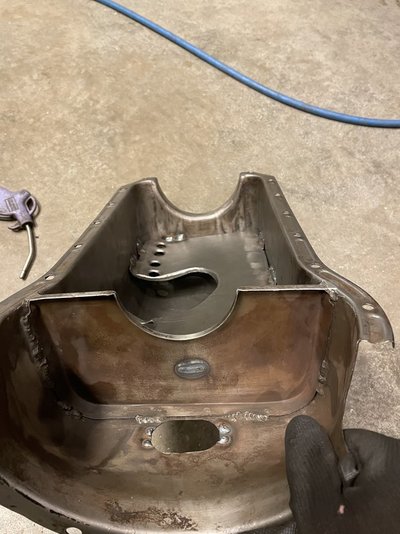
Oil control system finalized and welded in. Had to do some adjustments before oil pump, dipstick cleared the baffle.
Hopefully I can drive flat out brake hard and turn in without oil pressure lamp go on.
One more clean and sump is ready for som black paint.

4A1E6E04-17F7-44C6-9E17-7F33FD1DDA16.jpeg FBEE5BC4-DBCF-4BC9-AF6E-DD15288CD917.jpeg 5BD8B09F-9A55-4B6C-A9D5-DD3F79185213.jpeg
 
Nice addition, 845cc sump is enormous, holds little oil and has absolutely no baffling. It suffers from oil starvation mostly at downhill right hand turns.
 
Nice addition, 845cc sump is enormous, holds little oil and has absolutely no baffling. It suffers from oil starvation mostly at downhill right hand turns.
Really hope this modification helps the pickup to always have oil available all times.
 
The engine I choose to rebuild semms to be a bad maintained low milage engine, parts inside engine shows little signs of wear. Crank, bearings, oil pump, cylinders and pistons. Under all black burnt gunk and rust there isn’t much wear.
But I think carbon build up in the oil feed (no passage)to the transmission tensioner make chain and sprockets wear out due to no tension.
With this in mind I think maybe the head would be as nice bottom end.
Quick check of cylinder head reveals really bad signs.
Find loose valve seat immediately so I put it back on the shelf for now

29D24CA6-9EE5-40E2-B51D-E73897431EBE.jpeg 87DF9A4C-507D-4D81-8173-E2D28EF70C25.jpeg A12B38A3-C81A-4775-80BD-363E5DA0907B.jpeg
 
Last edited:
Bottom end start getting ready.
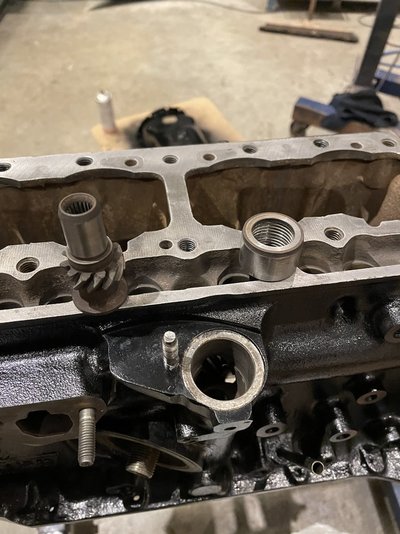
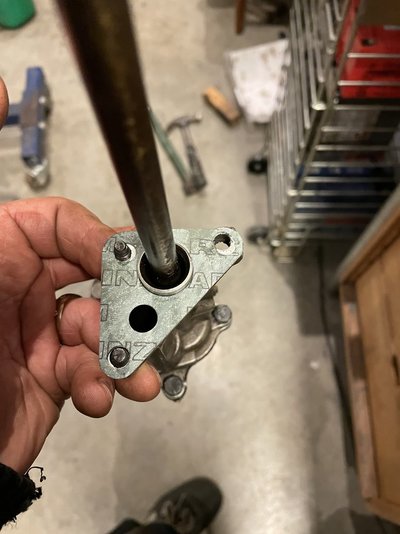
Put back oil pump /distributer gear with tiny lash. First I drive cam gear cylinder to contact, then I mounted my tool to back off a notch.
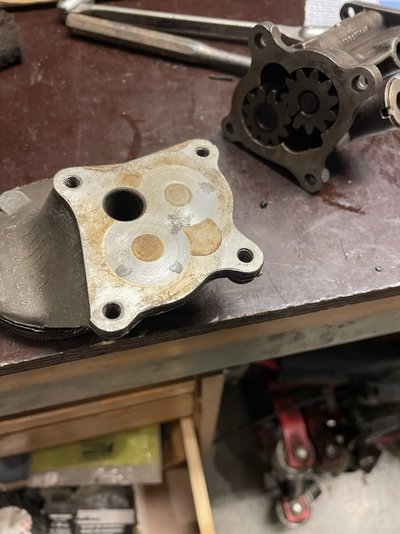
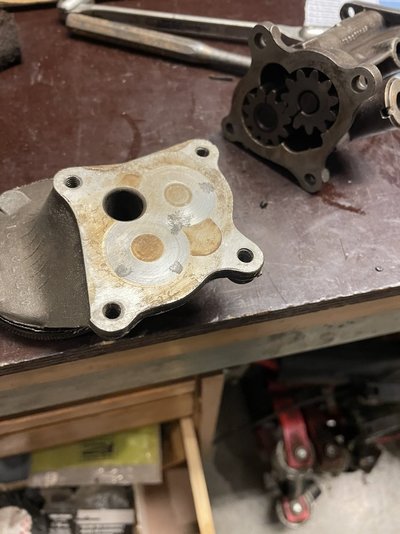
Oil pump cleaned and ready. I usually flatten surface were pumpgear is rotating, easy to see were they do the work but you can't feel any imperfections. Had to modifie gasket between case and oil pump cos holes didn't line up.
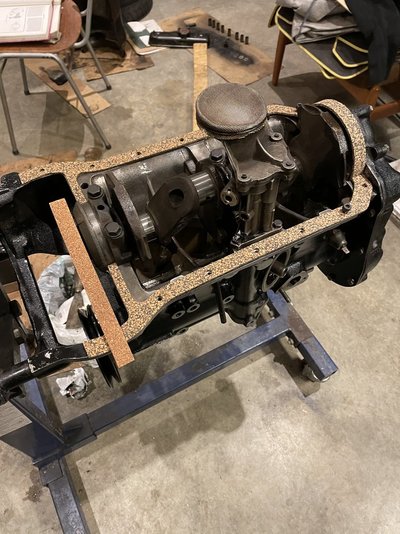
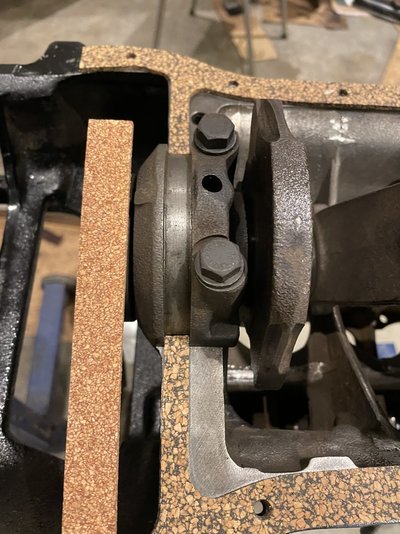
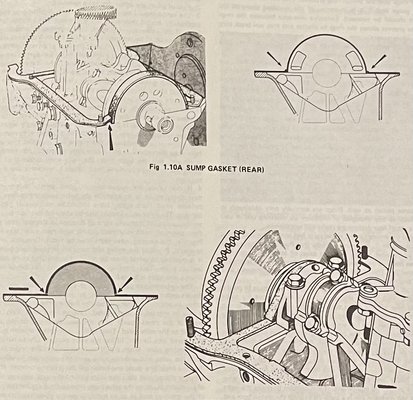
Some thinkering about sump gaskets, put some questions in technical help and tips. Must be a lot of success stories to be told.
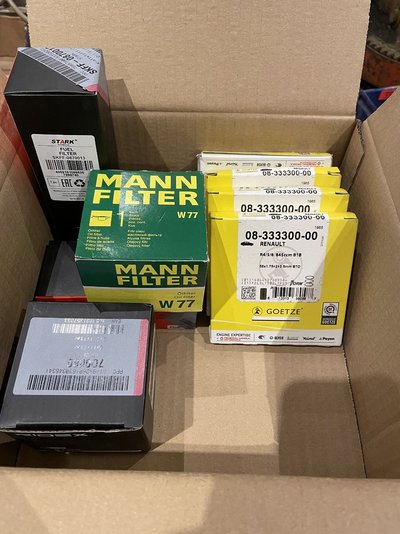
Got parts I ordered from Autodok before leaving for work. Piston rings, oil filters and fuel filters. Quick check and it seams to be what I ordered.

9E3A5E30-A07A-4116-9F3B-07496637C917.jpeg B0F7F469-6554-46E0-96D5-C1C3B7F42F59.jpeg F18CBE72-5BD6-4DD6-9651-D71050AE87B3.jpeg 688BE32E-B6B8-4496-933B-C14CC8D5361C.jpeg 3FBCD9BA-8960-49C3-8AD0-D19CF7F77C2D.jpeg E89CA97F-80AE-4286-90A3-0DF7771924E9.jpeg 8CA6DD9F-9D40-4378-8269-34B96D8358FE.jpeg
 
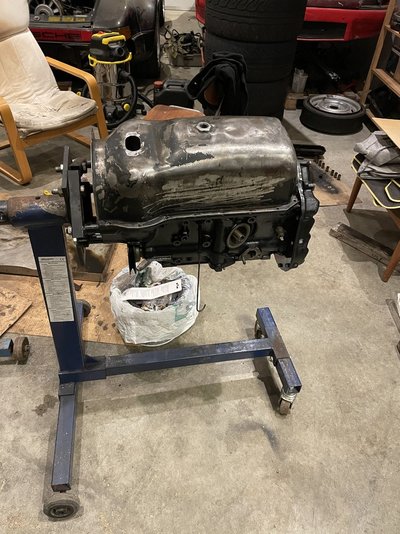
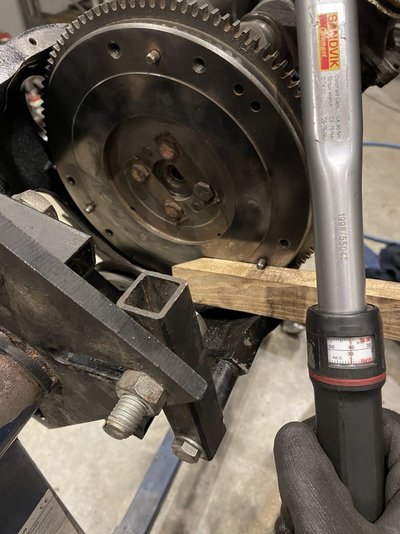
Thanks to angel I put on flywheel before the sump (propably one of few engines in history that have that sequence of mounting (maybe reason why some mechanics hate french cars)).
Put it back according to my marks and torquing to 30lbft or 41Nm and folding the “washers”.

920A83AA-DB3E-4CA9-AC84-092AF1525C6A.jpeg
 
Back
Top