Clementine's Garage
Clementine the Cat
 
Image of flower
Yellow R4
 
Réparateur d'automobiles

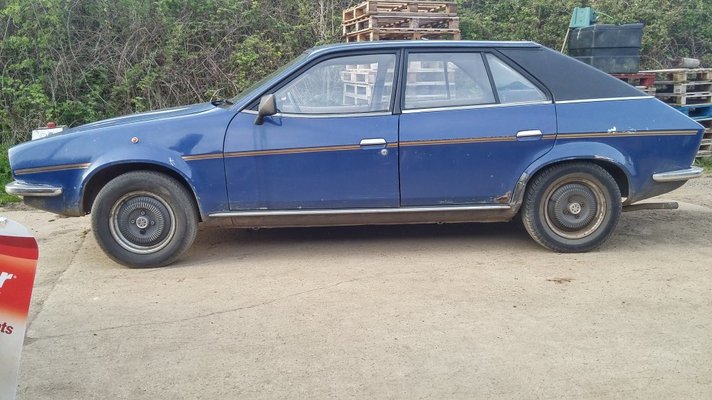
1975 Renault 6TL - the fine line between brave and stupid

Ride height may settle when the shocks start to work.

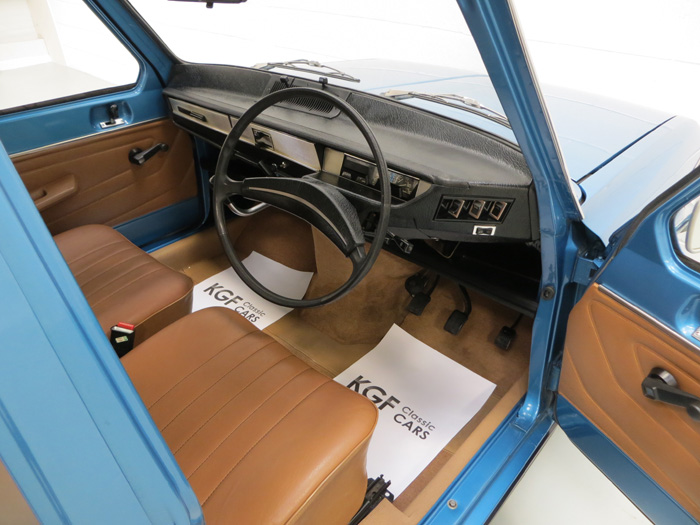
I think that the wires coming through the 'neat rectangular hole' at the side of the dashboard will be for a rheostat to adjust the lighting for the instruments at night.
No rheostat? Just connect the two wires to get maximum brightness.
 
I couldn't remember ever seeing anything there in other pictures so I had a Google trawl. There is a switch that lives there, I imagine it could be a rheostat.

1975%20Renault%206%20TL%20Front%20Interior%202.jpg


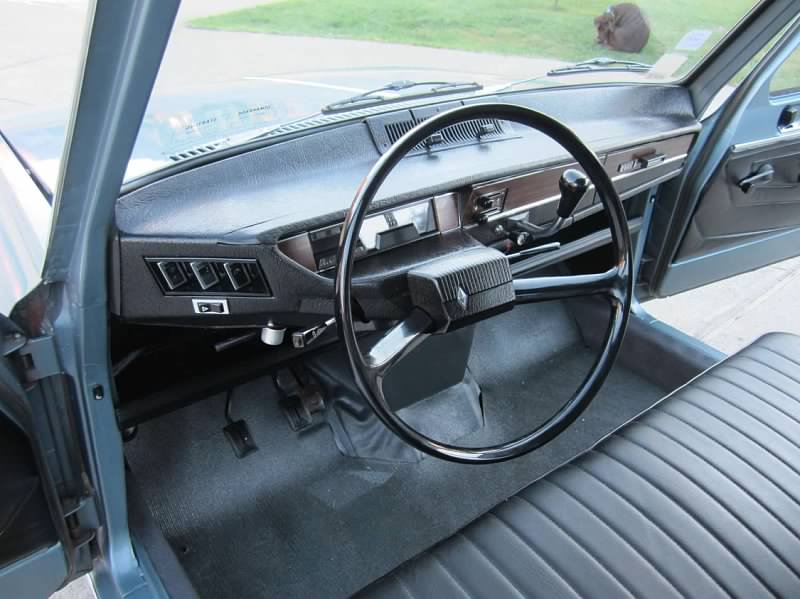
They don't all have one, so I wonder if it's an optional item.
veh22.jpg


On this one it looks like it has a hazard warning light symbol on it.
renault-6_key_19.jpg


I'm none the wiser but at least it looks likely that it is an optional switch and something proper goes in there rather than it being a bodge item. The hole in my dash is very cleanly cut, not what you'd expect for a DIY installation.
 
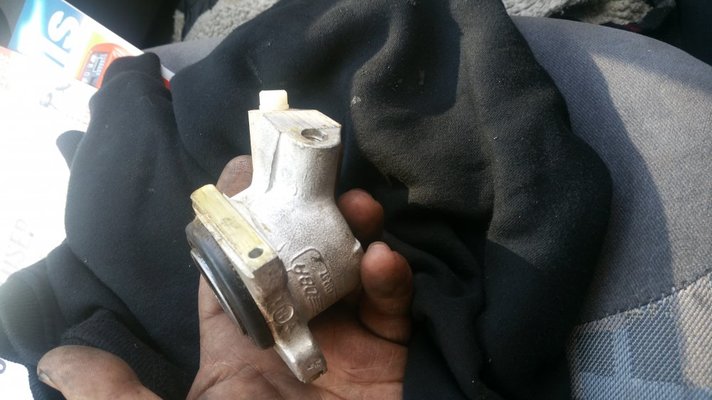
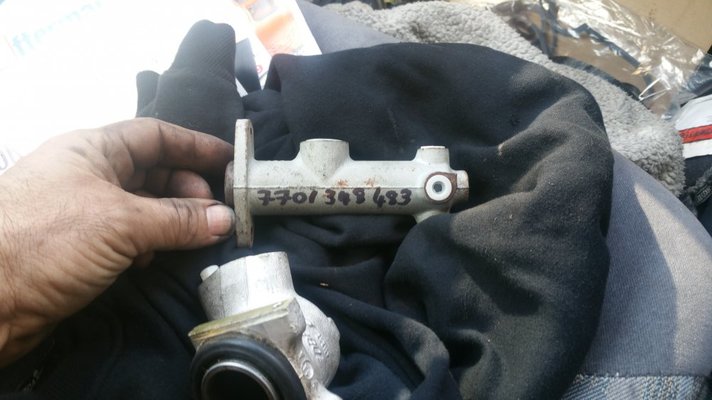
Master cylinder and ns caliper I found today looking for other pieces for someone else 20160503_155937.jpg20160503_160014.jpg
 
Given that I don't know the condition of any of the brakes up front I'll say yes please on those too, Mr Reno. I've decided I'm just going to fit the correct light lens on the rear rather than worrying about the whole units, much easier that way, especially since the units fitted work a treat as I found out today...

There are certain milestones in any project, particularly one as brave/stupid as this one. Today, the milestone of lights was achieved, mostly. Mike was at the unit well before me today and called me just as I was getting stuff together to go in to let me know he'd already hooked up all the electrics, was I going in to help? Of course I was going in to help, and I was very surprised he'd already put all the wires where they needed to go.


Key in the ignition (which you turn towards yourself and is on the left of the column, counter intuitively) and see what happens. Oooh, an ignition light! We didn't have one of those last time we put a battery on the car.

20160504-01.jpg


Soon we realised that more work was going to be needed, connections cleaned up, bulbs replaced, that sort of thing. On trying the various controls we found the wiper motor works at speeds Slow and Not As Slow, the new wiper blades were fitted when the screen was cleaned and that proved entirely satisfactory. The blower fan works, and blows both Slow and Not As Slow, so again that was deemed adequate. Sidelights and front indicators did nothing, indicator switch did nothing, headlights worked on dip and main (twist stalk for sidelights, pull down once for dip and again for main), we tried the hazard switch and one indicator worked on the rear. Here's a boring video.


Rear running lights work and, after the switch came unstuck, so did the brake lights. Reversing lights were found to be purely decorative, there's no wires at all running to them and by the looks of things never were on this car so the tailgate is probably off another car, perhaps the same donor as the other metallic green panels came off as this one was also metallic green (that's at least one front door, both inner front wings, one outer front wing for those keeping tabs). Here's an even more boring video.


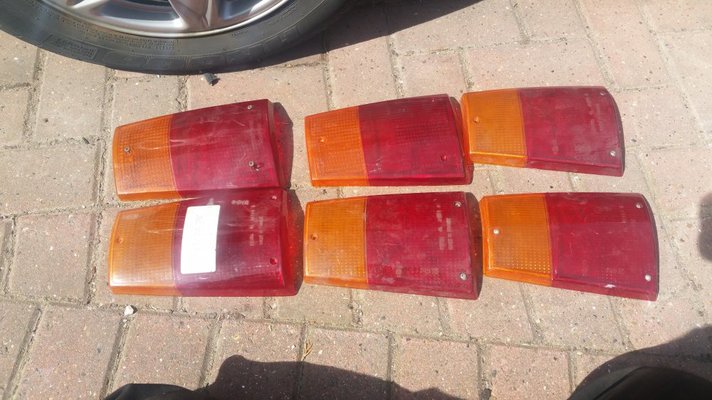
Also learned that the passenger side lens is the wrong type but that it's because there were two manufacturers offering the same rear light with a slightly different design. Info from R6 guru Mr Reno on that one. I'm going to replace just the lens as the one fitted is not only the wrong type but also appears to be from the wrong side of the car. After some jiggery pokery and a full compliment of new bulbs we had both indicators on the back working.

20160504-05.jpg


My brother fiddled bout with switches and switch cleaner and got the indicator stalk working and the telltale for it on the dash working. Also of note is that the dash lights illuminate, the hazard warning light works, the ignition telltale works. As yet there is no visible telltale for dip or main beam aside from a very dim red light on the far left so there's some investigation still to do on the instrument cluster, it may be bad connections, dead bulbs, or something of that sort. Odometer/Speedometer cable was also reconnected as that had come unseated at some point.

20160504-06.jpg


The interior light works, both door switches operate with the passenger one needing a bit of a clean as it's a little sticky.

20160504-07.jpg


Up front, everything but the driver's side indicator works. We've not found the reason for this yet, we suspect it's a bad connector or earth somewhere, we just ran out of time to investigate further. Used the old headlight bowl just to test the new bulbs and see that things worked. Rather than use the original golf ball type halogens I used a variant that has the same mounting bracket but is more like an H4 in shape. It ups the light output considerably without looking overly modern, a sensible modernisation. I've already forgotten what the bulb type is called.

20160504-08.jpg


The most frustrating thing to discover is that the starter motor appears to have died. We did bench test it a little over a year ago but didn't then bench test it again before refitting it to the car which we should have done. It can be resurrected by a local guy who won't charge a great deal and who did a great job on the starter motor for my Princess. So we didn't get to see if the car would run today which was a shame. We did learn the handbrake definitely works and appears to work quite well.


Only a short day on the car today but a very productive and rewarding one. Seeing so much spring to life after being dormant for such a long time was really exciting, probably disproportionately so.
 
It's got to come off again to get starter out !!

You are sure engine is free after your engine mishap does it turn over if you put it in gear and push car
If you've got a brake working I would be tempted to tow it as if the engine frees off ok then starter may work ok once engine been run
 
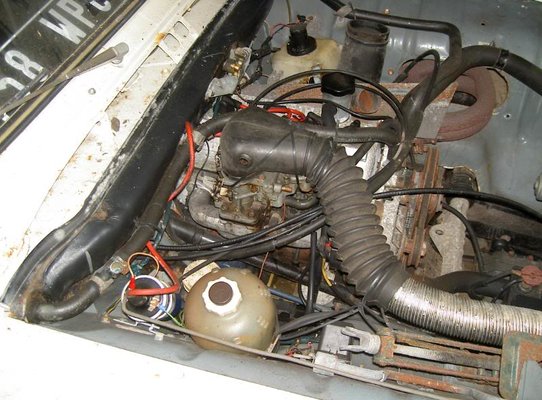
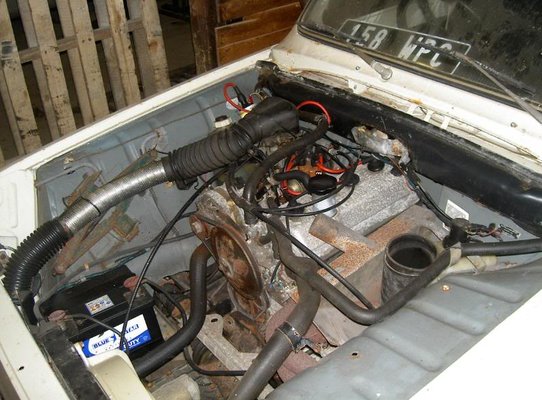
Pretty sure the starter needs a refurb. When you put power to it the only thing it does is draw a current but it won't engage at all, no clunks, nothing. It's either too weak to turn the engine or just worn out. At least that bracket isn't as terrible to remove as it might be, we did think it probably needed to come off but none of us had enough time to actually get on with it. I think we'll take the starter off, get it checked over and refurbished if necessary, and continue putting the last few bits on in the meantime like the new exhaust and the new brakes when they arrive, that sort of thing.

I can't see the last bits taking that long now, just a case of hoping the engine doesn't do anything daft when the first start is tried.

Certain the engine is free. It was turned over by hand before being put back in the car and offered no more resistance than it ought. Had other people check too just to be sure. It shouldn't be a problem.
 
Can you tell me which make of lamps you have got and which sides as found another lot today
Will be seima or gelbon
Gelbon went bankrupt so seima produced seima gl lenses to fit gelbon base
The rest of my collection are hiding in boxes so let me now as easier if i haven't got to unstack everything twice 20160505_140716.jpg
 
I'll check them for markings, I don't know which they are off the top of my head. I'll be away this weekend too so I won't be able to find out until Monday now. Should have checked in on here before heading over to the unit for the brief job I did today during my work break.

Headlining made today and first fit attempted to check everything was as it should be. This style of headlining is very easy to make, it's essentially a length of fabric with pleats in to hold the wires. The key is getting the pleats in the correct locations so you have good even tension front to back. On the whole I managed that. I salvaged the plastic strip from the old headlining that goes into the tensioning strip at the back of the roof and sewed it into the new headlining. It won't be seen when fully fitted.

20160505-01.jpg


At the moment this is just loosely in on the wires. For the most part the tension is really good, at the back especially so. The wrinkles will disappear when I put the side tension on, a job I'm saving for when I know I don't need to do any more work with the wires that run above the headlining and the welding that the roof and passenger side gutter still needs.

20160505-02.jpg


The front wire I've misplaced slightly, not by a great deal but by enough to cause a sag that you can't pull out. It's an easy task to relocate the wire and refit.

20160505-03.jpg


The scariest part will be removal and refitting of the windscreen, a vital job because it's the only way to get the tension on the front of the headlining properly. It's a job I'll have to do anyway to see if I can resolve the water leak on the driver's side of the screen and deal with any rust or damage that might be hiding. If it were a laminated screen I wouldn't be so nervous about it and if replacement screens were easy to get hold of I'd just buy a new one and have the pros fit it for me.


Mike told me he got the indicator working too, it was just a duff connection.
 
18 months ago I threw at least 6 screens away as gave 2 away with each r6 that was sold plus most of the new stuff I had was in the back and no more room one car went to derek flavell of renospeed
Now restored and sold
The other had a 5 gordini engine in and went to a friend of his called Stefan not sure if it's restored yet
 
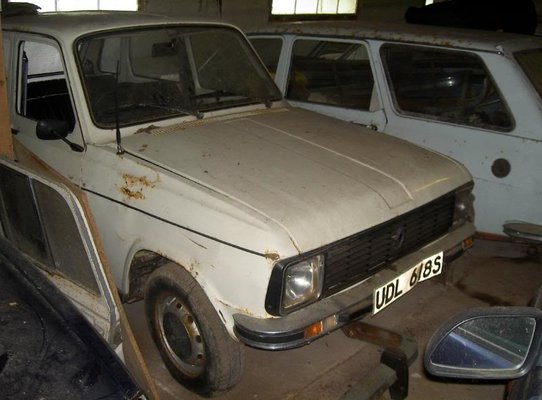
renault024.jpg renault023.jpg renault028.jpgThe gordini engined one original llyhad rebuilt 1108 earlly type engine never fitted so it was on road with gordini engine instead
I offered you that engine on week one if you read back far enough
Have also found 2 back wings new
 
I remember the engine offers. There were quite a few other things offered too but much of it I've either not needed or found more quickly and conveniently when I have needed it. I'm very ad hoc with the way I approach my projects, my spare time and funds are unpredictable so most of the time I just have to go for what's quickest and easiest for me at that moment in time.

At the moment I just want to get the roof repairs finished, go through what little is left of electrical systems - reversing lights, dash lights, starter motor - and get the few mechanical bits done that haven't been yet. Then I'll know where I stand for less essential items like spare body panels and engines and that sort of thing. For now, I definitely need the headlights and one rear lens but other than that I need to test current items to know what needs replacing and what needs buying next. Shouldn't take me very long at the current rate of work, it's much easier to do stuff now than it was.
 
Nice to see a Princess I haven't before.

Few little jobs done today, not a huge amount, but a bit. First up, getting that old exhaust off. It was rusted up and even though the nuts came undone fairly easily the backbox did not want to let go so I just cut through the main pipe as it wasn't worth saving. The old exhaust could be sacrificed this way because I had a whole new system to go on. New on the left, old on the right. In the second picture you can see just how comprehensively ruined the old backbox was.

20160510-01.jpg


20160510-02.jpg


The tensioner was cleaned up and fitted complete with a new nut.

20160510-03.jpg


Another job that wanted to be done today was fitting the new clutch cable which meant an opportunity to remove the dashboard for better access and to inspect what's what behind it. There were many dead wasps hiding behind the dashboard that were cleared away and a hint of why the scuttle has rotted out where it has. There are two holes inside the scuttle section and it's packed with foam. When I cut out the rot on the passenger corner I will get as much of this foam out as I can in part because I don't want to set fire to it but also to get rid of the problem. It would also appear from rust staining that even though the water has been appearing on the driver's side it could well be getting in on the passenger side.

20160510-06.jpg


Little bit of history laminated to the parcel shelf and a hint of the travels the previous owner has been on, or intended to make. Take the National Express when your life's in a mess, it'll make you smile. All human life is here from the feeble old dear to the screaming child...

20160510-05.jpg


Anyway, enough Divine Comedy for now, here's what little there is behind the dashboard. With it all out there was a delightful lack of bodge or wiring danger. With gentle persuasion the hot/cold lever was made to move again, spending a long time just wiggling it side to side until now it moves with the proper lever attached. The fan control panel has a smear of some sort of gunk all over it that was hiding behind the decorative plate, which seemed a bit odd. All of the dead wasps were vacuumed out from behind the dashboard too.

20160510-04.jpg


I was very careful with the dashboard, it's 40+ year old plastic and rare in right hand drive format, I'm highly unlikely to find another. It will be a lot easier to clean up properly out of the car.

20160510-07.jpg


I could now inspect the bulbs too. At least one appears to have blown so I'm just going to replace all 5 of the bulbs with new ones. I notice there are what look like two empty sockets in the white section of the cluster, there doesn't appear to be anything that fits in them and I'm not sure if that's by design or not. I'm also uncertain if this car even has a dip/main telltale.

20160510-08.jpg


The bulbs are push-fit into little holders. I can't imagine these are any fun to change with the dashboard fitted.

20160510-09.jpg


Happily, I managed to resolve the issue with the sagging headlining section without doing any sewing. In the roof sides there are holes that the tensioning bars slot into and at the front there are two identical holes set close together. I'd just put the bar into the wrong hole, fitting it in the proper hole put a healthy amount of tension across the entire headlining.

20160510-10.jpg


20160510-11.jpg


The clutch cable was mostly fitted, Mike spent quite some time in the footwell dealing with the typical French issue of clutch pedal clips. The gearbox end hasn't been connected yet, it may be easier to remove the starter motor with it sitting loose.
 
Excuse me mentioning this but with the new nut on the tensioner, surely you are going to fit a large washer and a spring washer. Surely..... You know it will make sense. ;-)
 
It was mentioned elsewhere, so I shall. There wasn't one there when I removed the tensioner so I didn't think to refit one. I've also got decent replacement bolts for all the ball joints now so that's another job I can do.
 
When restoring my motorbikes, I always make sure that plain or spring washers go under nuts and often replace plain nuts with Nylocs. It's good engineering practice. I also use stainless steel fasteners everywhere too but I guess that would not be cost effective on a car.
 
Last night, in readiness for a few hours of Renault repairs today, I got the dashboard and sunvisors into some soapy water so they can go back in sooner rather than later. It was a little bit grim.
20160511-01.jpg


Caretaker Kes had already done a cracking job on the brushed metal trim on the dash. All the plastics, however, were covered in dust and mud and that grime you get from someone smoking in a car for a very long time. Didn't realise how smelly things were until yesterday when we came back to the house and it stank of stale tobacco just from having the dashboard in the living room for a few hours. Nasty. All clean now, happily.
20160511-02.jpg


20160511-03.jpg


While I do still have the cowling that goes under the steering wheel, it is in poor condition. Historic repairs and damage to the screw-tubes are the main problem which can probably be resolved with suitable glue and scraps of plastic. It's an item on my Would Like list, but not vital.

Today I intended to get the passenger side gutter sorted out and ready for filler and paint. I got as far as the first stage of trimming back and tacking so I can build the repair sections where needed when the welding gas ran out. That was quite annoying because until I've repaired the roof there's a few jobs it holds up. The headlining can't be fitted until the roof is repaired, which also means the windscreen can't come out to have the leak sorted and the dashboard has to wait a bit longer before its refitted. Still, it's a bit of progress and a bit of rust removed, just got to wait on the new gas bottle being ordered and delivered now. The roof this side isn't quite as bad as I'd expected, I should only need a couple of very small pieces of new metal let in where the old has dissolved.
20160512-01.jpg


There wasn't much point doing anything engine-wise either, we've been unable to contact the starter motor refurbisher and rather than having parts lying loose about the place it seemed more sensible to just leave things as they are. I didn't really have the time spare today to do the exhaust or brakes so I looked at the smaller jobs and settled for one of the important ones, namely replacing the 10 fixing bolts for the ball joints with nice new proper ones and nyloc nuts. I can't put the bolts in the other way up as they won't physically fit, the new ones do clear everything as far as I can tell. The old improper fixings that came with the new ball joints were so ill-suited that some had already started to work loose and one had bent, particularly alarming considering the car has only been pushed around the unit at walking speed since fitting them. The quality (or lack thereof) of the supplied fixings concerns me when it comes to the quality of the ball joints themselves, time will tell on that front I suppose.
20160512-02.jpg


20160512-03.jpg


There weren't really any quick jobs to do after that and I had other things that needed doing so I just had a tidy up and called it a day. I'll likely not be working on this again now until next week. There's an awful lot of mud coming from somewhere under the car, every time I do anything another massive amount of dried out mud appears on the floor.
20160512-04.jpg
 
Bolts should be the other way up in the ball joint fixings (nuts above the arm) so they can't foul the upright. Must come with long M6 rather than M7 bolts but I have generally found them OK if they have been knocking around on eBay for years.
 
Back
Top