Clementine's Garage
Clementine the Cat
 
Image of flower
Yellow R4
 
Réparateur d'automobiles

Homegrown Garage Green One -75

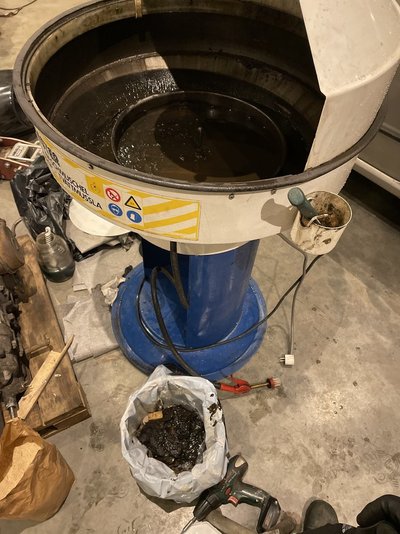
Bought new toy to garage.
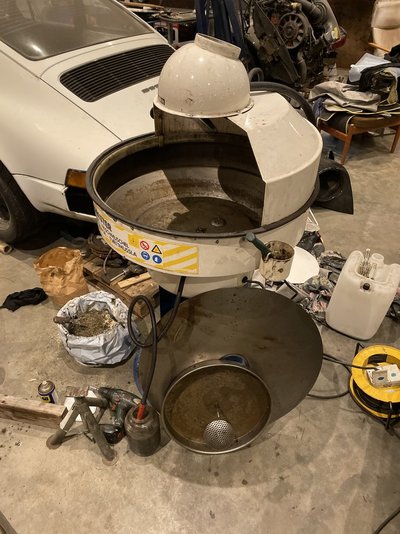
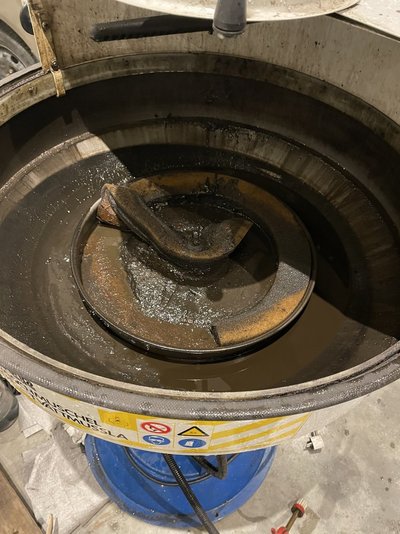
A Drester wash clam. Old high quality petroleum based parts washer. I think a normal sized 4-cylinder block can be washed automatically inside there is a manual brush that can be used as well.
Very handy according to previous owner. Asked how he clean the washer? He looked like a question mark. Never done it he said. So first ting at garage I dismantle an cleanup. Half bucket with old sediment, then I take last slush with wood dust.
Electric looks a bit scary, two 240V plugs going to the same pump engine. One directly the other through a timer. The scary stuff is if timer is activated there is 240V going out of plug not used. Needs to be sorted before use in my garage just luck no one get hurt.
8B9D0062-D9DE-4D9A-8F03-F8055C23706D.jpeg 0A80B56B-5760-4815-AC82-D17389EED8D7.jpeg 9972F033-F408-4E20-A521-C7BFEAFB3AFF.jpeg
 
Still taking it easy.
Bought same more machines and tools from garage that needs to be cleared.
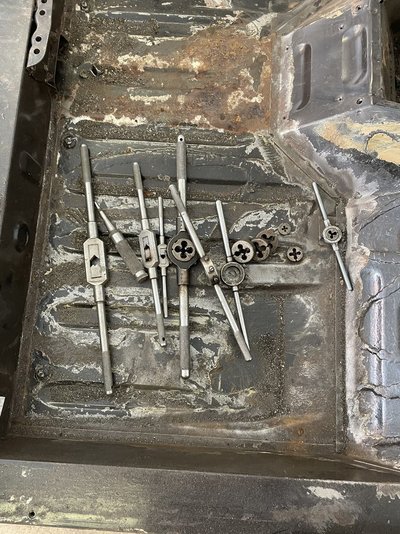
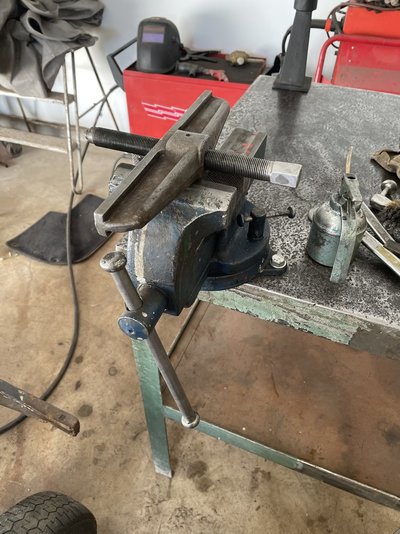
Go there for buying bench grinder with sand belt option. Ending up buy a valve grinder Rotax, valve seat tools, a nice wise fore my welding table, SKF tools for treading, insex skrew drivers mm and inch total 14 pieces, and lots of other handtools.
Very happy with what I purchased. Everything is old high quality tools. Some old Hazet tools also find it’s way home.
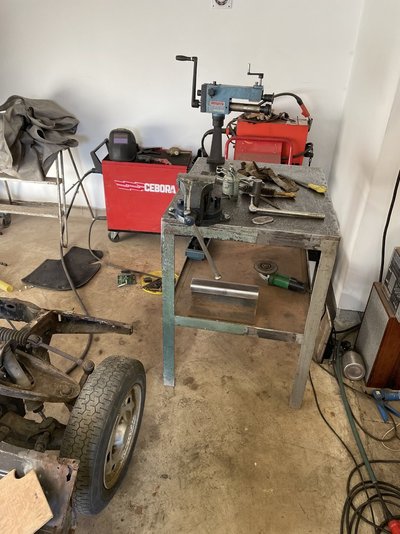
Inspired from my findings I decided to bring home my welding bench that I have had stored at fathers farmhouse. Have been a book press earlier in life and some twenty years ago a made a welding table for our firm.
Now I have time to tidy it up to my garage standards. Cut away unnecessary beams (old purpose) leaving a tough table with a 20mm steel surface. One hour with wire wheels and grinding I gave it some linen oil.
Time to mount the wise. I could use one existing hole an drilled and tapped two for M12 bolts. My old wise is big and strong but jaws are not 100% straight. The new oldone my is after service very nice.
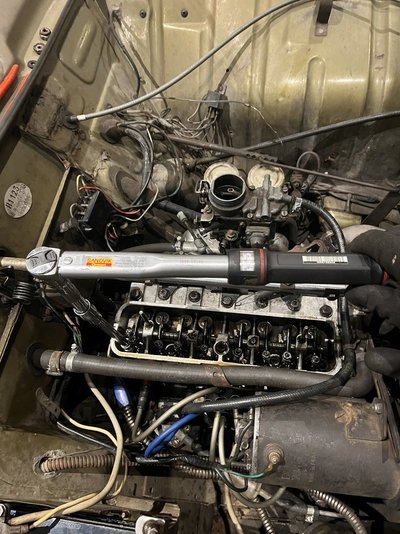
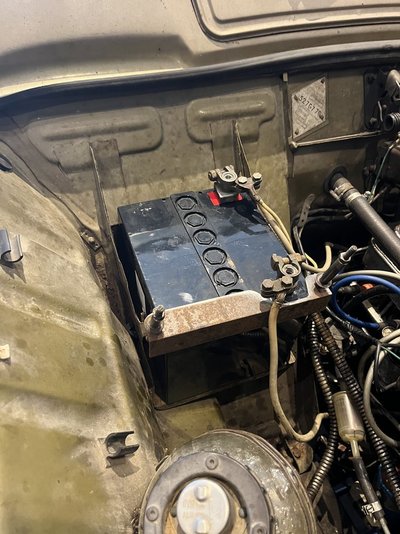
Test mount some other sheet metal tools at the bench as well.
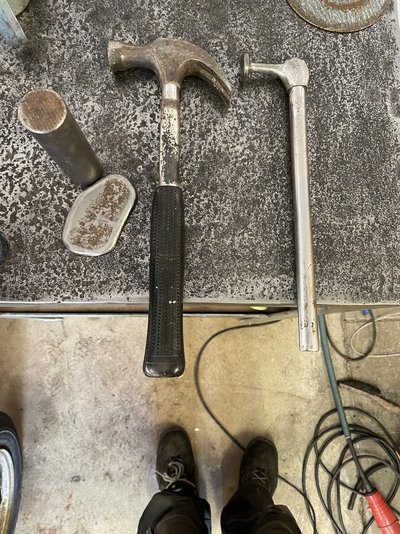
Inspired from youtube I made sheet metal hammer from a carpentry hammer. Lightened and refaced.
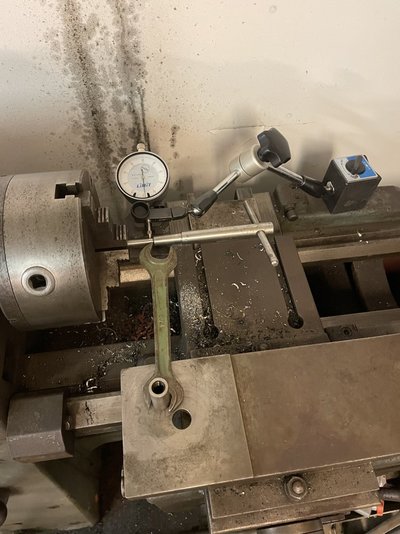
Guide pin for seat valve grinder was bent so have to spend probably one hour or two straightening it in my lathe, from the tip in 20mm increments. Dial gauge and pushing controlled with the lathe. Now its spot on.
Keep doing light work some more days.

B8FC03FF-3D7D-4E7A-B70B-132CF3086393.jpeg 7914DB07-B2B5-45FF-8370-160265FA752B.jpeg F78445C1-A155-4C9A-983B-13AADE2552F3.jpeg 54A5D578-44C5-4B51-A61A-F8005C784FBD.jpeg 066DB86B-BF22-45CC-9D00-0C157CB10E0C.jpeg
 
Almost standstill here.
We have had 2-5* C last week so all snow melted away.
Had problem with low compression values on the engine I put together. So car have been put away. Good wheather made me inspired, some snaps in the carb and she started directly. After getting warmed up she only going on three cylinders. On rpm engine sounds great but second cylinder miss on tickower. Having plenty of spark but no bang. Compression test showed 4 so something is wrong. Head gasket, valves or rings, all alternatives can be realistic.
Head gasket I think have nothing to do with this but can not be roled out before inspection. Valves can certainly be an option cos I made a lot of freehand machining on both valves and seat area. Same with the rings, all cylinders and pistons were sized. Pistonrings were severe stuck in the pistons. Can have missed some residues in the piston ring growes, hense broken a ring.
Have to open up and examine later this year. Otherwise engine sounds great.
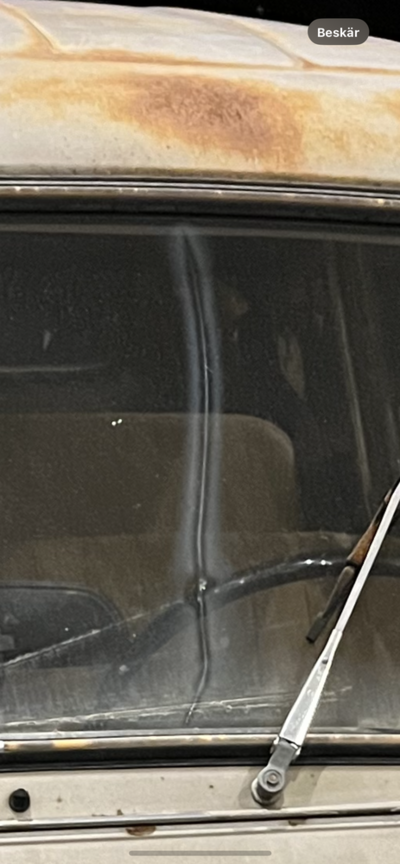
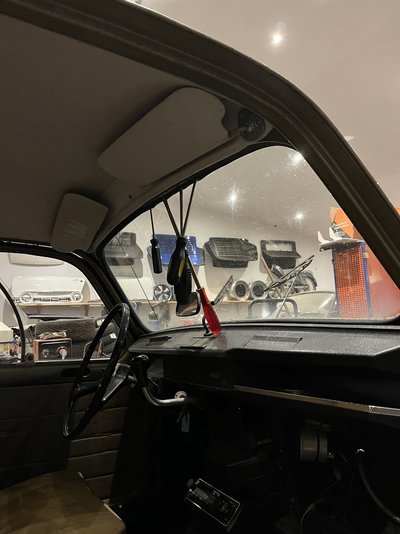
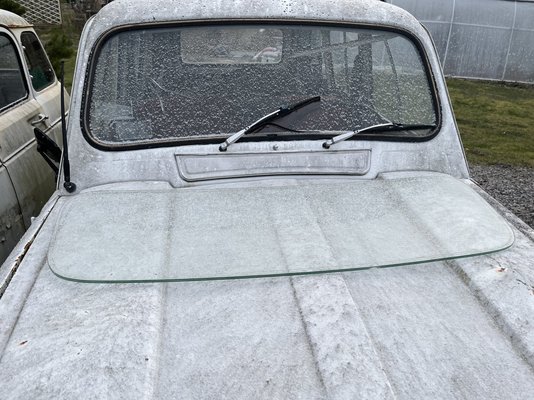
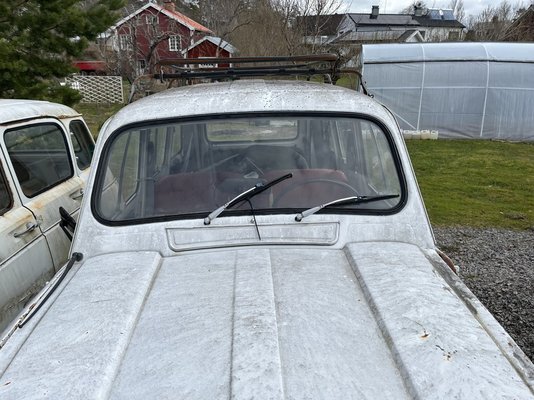
Want it to be a daily driver 2023. Have to change front windscreen before last MOT (50-year old cars gets permanent MOT after passing). Screen I broken and a stone was on the hood so sadly someone throw a rock on her. Anyhow think all get sorted before summer.
Me and my friend Mats have a slow car competition, acceleration and top speed. 1975 R4 845cc vs 1972 VW T2 pickup 1600cc. Two year ago I was quickest, If all my tweaks work I get bigger win but now he start to build new engine (more cubic, cam and carb). See what happens, hopefully I'm still faster than him otherwise I guess I've to go the turbo route.

CB143E6E-3A5B-446C-9B30-975E081500C2.jpeg
 
Hallo again.
Been standstill on my Renaults for a while but now my body is back in business since some months. Hopefully it will be some time for my Renaults when they complete for time with my other cars, wife, training, gardening and my house and garage’s. And i need to work also.
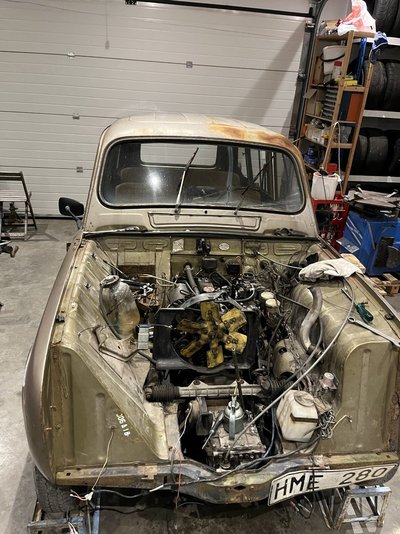
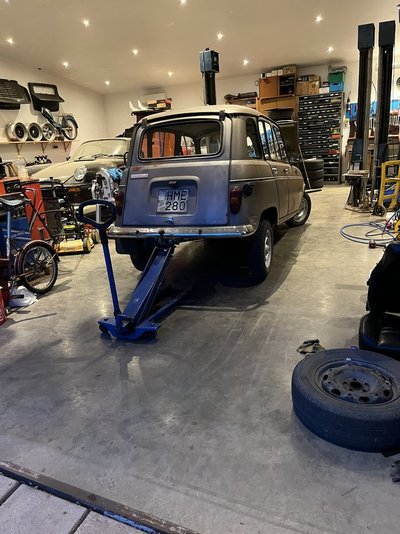
GreenOne drove it in to garage yesterday evening. Goal is to change front windshield and first check if low compression is related to the rings, gasket or valves.
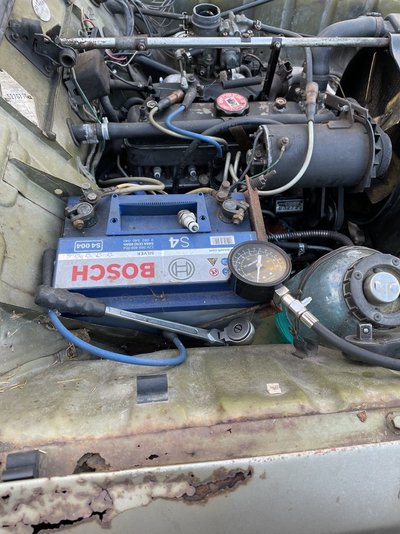
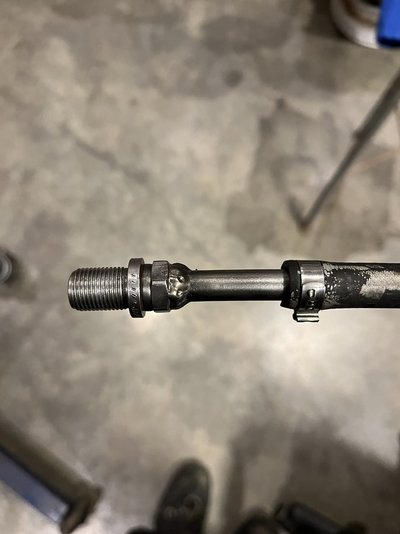
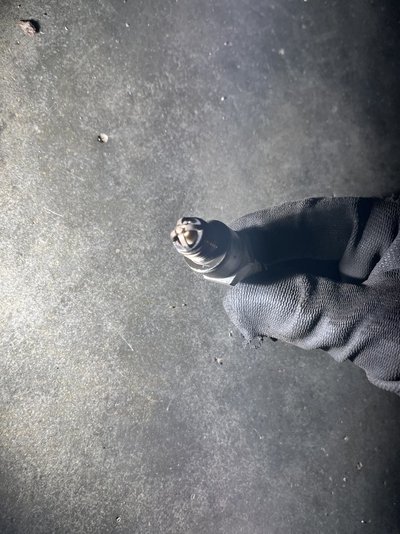
To be able to diagnose the problem on cylinder 3 I build a simple cylinder pressurizer.
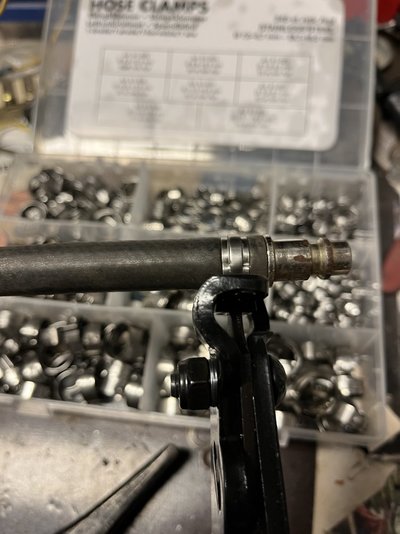
From a normal spark plug I remove porcelain and electode, welded on a pipe added some rubber hose and a pneumatic connector.
Unscrewed #3 spark plug and put in my new made tool, rotating engine until both valves were closed, put in gear and pulled hand brake.

Bad cylinder ring seal will result in air come through engine breather.
Bad gasket then air breathe between cylinders and/or crankcase.
Bad valve to seat seal will show by leaking through intake and/or exhaust.

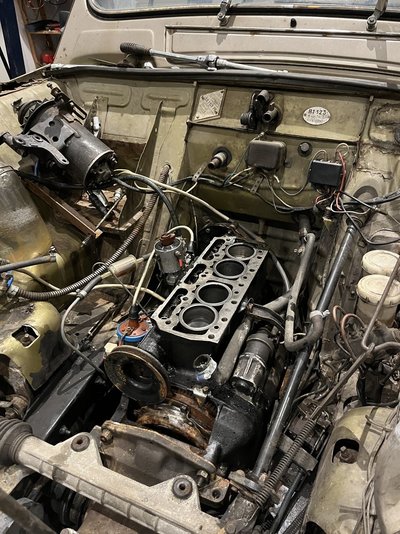
And yes it leaks both in exhaust and intake so it’s time to remove the head and solve the issues.

IMG_0268.jpeg IMG_0274.png IMG_0271.jpeg IMG_0270.jpeg IMG_0273.jpeg
 
No need to drag out on the surgery!
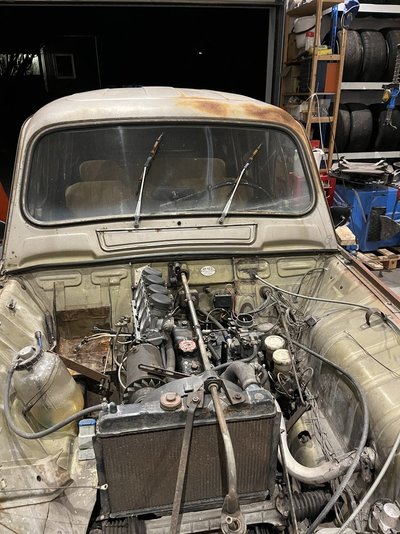
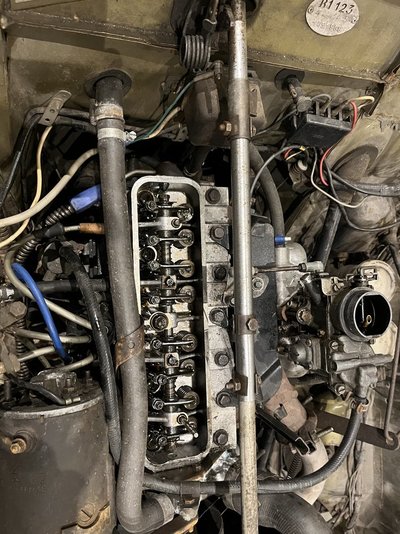
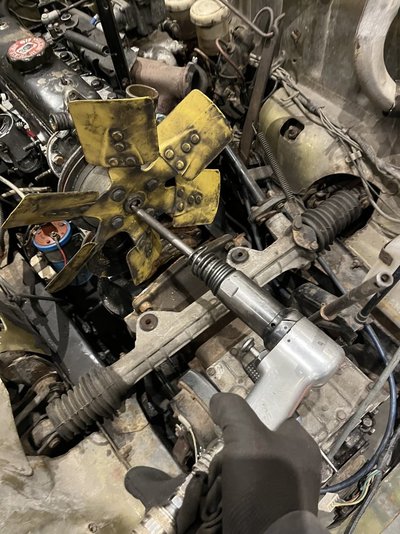
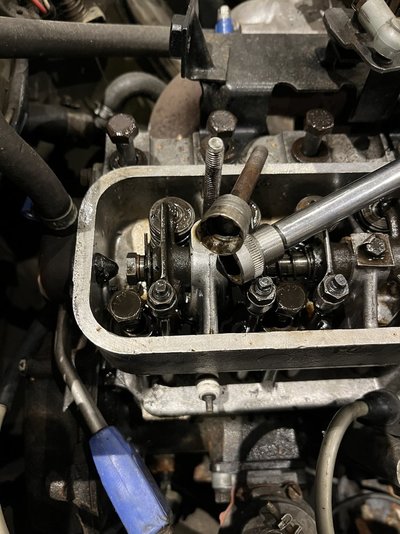
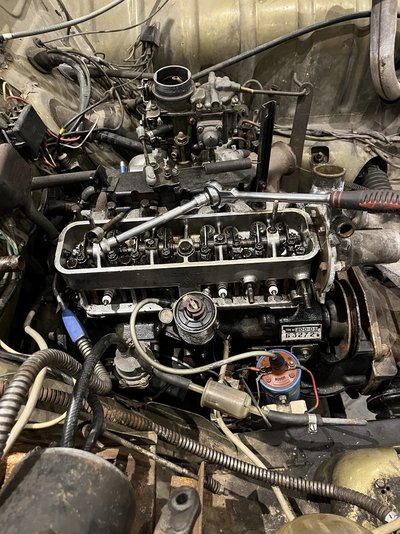
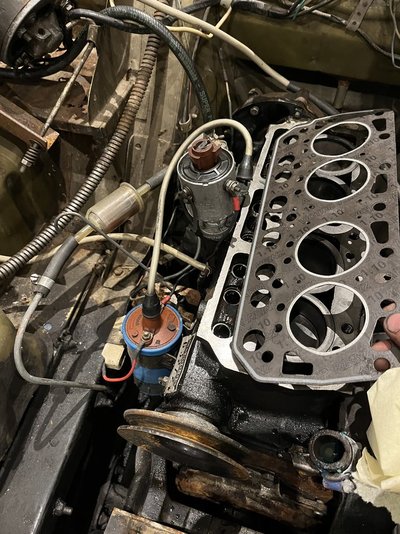
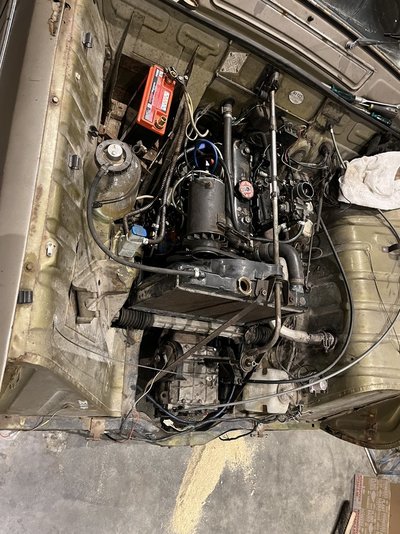
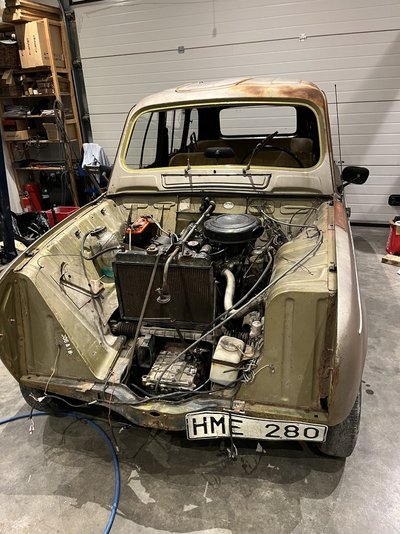
Check my box with Renault special tools needed for cylinder head removal. Find my slimmed down 14 mm 3/8 socket and my 14mm 1/4 ultra slim socket for the head bolts under the rockers. With these tool on hand I can just drain the coolant, remove the radiator with hoses, fuel line, trottel cable, fan, spark plug leads and cap, undo exhaust from manifold.
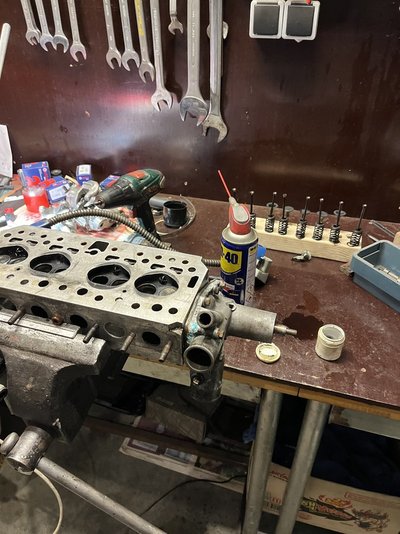
With my special sockets i can undo all head bolts I can lift the head complete with manifolds, rockers and push rods still attached. Put the head on the bench dismantle manifolds, loosen valv adjustment max and remove the push rods, remove valves.
Head gasket seems to be reused (looks almost new), block and head surface locks great. I had cheated when lapping the valves last time so I put some effort into it now. Feels like i got it good enough now after one hour elbow grease partly the valve to seat sealing line was still thin in two tiny areas.
Reasambly the head and cleaned up block mating surface and call it a day.

IMG_0278.jpeg IMG_0281.jpeg IMG_0282.jpeg IMG_0283.jpeg IMG_0284.jpeg IMG_0285.jpeg
 
Everything prepared for put engine together.
Start screw back manifolds to the head, locate the head gasket in the right position, head goes on torque in three sequences 20,40 and 60Nm. Drop in the push rods, adjust valve clearance, alternator and cooling system, dissy cap and wires, reconnect exhaust pipe to manifold. Filling up the coolant, put in a batteri, connecting electric cables, fuel lines and linkages. Fill upp the float chamber with fuel and som in the carb throat.
Time to start, it starts quickly and runs immediately on all four cylinders. Let her go with high idle while I bleed out air out of the cooling system, when at operating temperature its time set idle, mixture and timing.
So far it seems great head should be re torqued after three hours cool down.
Time to work again.

IMG_0286.jpeg IMG_0290.jpeg
 
Left to do before MOT is bleeding the brakes, check lights working properly,wiper system, change windscreen, reasambly the car and test drive.
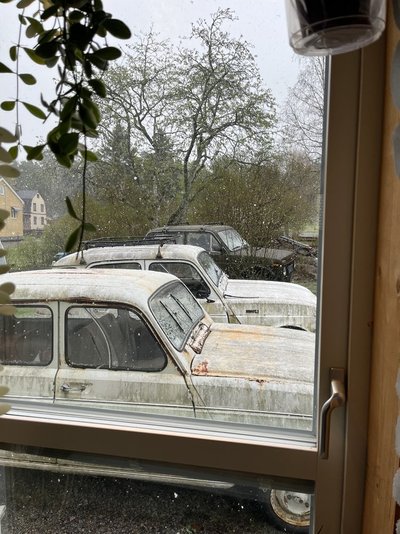
Weather conditions arent on the nice side jet. The thermometer have hard to come up, its below zero degrees Celsius on the night and just one or two plus during the day. One of my objects/parts car have a decent windscreen so it will interchange with the broken on the Green One. Outdoor temp says its cozier to wait for warmer days or work on cars indoor.
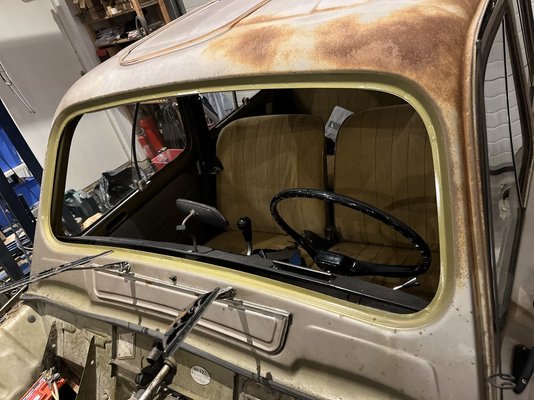
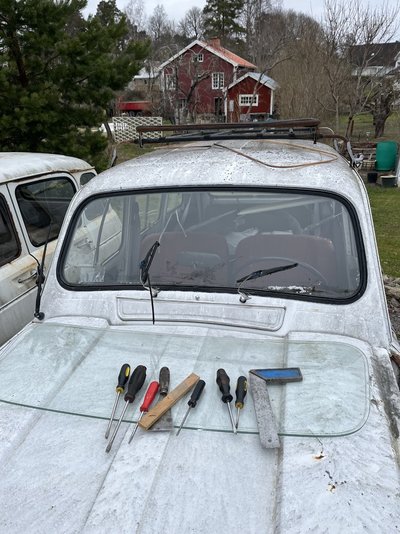
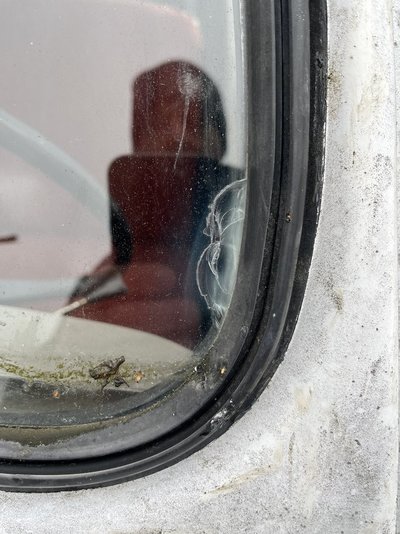
Take out windscreen will be the task, dismantle the front rubber trim is a good start after that massage the rubber to loose the grip on glass and body, then apply pressure with the foot from the inside and pry the inner rubber lip around the upper part of the window frame using lots of screwdrivers and small putty spatulas, pressure, massage, pry, repeat, repeat, repeat window out YES.
Absolutely rust free and fabulous green metallic in areas under the rubber seal.
Some work for tomorrow to do same operation on the spare car.

IMG_0298.jpeg IMG_0299.jpeg IMG_0303.jpeg IMG_0310.jpeg
 
Day off until Friday night so hopefully car will be ready or anyway almost.
Keep working on window change today. The screen that I take from the spare car have a tiny defect on the outer left corner. After cleaning it thoroughly in the shower I decided to put the screen in side out (so the defect will be right hand inside).
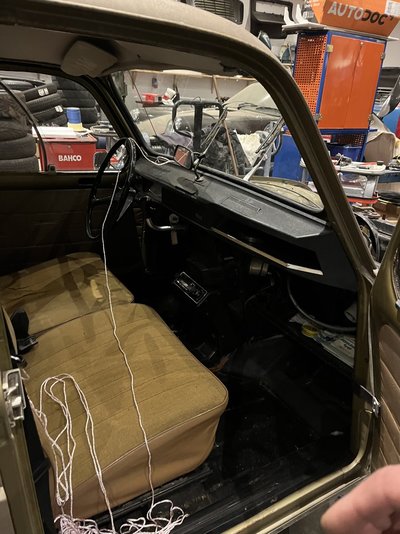
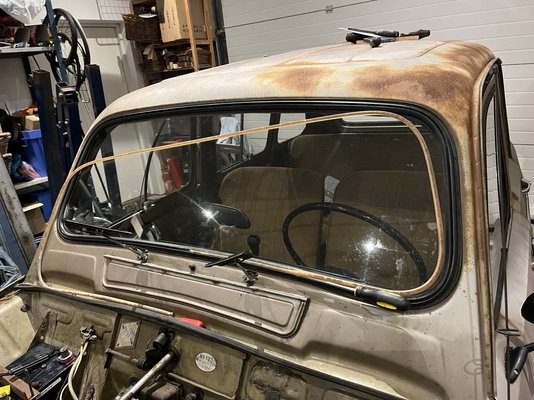
Coffee, patience and some 3mm rope and some more patience the wind screen came back in place the way I planned.
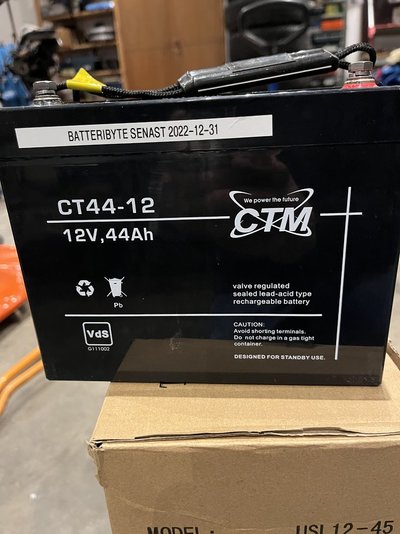
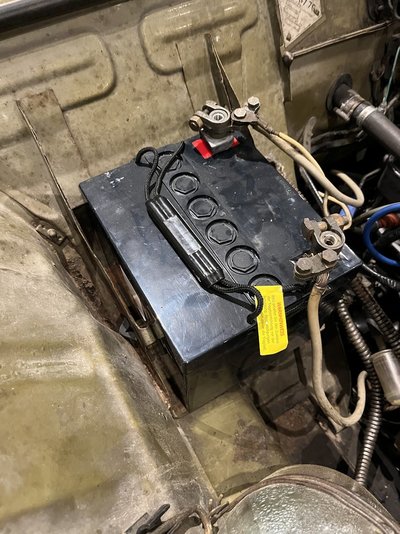
Got four long life batteries from work (UPS-backup for fire surveillance system) they aren't standard size so I had to modify the clamping and M6 terminal connections to standard poles (had som spares I harvested from my old odysse 680 batteries).
Also re torqued the head bolts to 60Nm, undo half turn and torque again to 60Nm ( most bolts will go 1/4 turn more at same torque).
Call it a day.

IMG_0311.jpeg IMG_0312.jpeg IMG_0313.jpeg IMG_0314.jpeg IMG_0308.jpeg IMG_0309.jpeg IMG_0319.jpeg
 
Bleeding breaks adjusting handbrake was on to days agenda, and remount the broken windscreen in my spare parts car so it's weather tight.
Car have been standstill due to lack of time and health problems, but 2-3 years ago all en the braking department was spot on.
Took of the drums and everything looks great, car have been outside all time and everything is easy to work on. All components are top quality on these cars. Oldest son helpt me bleed the brakes, we bleed out the old fluid and filled up with new fresh. After new fluid appeared we were happy. After that I adjusted the handbrake lever two holes, now it start brake after three ratchets.
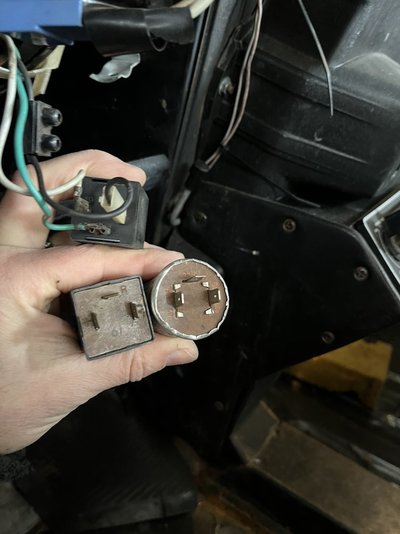
Yesterday was lights prio one, gone through all bulbs and socket, same with the fuses. Everything works except indikators. If main light are off then the indikators work, with light on the indikators dashes weak and slowly. You can see rear indikators ok but the front hardly glow.
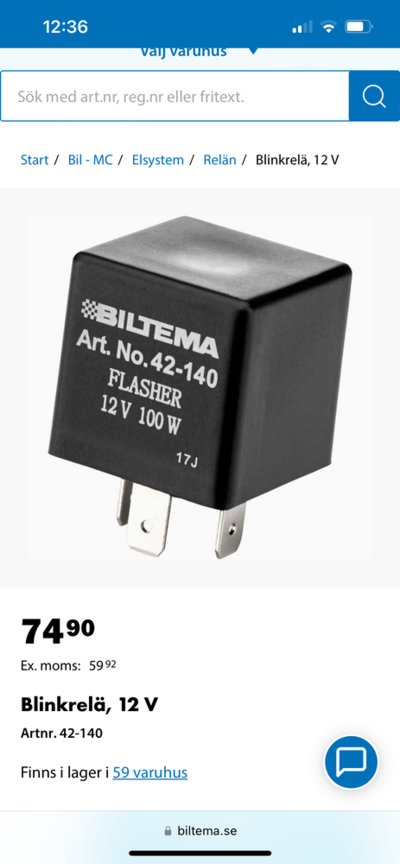
Tried another indikator relay(from the spare car) tiny bit better but not good enough for MOT. Bought an universal indikator relay. Started this morning put in the car after moving around the cables I finally got them on the right position YES now it works proper.
Son came in a Porsche 944-turbo that is tweaked for auto cross 400+ whp he still loves to ride the R4 so we made a proper test run.
Just set the carb and ignition by ear and feel so far. Can tell that the mods had made car more eager, 120km/h GPS speed easy and more to give. Took out the plugs so I could read the mixture range, spark plus brown gold is a ok indication.
Having oil leak on the cam cover can't really see how to solve it with the rubber seal. Seal seams to hard, someone maybe have a solution (a tiny string silicon gasket may solve it).
Drivers seatbelt don't work as it's designed to, feel like the spring inside have given up. Will be tomorrow work.

IMG_0326.jpeg IMG_0325.jpeg IMG_0324.png IMG_0321.jpeg IMG_0316.jpeg
 
Car is almost ready for MOT.
Seatbelt on drivers side I borrow from the White One, some work with 17mm spanner and it's a check.
Had problem with oil leak at the valve cover, guess it should be a cork gasket but I only got the rubber version. Have to solve the problem so I clean rubber gasket, valve cover and head surfaces cleans and dried with breakclean. Put some gasket material from tube on both head and cover in between with the rubber gasket and torqued cover down, let it "cure" for an hour or two.
Test drive confirms that oil leak is cured, check
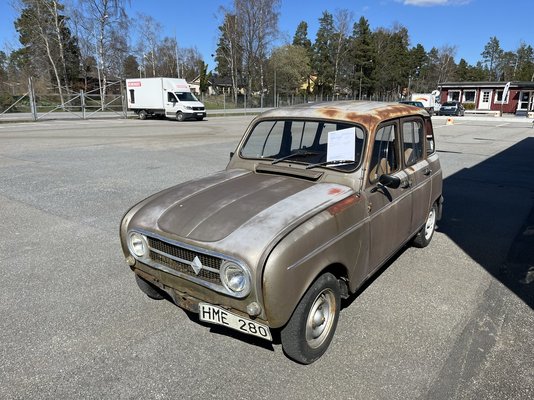
Mount breather hose and I think it's ready. Search for MOT times and one online bookable had time within an hour, it's 35 min drive so I took it and left home, fueled up car and drowe.
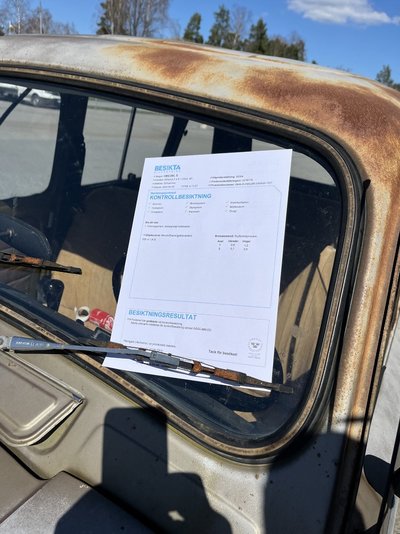
At the inspection it was two technicians, none of the had ever driven an R4 so it ended up with that I have to instruct the in every step.
Yes gear lever works like in a normal four speed stick shift just different position.
Brake check front OK rear OK but handbrake doesn't work, me Handbrake is on the front wheels. Test again on front wheel OK.
The kind inspectors is laughing about their shortcomings and forget the exhaust test.
Time for put car on the lift, damn the tracks are too wide (actually almost all of the 135mm wide wheels were on the lift) after some issues car came up on the lift. The wheel shaker on the lift only work on cars with wider track, so the have to do it old school manually. Time to lift car on the lift so the can chech wheel bearings, and so breaks don't are sized. The needed three attempts to get rear wheels in the air cos our R4 just spring out more and more. I told them to lift in the swing arms then it works and looks nice.
Time too check lightning.
Brakes Check
Where you put on the light? OK thanks, and Hi beam? OK and parking? Where it the indicator switch? There is white indicators in front they should be orange! Me yes normally but it's ok on these cars OK we have to check our paperwork on that, You are right it's OK. They forgot to check window wipers and washer.
Time to pop the hood, were you open this? Just push here? Yea OK thanks, everything is in order. After that scary moment to get car of the lift.
We forgot to get exhaust gases tested so back outside and probe inserted in exhaust. Cars from 75 and older only value important is CO2 emissions 4,5% is the limit. It showed almost 6% (it's a fail) asked them if I'm allowed to adjust? Yes of course adjust it down to 4.1% and they were happy.
So now the cirque car has MOT forever.

IMG_0355.jpeg IMG_0356.jpeg
 
Nice story regarding the MOT explaining everything on modern day car "technicians" :laughing:
Enjoy driving :clapping:
 
Car is almost ready for MOT.
Seatbelt on drivers side I borrow from the White One, some work with 17mm spanner and it's a check.
Had problem with oil leak at the valve cover, guess it should be a cork gasket but I only got the rubber version. Have to solve the problem so I clean rubber gasket, valve cover and head surfaces cleans and dried with breakclean. Put some gasket material from tube on both head and cover in between with the rubber gasket and torqued cover down, let it "cure" for an hour or two.
Test drive confirms that oil leak is cured, check
Mount breather hose and I think it's ready. Search for MOT times and one online bookable had time within an hour, it's 35 min drive so I took it and left home, fueled up car and drowe.
At the inspection it was two technicians, none of the had ever driven an R4 so it ended up with that I have to instruct the in every step.
Yes gear lever works like in a normal four speed stick shift just different position.
Brake check front OK rear OK but handbrake doesn't work, me Handbrake is on the front wheels. Test again on front wheel OK.
The kind inspectors is laughing about their shortcomings and forget the exhaust test.
Time for put car on the lift, damn the tracks are too wide (actually almost all of the 135mm wide wheels were on the lift) after some issues car came up on the lift. The wheel shaker on the lift only work on cars with wider track, so the have to do it old school manually. Time to lift car on the lift so the can chech wheel bearings, and so breaks don't are sized. The needed three attempts to get rear wheels in the air cos our R4 just spring out more and more. I told them to lift in the swing arms then it works and looks nice.
Time too check lightning.
Brakes Check
Where you put on the light? OK thanks, and Hi beam? OK and parking? Where it the indicator switch? There is white indicators in front they should be orange! Me yes normally but it's ok on these cars OK we have to check our paperwork on that, You are right it's OK. They forgot to check window wipers and washer.
Time to pop the hood, were you open this? Just push here? Yea OK thanks, everything is in order. After that scary moment to get car of the lift.
We forgot to get exhaust gases tested so back outside and probe inserted in exhaust. Cars from 75 and older only value important is CO2 emissions 4,5% is the limit. It showed almost 6% (it's a fail) asked them if I'm allowed to adjust? Yes of course adjust it down to 4.1% and they were happy.
So now the cirque car has MOT forever.

View attachment 33055 View attachment 33056
Interesting ! Well done. I have to explain how everything works when taking my 1949 MG TC for an MOT ! Because they don't understand how simple real cars work. They only know about modern computerised plastic hair-dryer cars !
 
Really happy with my engine mods so far. You who have followed the build know i reuse and try to optimize original components, have to say its performs very well and I´ve got some ideas up my sleeve to get even more out of it.
Lighten up valve train components was a good move (still ha some more material to remove from the lifters) , the original weak valve springs can tolerate higher rpm due to lighter components. The port and polishing from carburetor to exhaust and the reshaping of the inlet makes engine stronger in all rpms.
From factory top speed should be 68 MPH or 110km/h now that is achieve 1/4- pedal, when floored it keeps accelerating to 80MPH /130km/h. This is at a crazy 5000rpm a fifth gear would have been nice. Valve train can handle 5300rpm at the current set up.
When home after hard drive, I pop the hood directly and check over the engine compartment. No signs what so ever of overheating or other problems . Add some water in the glass jar, check oil everyting seems good.
Future ideas are lots, electric fan (the mechanical four blade a guess steal some hp at high rpms), building a set of headers (extractor manifold) and exhaust, take some weight from the lifter and/or tiny bit stronger valve springs. lambda sensor (to know fueling), elaborate with timing. I build a lot of turbo cars during my life and I guess there will be an turbo charged Billancourt someday.

IMG_0395.png IMG_0393.jpeg
 
Been using the car as a daily since it got MOT.
Some issues start to emerge.
Mostly everything work good or better than expected from a car that have been unused for such a long time. Had put around 400km on the car since i redone the valve job, my belts to water pump and alternator need some adjustment (not new belts), liquids seems good (oil, coolant and petrol), Air filter box are from random car and have a fixed steel wire filter that´s fixt I want to change to paperfilter or KN- filter. Mileage I think will be better when car is used normal, first tank we came 280km on 18.5 liters 95 (E10) 6.6L/100km or 36 MPG lots of high speed testing and such
Steering at full tilt handbrake on the front wheels start to apply, maybe cables routed wrong way?:dontknow:
When on the way home from work yesterday (60km one way) I brake at the stop sign just km before petrolstation, I feel that rear brakes dont let go :dontknow: at speed i make a quick push on the pedal to see if it`s goes back but contrary they apply harder, just few hundred meters left so i decide to check car after filling up. 18.5L went in meanwhile I check rear rims and they are very hot, so I had to adress the problem (why is there pressure build up on the rear brakes or have the shoe material broken down and locking up the drums?).
Start check what tools and spares I brought. The two fan belts, swivel joint wrench 10-11, 12-13, 14-15 16-17, medium size adjustable wrench, on flat-blade screwdriver and one phillips. Not ideal!
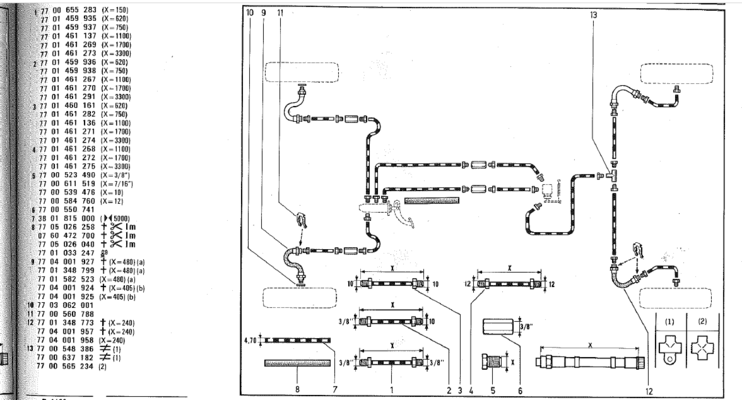
If the rear brake hoses has swollen inside this phenomenon could occur, but how big chance is there that both fails at the same time?
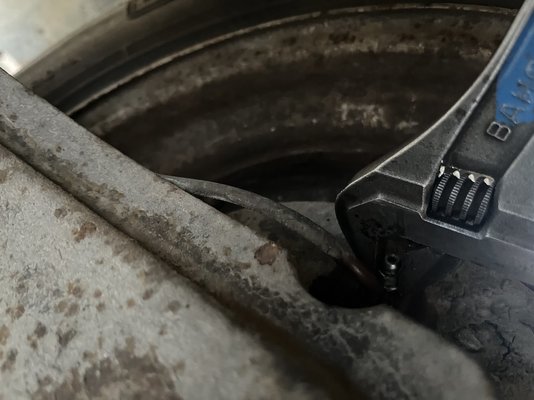
Anyhow the tools brought, I possible can open up the bleeder nipple on each side to let pressure out. Crawling underneath the rear, can see the bleeders easily. Is it possible to get my adjustable spanner there and undo the nut. Spanner hard adjusted to the nut and a screwdriver to wrench the spanner, It works:clapping:out comes boiling hot pressurised braking fluid,can luck be with me so I can repeat the procedur again on the other side believe it or not but it worked (normally i put some oil and heat first then hex socket to unscrew).
Unbelievably lucky, car rolls easy again. Now i have to drive the last 22km without touching the brakes. Even wheather was on my side with sun 15-20 degrees C in the evening.

IMG_0403.jpeg
 
Hmm, maybe a (bypass) line to from the rear brake limiter to master brake cilinder is somewhere constipated or you've to replace master brake cilinder and/or rear brake limiter.
Be aware of the pretty high brake fluid pressure https://www.la4ldesylvie.fr/depose-repose-et-reglage-du-limiteur-de-freinage
View attachment 33061
Thanks for pointing me in a possible diagnose direction.
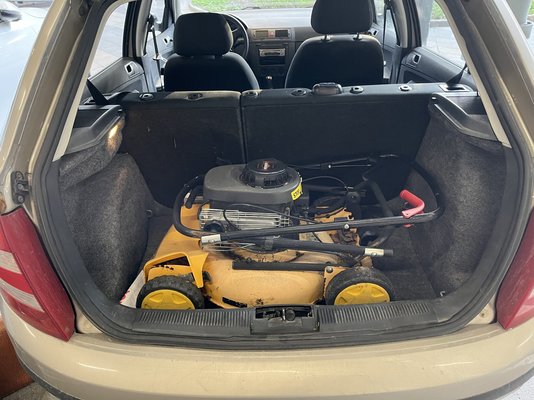
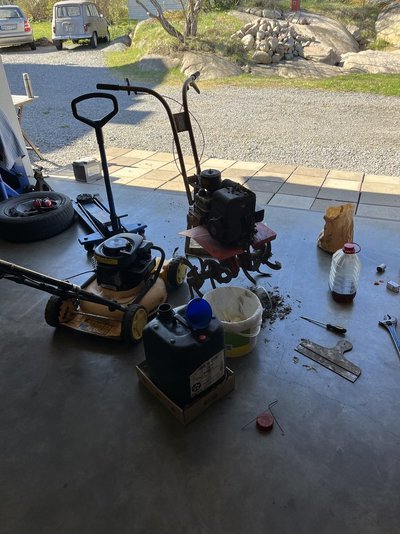
Been busy with garden issues and giving the cultivator new oil and TLC, workmate had a lawnmower that was broken just stopped working when he was out cutting som year ago, wheel hight adjustment also collapsed.
He should throw it away, so I told him to throw in my car.
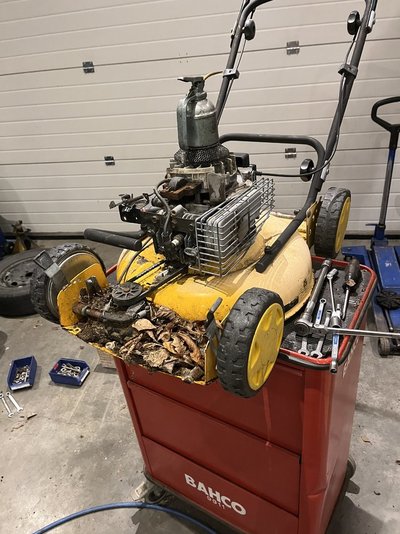
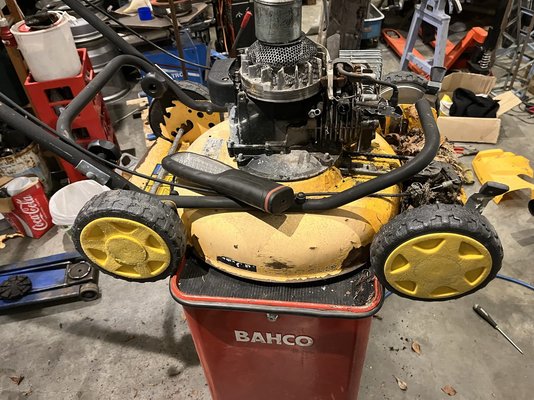
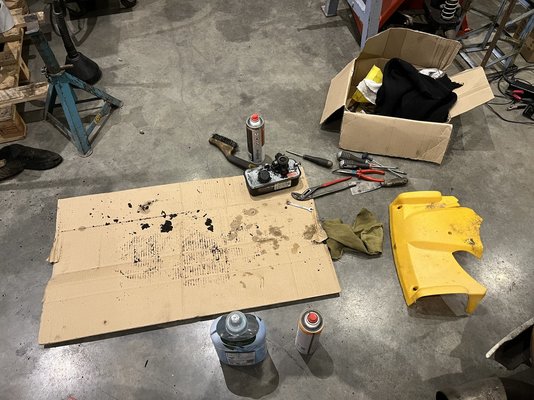
Took of air filter and put som snaps of petrol directly into the carb. It starts directly on that so I know ignition works. Clean tank and carb inside out put in some fresh gas and it start up . A lot of slack in the front wheel drive so dis enable it, clean, oil and a 5mm shim and everything looks great
Test cut didn’t look so nice. Knife was dull so sharpen it and now I have a lawnmower working great fir free.

IMG_0405.jpeg IMG_0410.jpeg IMG_0411.jpeg IMG_0412.jpeg IMG_0415.jpeg
 
May also be both rear brake hoses. It's usual to act as one-way valves when they clog inside.
 
May also be both rear brake hoses. It's usual to act as one-way valves when they clog inside.
Yes it’s common on old cars, what speaks against it is i got pressure build up on both sides at the rear.
Now I have some to read about break limiter before doing mechanic work hands on, have hoses “in stock “. Winter made a reminder today around 0 degrees and snow falling.

Also had to help son to get his car together for autocross this weekend. He have had all suspension out of his car upgrading to uniballs and polyurethane, all dampers served, new shoes all around. We also tidied up some electrical wiring to the catch tank.

IMG_0416.jpeg IMG_2287.jpeg IMG_2289.jpeg IMG_2308.jpeg 73679929558__3D0CBB83-DC0A-4AE4-87F4-1D7BCD56F153.jpeg
 
Gave Green One some attention today.
Trying to provoke breaks to behave like when I got pressure build up in rear brakes on my way from work. Then I had to open up bleed nipples on each side to let out hot pressurised breaking fluid.
Been test breaking close to home and this time I have 8mm spanner in the car if problem comes back.
Everything seems normal?
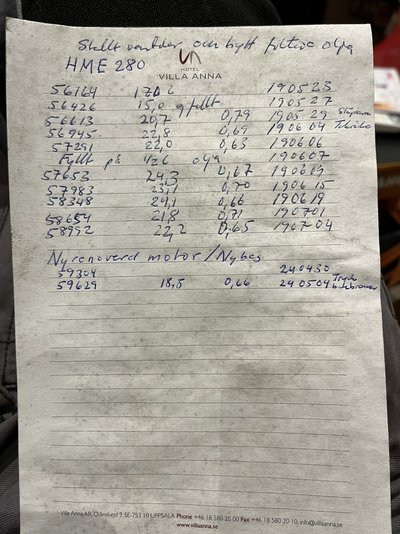
Think to put a notebook in car so I can have check on fuel and oil consumption.
Had apparently same thoughts five years ago, already hade notes done.
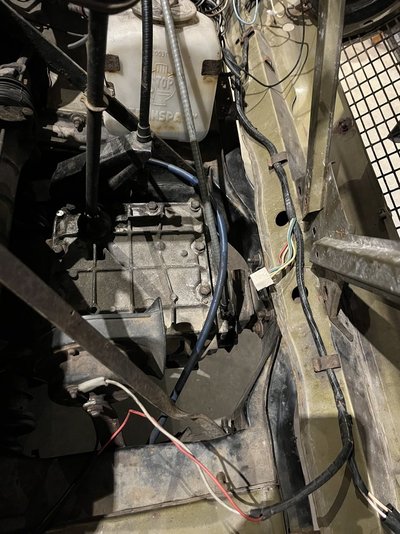
Other problems had been that handbrake applying when turning tight right hand.
Try to put cable on top of the gearbox instead.
More tests tomorrow. By the way summer is back here in Sweden now

IMG_0438.jpeg IMG_0442.jpeg IMG_0443.jpeg
 
Back
Top