Clementine's Garage
Clementine the Cat
 
Image of flower
Yellow R4
 
Réparateur d'automobiles

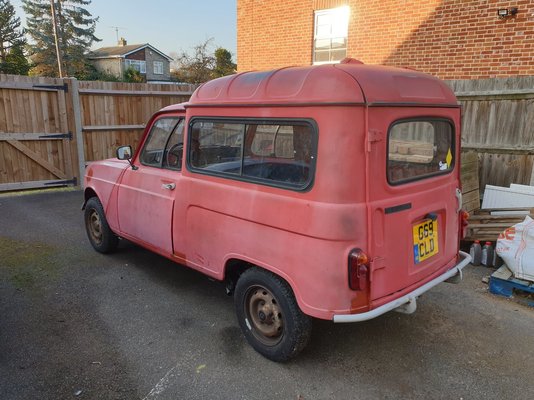
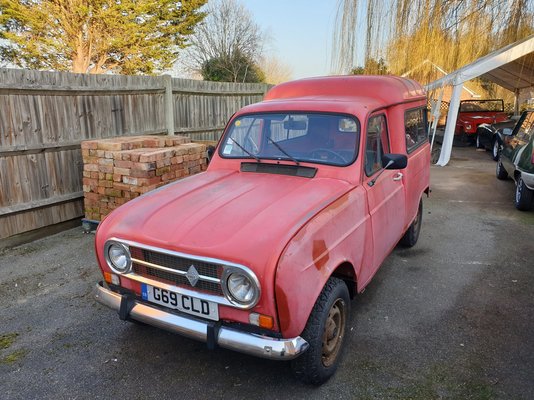
I've ordered a new chassis for the F4 van!

I've started fitting the new chassis. Ran into a couple of problems. One of the rear suspension bolts didn't fit through the hole. A hand file worked for making the hole bigger.

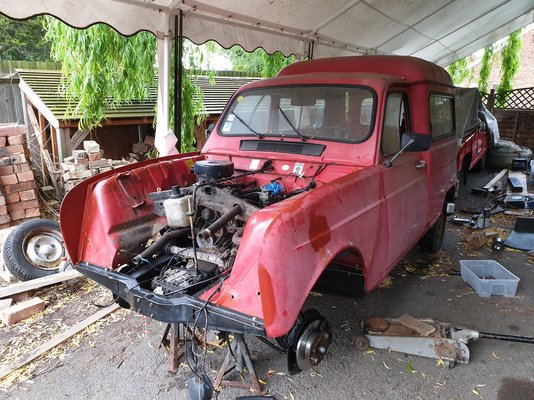
The front of the body doesn't fit at all well.

Quite bizarre that the body doesn't quite fit on the new build chassis which isn't cheap.
Anyway a hobby cost money :D and now it's time for more fiddling to make it fit like a glove.

Cheers.
 
This are gaps and missalighning i would consider "to big".
I admire your coolness about this.
Not so sure i would be.

There is still questions how good is one that i got from Mlinar.
I hope there would be no gap.
 
The process for ordering a chassis from Melun Retro Passion used to involve learning French and phoning them up for a transport price in the polite French manner. I didn't have any luck using Google translate and email.

I notice the website has changed and there is now an option to buy and pay for the chassis and find out what the transport cost is later. I've just done exactly that (using Paypal just in case). I will let you know the process and costs should it all go well.

Hopefully the wonderful Claude Van-Rouge will return to the road with the new chassis. I miss Claude - he was so useful. I've got a plan to build a workshop quickly for the chassis swap.
 
Good evening

Have recently tried to find the shipping cost had a nice email in English telling me they were happy to sell me one but the could not ship to UK
Apparently there wooden shipping container/box does not comply with UK standards but I could pick it up myself in Germany where I presume
it is made.
 
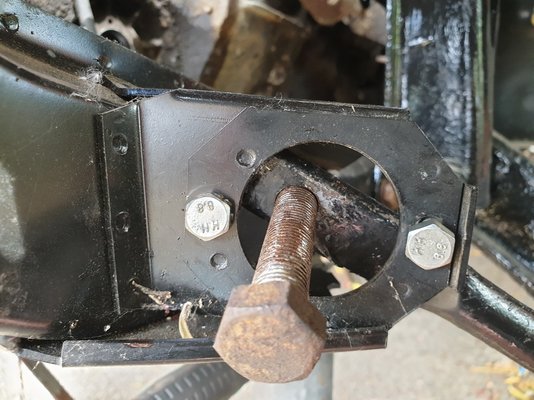
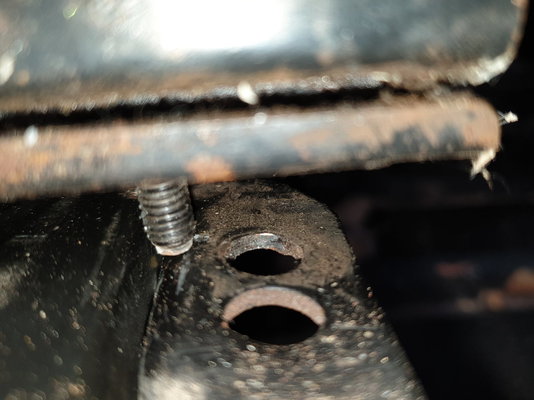
I've found another issue. The tie arm mounting is mounted too far back and the tie rod hole is 10mm out of place (it should be in the middle of the two shiny bolts).

I could use the earlier adjustable tie arm but I can't find them at Melun or Franzose. I'll weld up the hole in the tie arm and drill a new one.
20220510_144026.jpg
 
What is they who produced the chassis say about the miss alignment, seem like big quality issues.
Interesting to hear what they think about the product.
As said before hope everything sorts for you.
 
It's an after-market part they've presumably made their own tools and jigs for. It's better than I expected on the whole, but I'm not sure how the suspension tie mounts were so far out as they would be jigged. I'll send some photos in an email once I've finished just to make them aware and ask them to let us know if they are fixed in chassis that can be ordered now. My chassis was built 2 years ago so they might have made adjustments already.
 
Getting there now. It's always surprising how much longer it takes to reassemble than disassemble even if you aren't painting bits as they go back on. The engine went back in to add some weight to allow the front suspension to be fitted, then the engine came out again because the clutch lever was completely seized. I had to remove the gearbox and use a blow torch to free it off. Then I had to wait for a new clutch to arrive before putting it all back together.

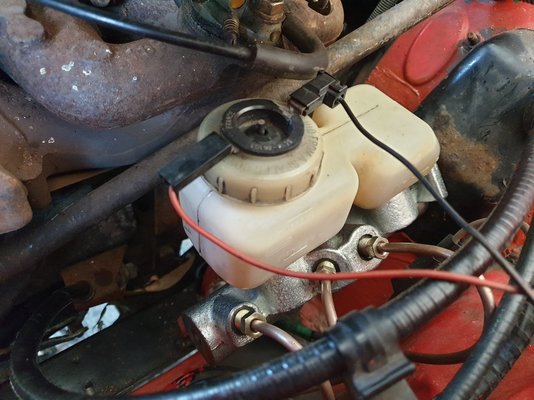
I had always wondered why they fitted inline brake pipe connectors in the wheel arch. This is the first time I've fitted brake pipes to a LHD car and now I understand. Pipes can't be tightened on the master cylinder by conventional means once it has been installed. A new expensive ratcheting bendy brake pipe spanner does the job.

20220516_193657.jpg
 
Last edited:
You can fit and tighten them one by one, starting from the rearmost pipe. No need for fancy pipe union spanners then.
 
The front is nearly finished now. It's sitting a bit high with the original torsion bar setting but might settle down when I move it. I like the low GTL front ride height as it disguises the rear droop when overloaded.

20220530_160800.jpg

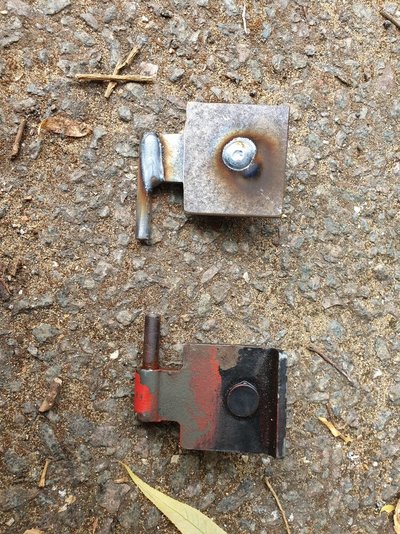
I've lost one of the bonnet hinges. It was there last week and must have fallen off somewhere when I moved the bonnet. I spent an hour looking for it then 15 minutes making a temporary one for until it turns up. Now I can't find the bonnet stay. :doh:

20220530_153222.jpg
 
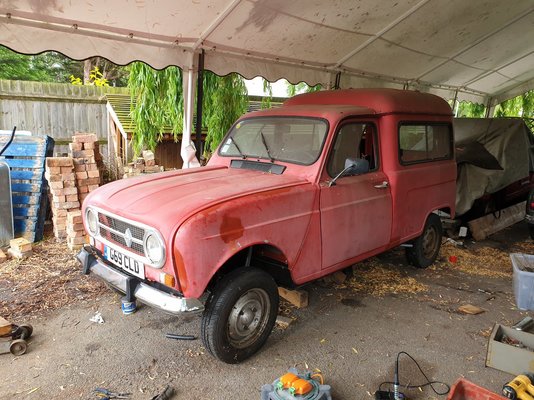
I've been messing around with the van again. It has a functional engine and brakes and even a seat so I drove it out of the tent to clear up the willow tree leaves.

This was my second attempt at brakes. On the first attempt a bleed nipple snapped off and I rebuilt the calipers. Now I can see a leak from the master cylinder so a third attempt needed.


20230131_163632.jpg

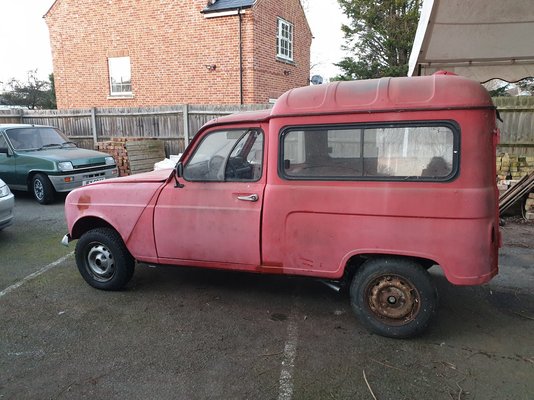
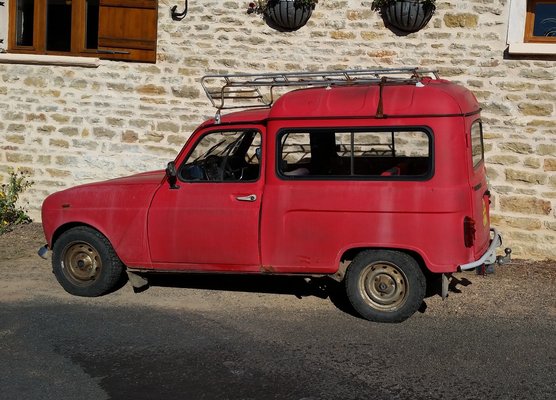
Maybe I'll get on and finish it. But first a photo of how it was in 2014. It looked better in the before photo. Both front and rear seem to sit a lot higher on the new chassis without me changing the torsion bar spline settings.

20140913_172108.jpg
 
I think I've been working too slowly and things are breaking faster than I can fix them. 4 years off the road is not good for a car. Today the engine stopped working. It'll try to start until the choke is pulled out so I'm guessing a blocked jet and the carburettor needs to come off and be cleaned out.

The electrics are being a pain. I think they got damp when the body was without chassis for 2 years. I replaced the fusebox this morning as it was corroded. Now I have some lights on the dash but I'm still missing some warning lights. The indicators still don't work. Fault finding takes some time.

But Claude is nearly fully assembled (apart from the accessories that need painting and can be done in the summer).
 
It is alwas hard to complete it after so much time....and yes things are getting broke even if they stay unused...
But i conveinced that you will make it.....
 
All of the electrics work now. The hazard switch was causing the indicator problem. I found hazard switches are different LHD to RHD and the symbol is upside down if you fit the wrong one. But they are easy to take apart to clean. The dash warning lights started working again when I cleaned up the bulb contact surface on the instrument panel.

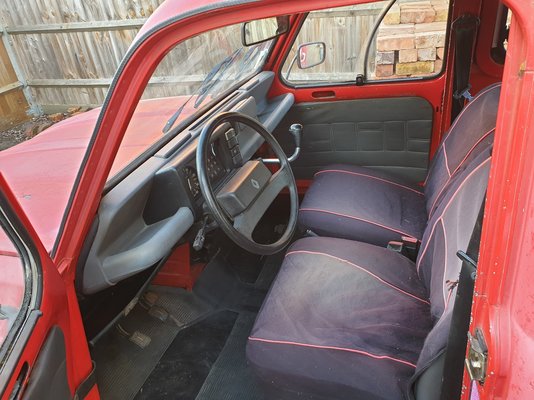
The new chassis struck again and it took half a day to install the driver's seat. The handbrake bracket mounting holes were 12mm too far back so the front seat mounting didn't line up. Slotting the holes for the handbrake bracket fixed it.


20230204_112545.jpg

Fitting the new master cylinder was a pain too. I had installed short brake pipe unions which worked fine in the original master cylinder but bottomed out in the new one. It had to come out again so I could fit new long unions.

20230205_150237.jpg

Only 12 things left on my list of things to do so not far to go now. I think it would pass the MOT already.
 
I admire your perseverance in finishing this project.
Almost at the end. Keep it up Malcolm
 
The process for ordering a chassis from Melun Retro Passion used to involve learning French and phoning them up for a transport price in the polite French manner. I didn't have any luck using Google translate and email.

I notice the website has changed and there is now an option to buy and pay for the chassis and find out what the transport cost is later. I've just done exactly that (using Paypal just in case). I will let you know the process and costs should it all go well.

Hopefully the wonderful Claude Van-Rouge will return to the road with the new chassis. I miss Claude - he was so useful. I've got a plan to build a workshop quickly for the chassis swap.

View attachment 25105

It is all a little confusing for me as Melun are just as bad at English as I am at French.

The chassis can be found on https://www.melun-retro-passion.com...o-zingue-cataphorese-transport-sur-devis.html By default English speaking visitors will be shown the same page with the /fr/ changed to /gb/ The English page does not have any description but the French page has some more information.

The description on the English page references another product - "MARKING". For an additional 50 euros they will stamp on the chassis number.

I'll send the registration document and a photo just to be on the safe side but it looks like they might accept either.
 
I forgot to mention - Claude's chassis change is complete! Engine starting is still weak but the petrol is old so I'll see what happens with new petrol.

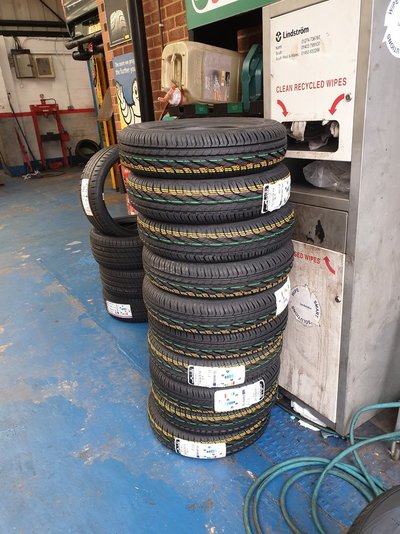
The last things needed for the MOT are the new tyres. I had been planning to keep the wheels rusty but I think eventually that will cause problems so I decided today to have them shot blasted and painted. I'll do the Rodeo wheels at the same time. The spare tyres are shot so that's 10 wheels.

The other cars have been getting attention too. The Renault 5 needs a rear brake kit partly because the adjusters for the Girling brakes were missing. The MGA needs a rear brake kit too and a master cylinder. Those are all in the post so I've pulled out the Rodeo. It's mostly finished but has no dash and the steering and electrics are hanging down in the footwell. Maybe I can get them all working for the first time.


20230213_155217.jpg20230213_155236.jpg20230213_155250.jpg
 
Back
Top