Clementine's Garage
Clementine the Cat
 
Image of flower
Yellow R4
 
Réparateur d'automobiles

R4 GTL 1985 Restoration

When you thought chassis welding is challenging due to the "thickness" of the sheet metal (I'd say the lack of thickness :laughing:) then Renault R4 body welding is a true challenge on your welding skills, the sheet metal is even thinner. :welder:

Continuing the rustoration and first we have a look at the right rear inner wing. It's pretty severe but nothing in comparison 'till you see the left side.

The affected areas shown in red.
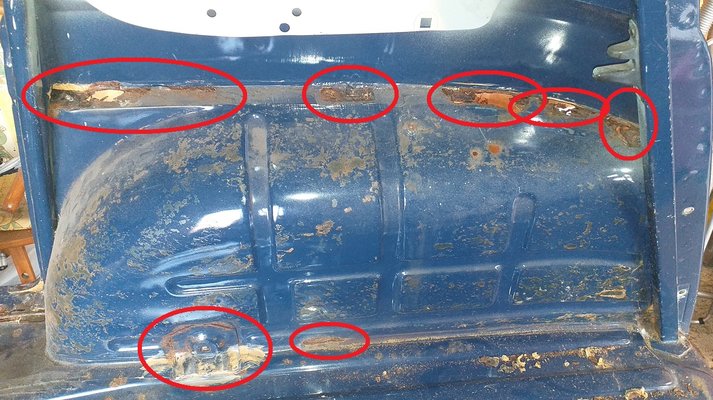
665.jpg

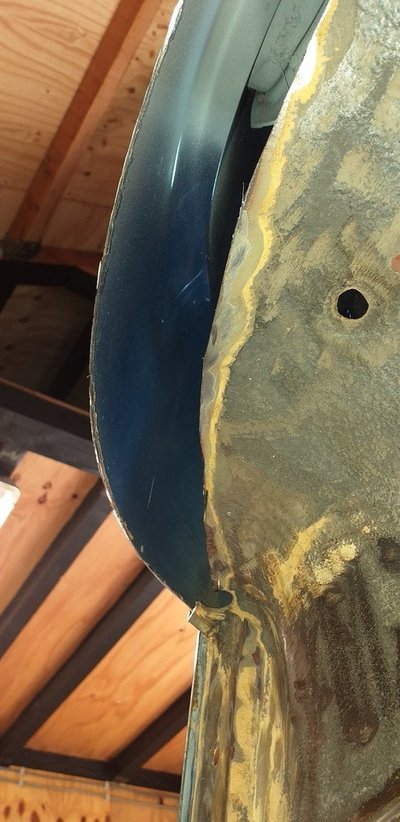
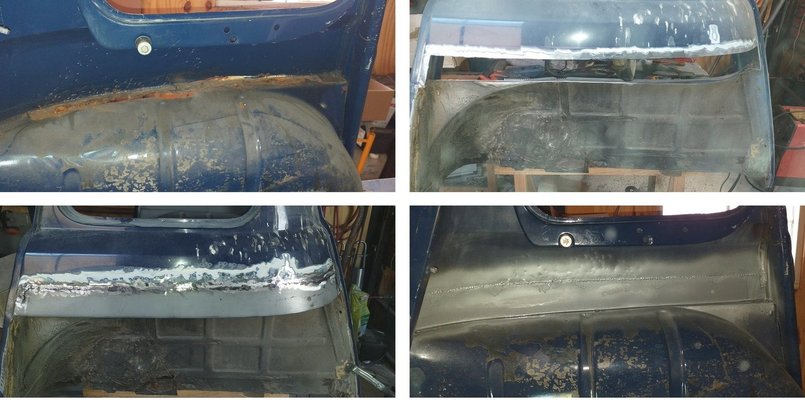
Removing multiple layers of original Renault and later added protective agents, shows more rust damage and repairs.
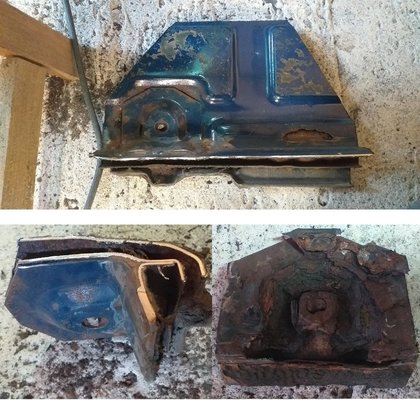
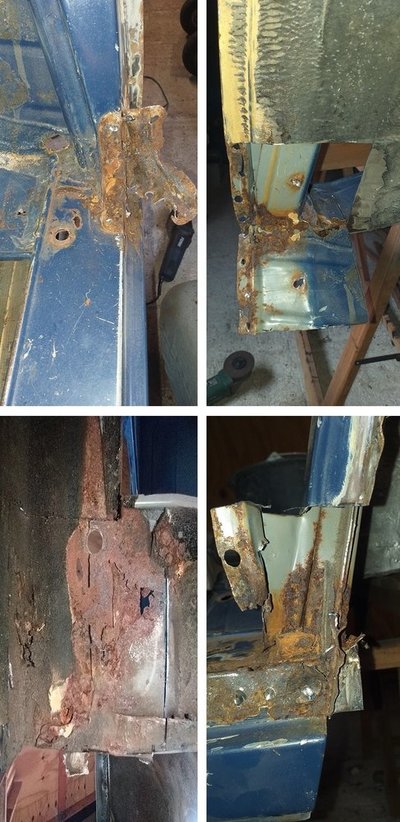
At the bottom of the D-pillar it's rusting from the inside out and a MOT repair on the mounting of the rear seatbelt reinforcement plate.
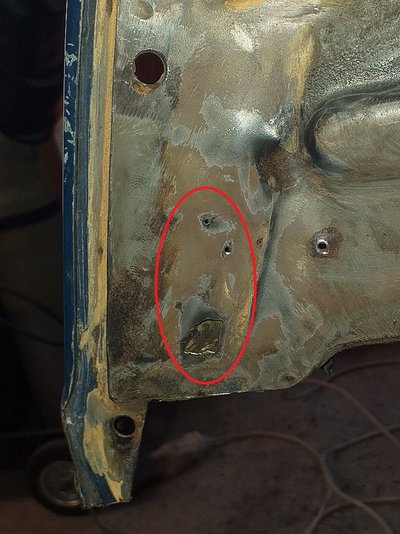
666.jpg 667.jpg

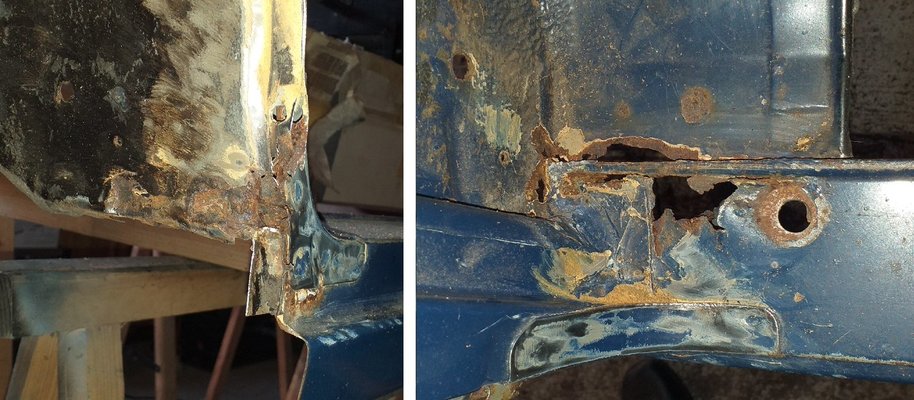
For all of us the well known rustspot at the bottom of the C-pillar.
668.jpg

Start cutting the rust affected areas and don't be shy on removing the metal!
In the R4 lifetime the rust has spread further and further underneath the so called protective agents.
669.jpg 670.jpg

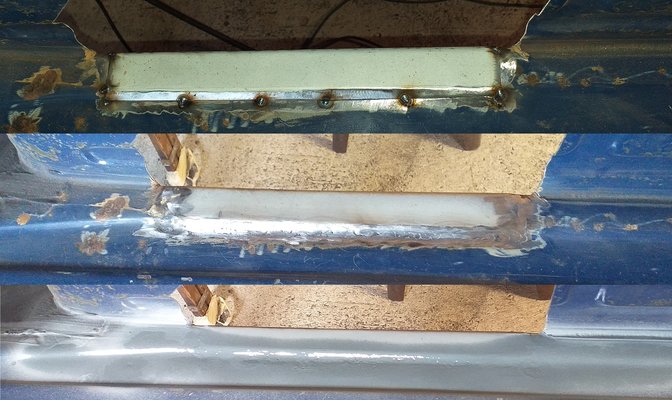
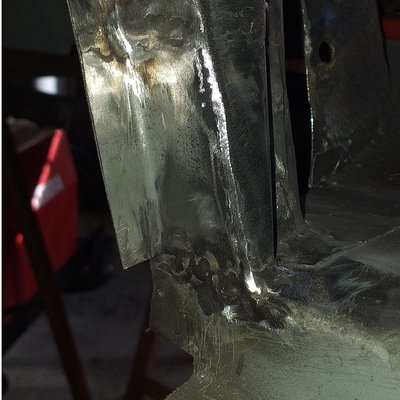
Applying new formed body metal with a basic tack welding.
671.jpg

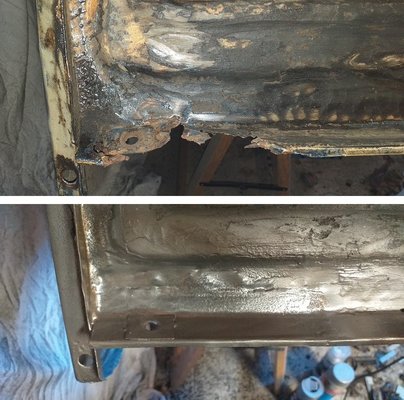
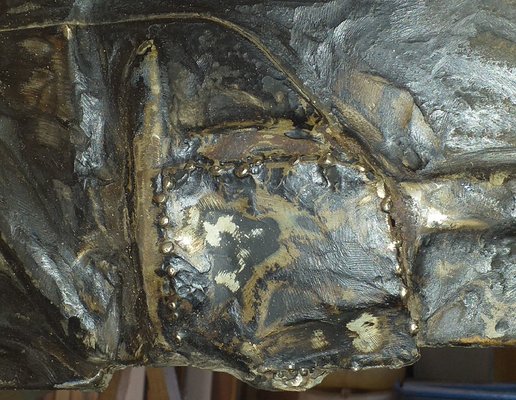
And finish it off with a seam weld. The trick is to grind down the weld as much as possible without grinding any sheet metal.
The final finish is done later by lead loading the weld seam instead of using polyester putty.
672.jpg

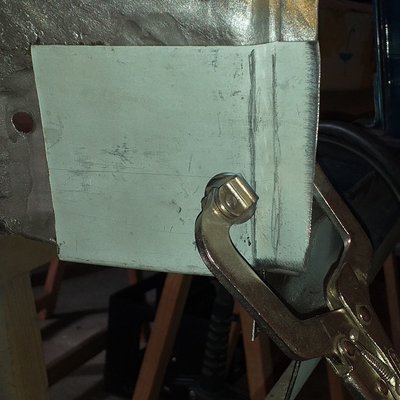
Here one strip of thicker metal is tacked in place instead of the standard overlap.
673.jpg

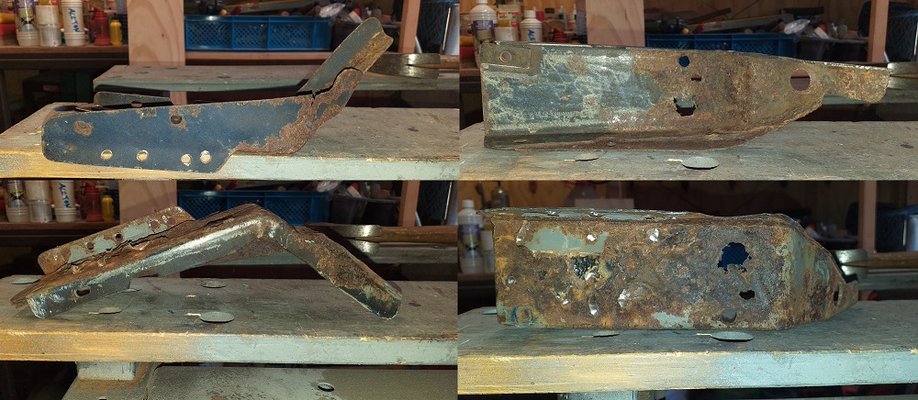
Meanwhile some formed repair parts have arrived patiently awaiting further processing.
674.jpg

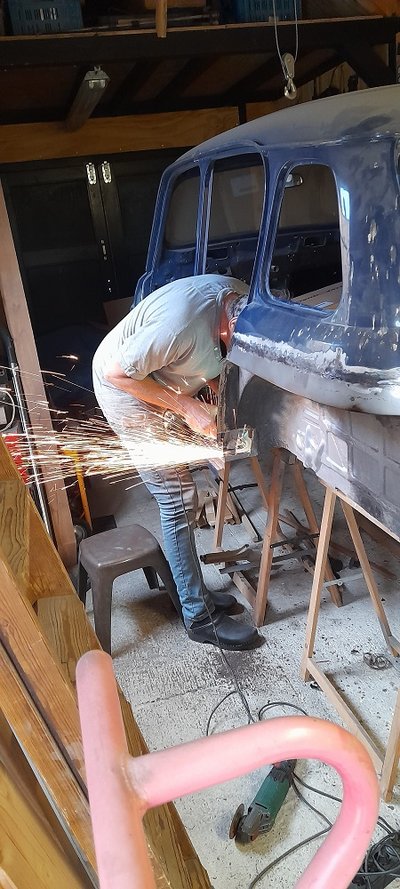
Body welding is more challenging than chassis welding not only to the thinner material.
While doing chassis welding you've all the space around you but while doing body welding it's like origami to fit a 2 meter tall person in the booth.....
 
Last edited:
I think this is one of the most challenging areas to weld on. Great welding skills Joop! Good to see the progress. Nice new parts, from der franzose?
 
When you thought chassis welding is challenging due to the "thickness" of the sheet metal (I'd say the lack of thickness :laughing:) then Renault R4 body welding is a true challenge on your welding skills, the sheet metal is even thinner. :welder:

Continuing the rustoration and first we have a look at the right rear inner wing. It's pretty severe but nothing in comparison 'till you see the left side.

The affected areas shown in red.
View attachment 30361

Removing multiple layers of original Renault and later added protective agents, shows more rust damage and repairs.
At the bottom of the D-pillar it's rusting from the inside out and a MOT repair on the mounting of the rear seatbelt reinforcement plate.
View attachment 30370 View attachment 30362

For all of us the well known rustspot at the bottom of the C-pillar.
View attachment 30363

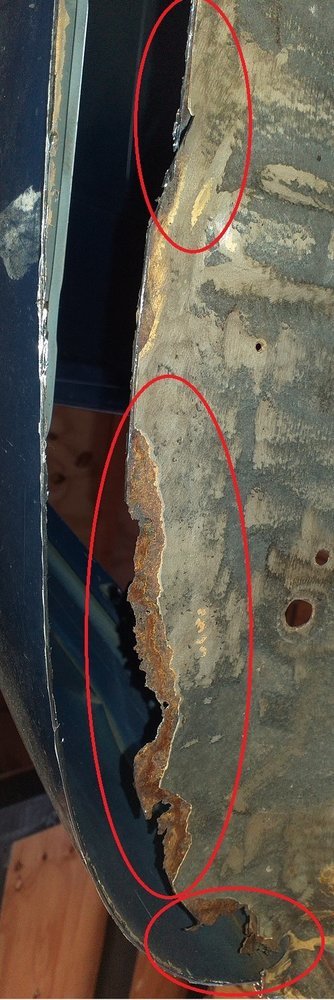
Start cutting the rust affected areas and don't be shy on removing the metal!
In the R4 lifetime the rust has spread further and further underneath the so called protective agents.
View attachment 30364 View attachment 30365

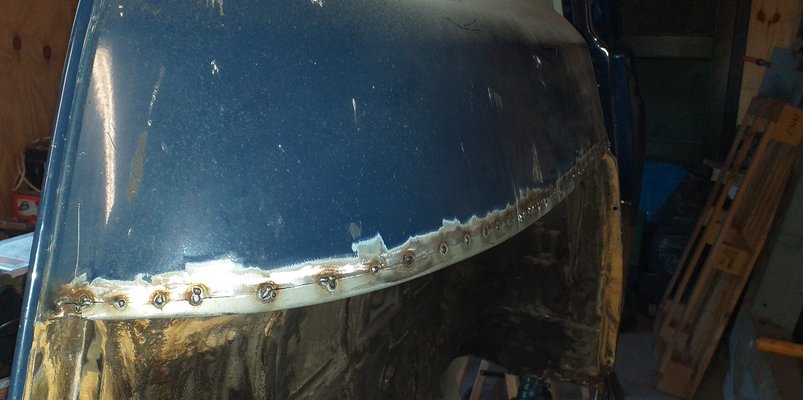
Applying new formed body metal with a basic tack welding.
View attachment 30366

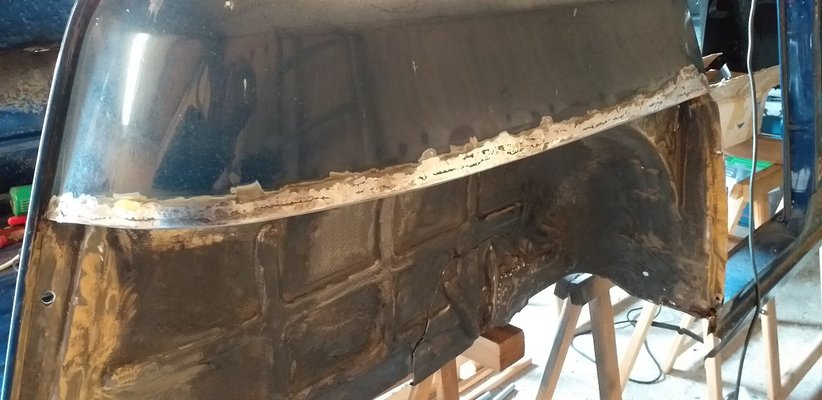
And finish it off with a seam weld. The trick is to grind down the weld as much as possible without grinding any sheet metal.
The final finish is done later by lead loading the weld seam instead of using polyester putty.
View attachment 30367

Here one strip of thicker metal is tacked in place instead of the standard overlap.
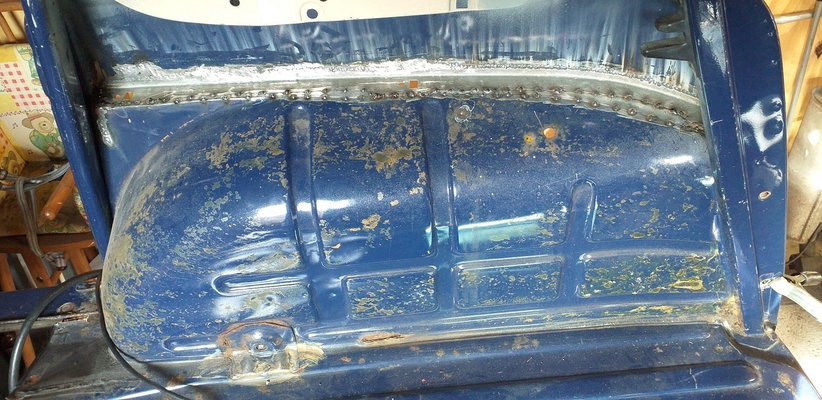
View attachment 30368

Meanwhile some formed repair parts have arrived patiently awaiting further processing.
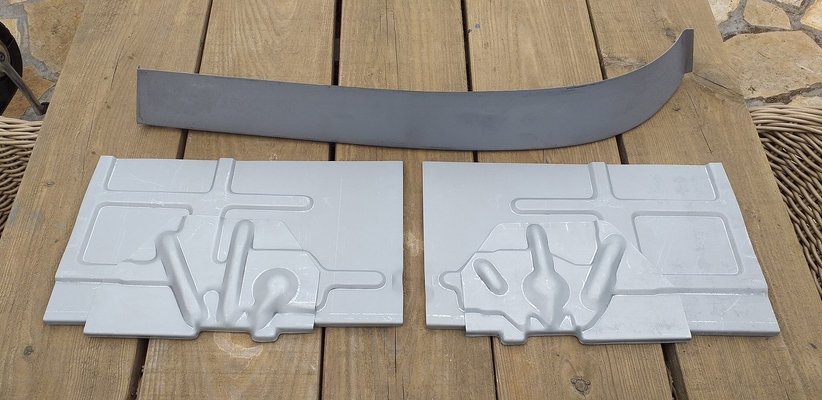
View attachment 30369

Body welding is more challenging than chassis welding not only to the thinner material.
While doing chassis welding you've all the space around you but while doing body welding it's like origami to fit a 2 meter tall person in the booth.....
Great work !!as regards lead loading, i used it on many restorations HOWEVER be careful to neutralise the acid with sodium bicorbonate as it will rust like hell. I stopped using it and it think metallic filler like vaku-60 is nowadays a better option.
May i please ask if you overlapped the quarter rust repair or just made edged welding(if that's what its called). I avoid overlapping however on a tricky area like that one would be tempted to overlap to avoid warping.
 
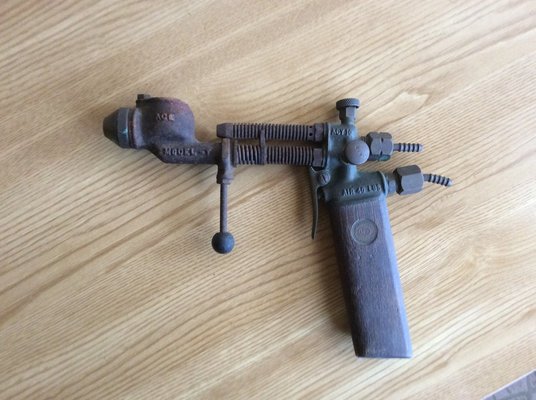
Never used it but picked this up years ago at a boot sale, for spraying lead sticks..1D567070-625B-4871-AA0B-325D0E946854.jpeg
 
Great work !!as regards lead loading, i used it on many restorations HOWEVER be careful to neutralise the acid with sodium bicorbonate as it will rust like hell. I stopped using it and it think metallic filler like vaku-60 is nowadays a better option.
May i please ask if you overlapped the quarter rust repair or just made edged welding(if that's what its called). I avoid overlapping however on a tricky area like that one would be tempted to overlap to avoid warping.
Hi Braingrech, it's not an overlapped welding as I wrote. The outer wing is seam welded as is the inner part but I used thicker sheet metal.
As far as lead lading, indeed the risk of acid residue is known and I keep in mind your tip regarding vaku-60.
 
I think this is one of the most challenging areas to weld on. Great welding skills Joop! Good to see the progress. Nice new parts, from der franzose?
Thanks @Jurjenz indeed a challenging area I'd say every area from a R4 body is a challenge.
And yes those parts are form the Franzose.
 
Last edited:
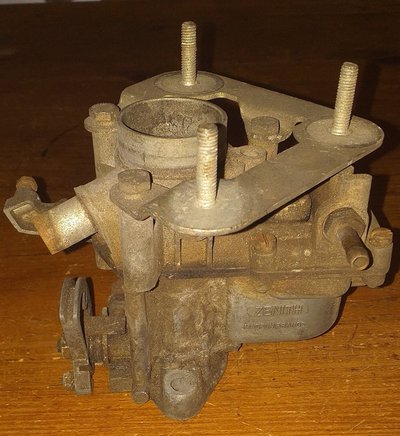
Soon an update regarding the repairs on the rear right and famous C-pilar, but first this beauty arrived this mornig for a mere 40 euros.
That's a real bargain because original carburetors are worth their weight in gold these days. ;)
20220810_123437.jpg
 
It took a small while for this progress update, this was due to change of work, holiday(s) and the hot weather, but here I go again spoiling you lot with the pictures and my story concerning the right wheel arch and C-pillar repair.

Cutting away the affected area which holds an reinforceement plate as wel as the rear seatbelt mount and strongpoint.
Also an area from the booth floor has been removed. and a view how the rust eats his way through several layers of formed sheet metal.
675.jpg

The repair of the small booth floor section. I used normal flat sheet metal and hamered a profile.
677.jpg

Here the first layer is prepared to close the gap in the wheel arch with a few tack and plug welds
Also a view how the plug welds penetrates through the other layer of sheet metal including a selfie :D and the usual drill, grinding and zincing on the outside,
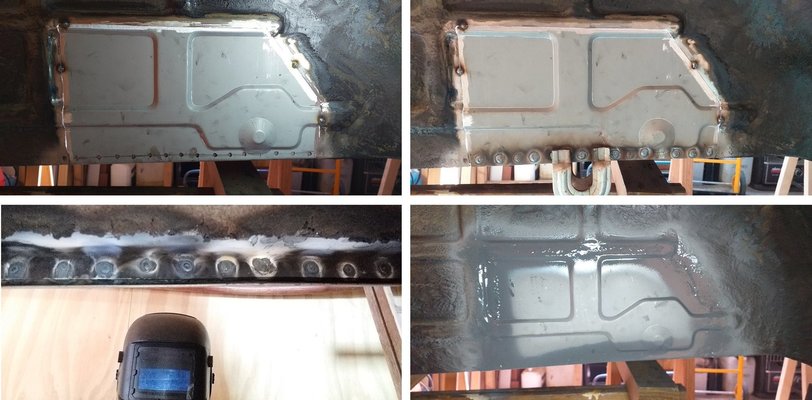
678.jpg

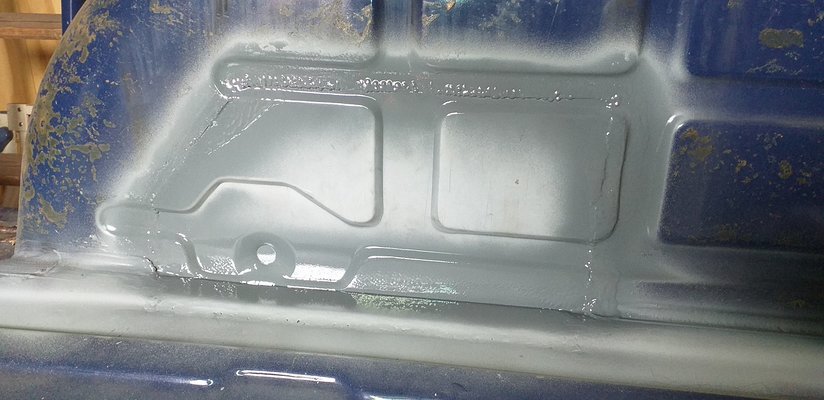
And the same on the inside.
682.jpg

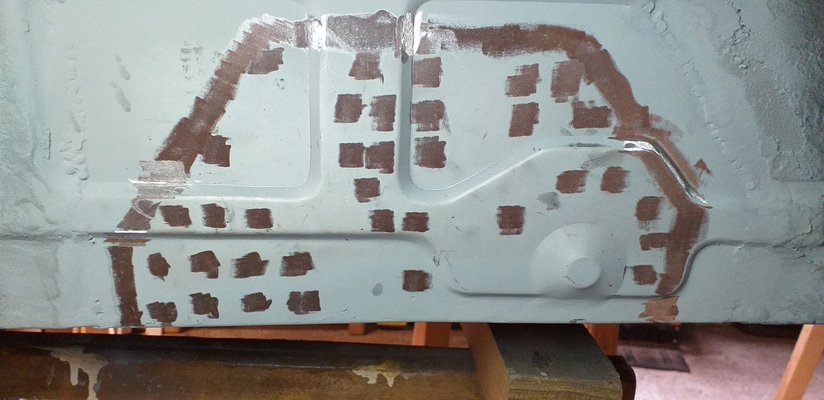
Preparing the reinforcement plate for plug welding.
683.jpg

Removing the earlier applied zinc protection were I'll weld it in place.
684.jpg

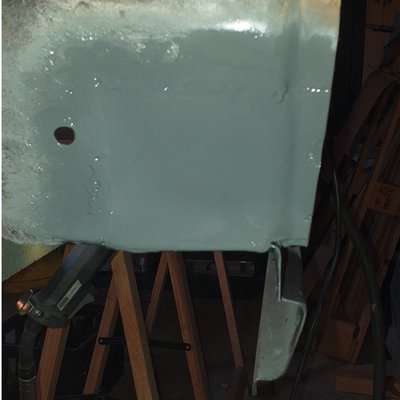
And after a lot of welding and grinding I apply the zinc protection.
685.jpg

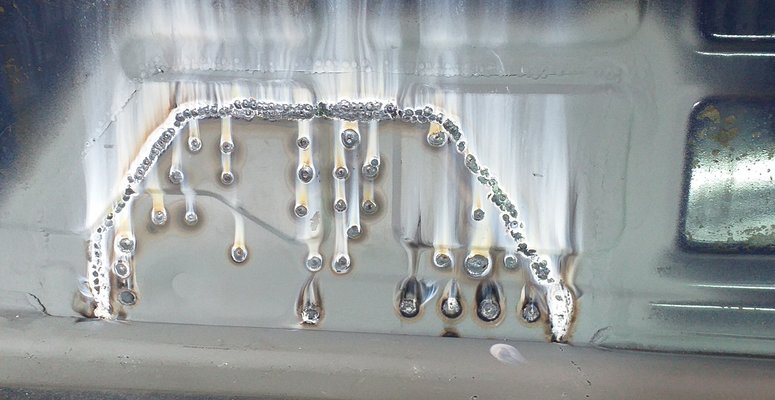
And here is a view of what welding on the outside looks on the inside.
686.jpg

The usual drill.
687.jpg

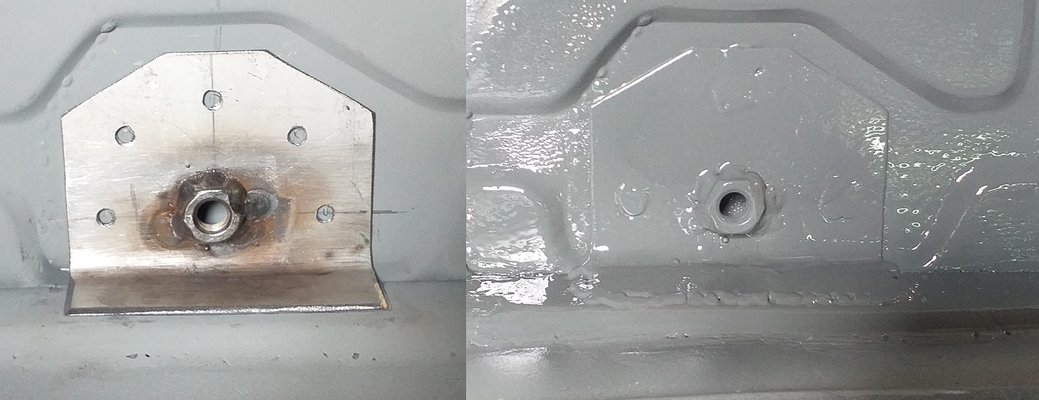
Here I made the rear seatbelt mounting myself as that particular part is nowhere for sale.
688.jpg
 
Last edited:
Here above you could follw the rear wing and wheel arch repair.

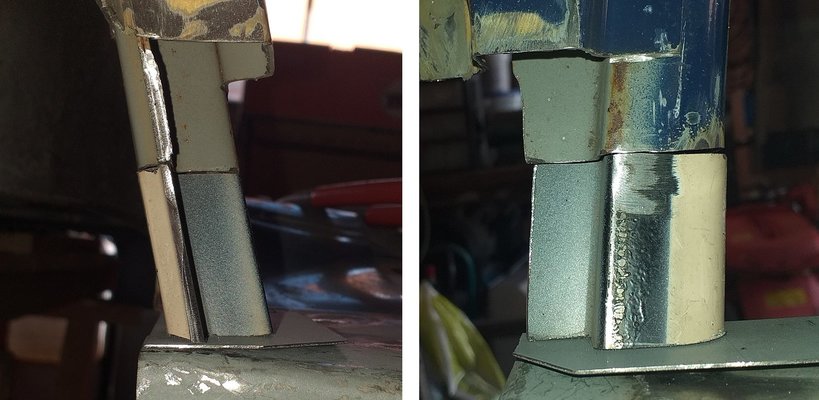
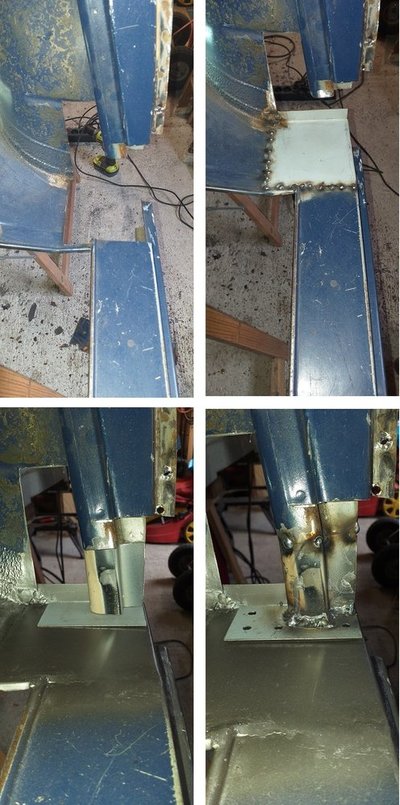
Attacking the C-pillar repair is a nice challenge because there are several layers, a formed tube (the C-pillar) and formed sheet metal which covers the C-pillar.
A copy of M.R. 176 is a must in understanding how various sections are made.
Again I used @Jurjenz donorparts from Louise mk1 and I made several formed sections because not everything is for sale.

The best way is to perform a body off repair because there is a thick layer of bitumen between the body and chassis.
Also when either the body or rear chassis is affected then both areas are infected.
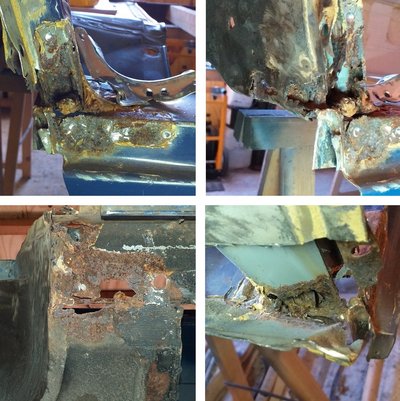
First we have a look how the rust attackes the metal and eats his way through the structual section as seen from various angles.

690.jpg

Don't be shy on cutting away the unuseable metal.
694.jpg

Fiddling to get the C-pillar repair part in place with the wright angles seen from several sides.

695.jpg

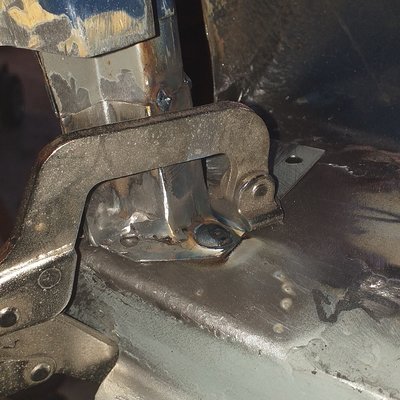
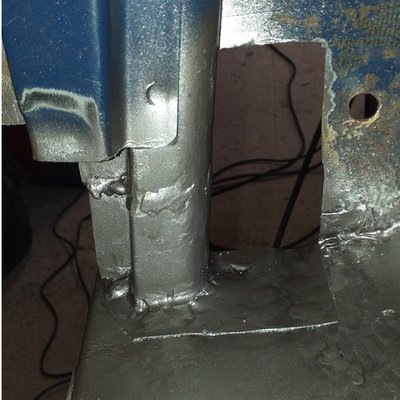
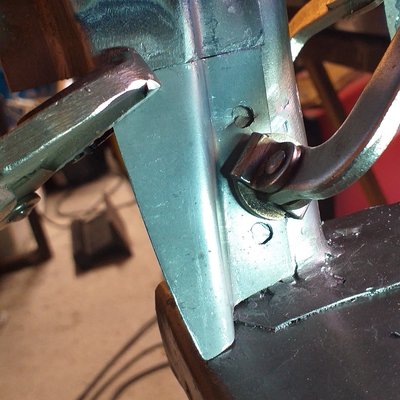
The weldings starts, first welding the C-pillar part on a base plate, than tack weld the part on the original C-pillar in it's wright angles, then plug weld the base plate and seam weld the C-pillar.
697.jpg

698.jpg

Now we cover the C-pillar with a selfmade formed piece.
700.jpg

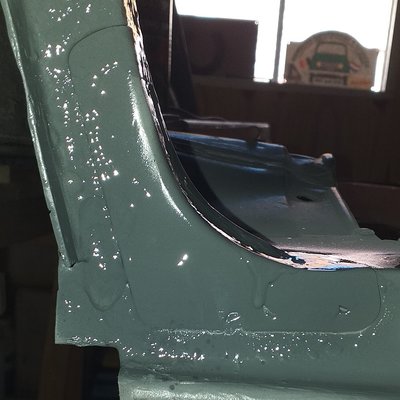
Ofcourse finishing that part.
701.jpg

Closing the wheel arch with again a selfmade formed part.
704.jpg

705.jpg

Finally the curved part is welded back.
707.jpg


For the next weeks I'll attack the left side which is even more affected but you will see the progress on that as well.

For now cheers.
 
Last edited:
Wow, what comeback :-) Great to see the progress and step by step photos. Cheers!
 
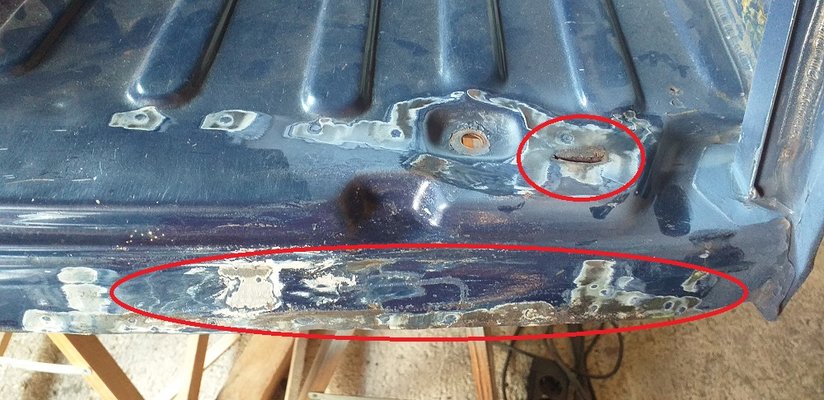
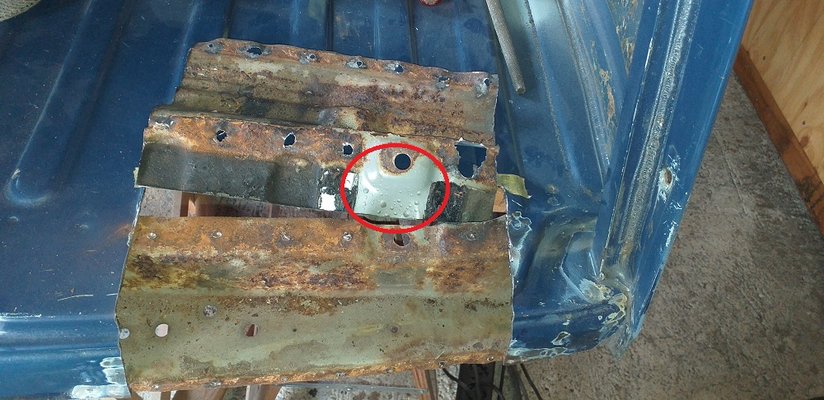
Before repairing the rear left side I move from rear right to rear left and I noticed a bad area at the right rear bottom booth, so decided to repair that rear right bottom booth section first, wright? :D

The bad areas are red circled, a hole and loads of polyester putty :vsad: what a bodge.
710.jpg

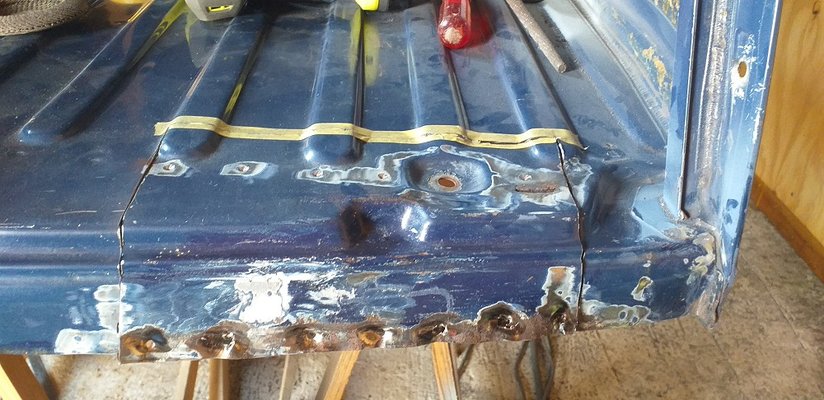
Cutting and drilling out the spotwelds.
711.jpg

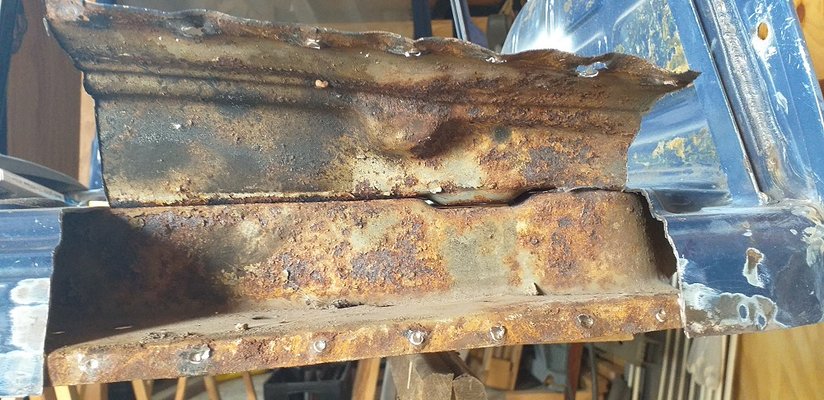
Lifting the cut section revealing some superficial rust that's not that bad.
712.jpg

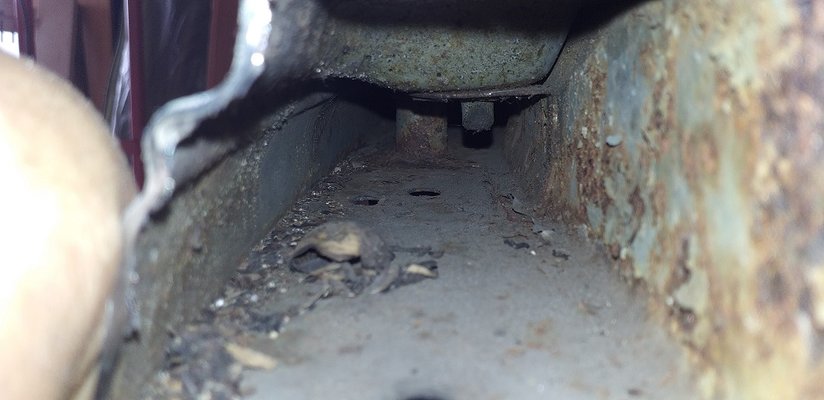
Inspecting the cavity reveals that mus domesticus leaves his trails in every cavity regarding my GTL :dontknow:
713.jpg

Interesting fact is that the area between chassis and body has a factory applied layer of bitumen between it and suprisingly there is no or hardly no rust at all.
714.jpg

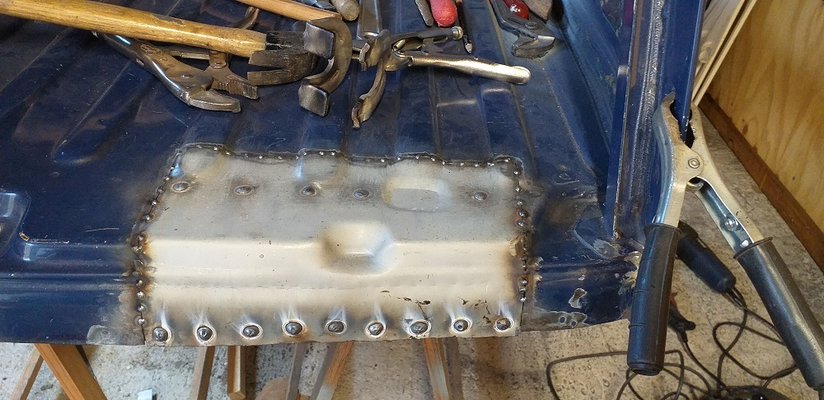
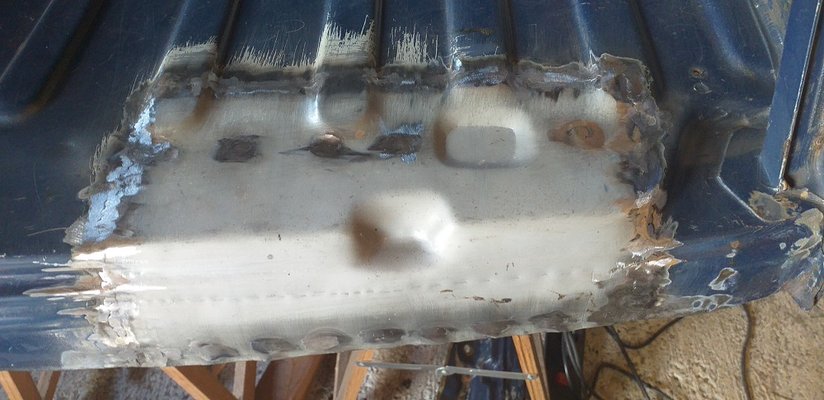
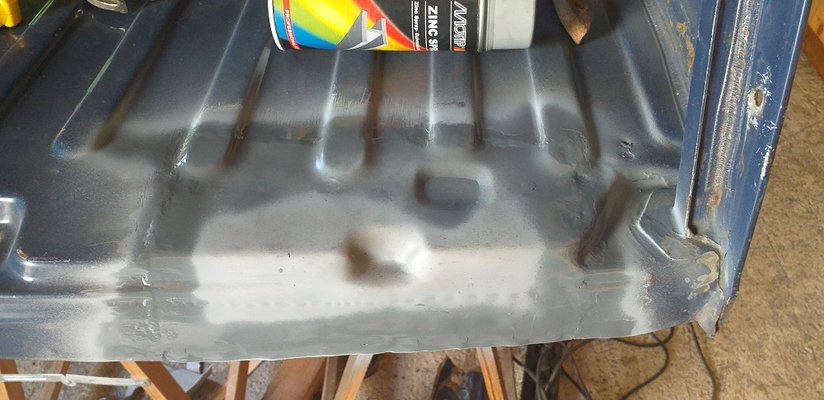
And after cutting and fiddling the repair piece is in place ready for the final seam welding and zinc protection.
715.jpg

716.jpg

717.jpg

Cheers
 
Last edited:
As the rear right section has been done, the rear left side is next. This time a shorter version of the repair as the affected areas are much the same, albeit mirrored.

The rust at rear left top wheel arch and bottom rear left outer wing, as seen from the inside.
Again don't be shy on cutting away the misery, here the misery is even worse due to an immense thick layer of dreadful unnecessary polyester putty :vsad:

720.jpg

Next the rear left wheel arch strongpoint section has been done by cutting away the misery and welding new steel in a small floor section and fitting the double plated formed repair panels in place.

724.jpg

The lower C-section is always nice just seeing the affected areas as well as doing the repair.
The repair is a small challenge as in an area of just 15 by 15 cm you are using six different shapes of metal, some pieces must come from donor parts as other pieces you have to create on your own.

Rust, rust and even more.... rust.
730.jpg

Free your precious R4 from it's misery and start repairing. Again a Louise mk1 donor piece is used.
734.jpg

Cutting, fitting, welding, grinding, protecting etc.
738.jpg

739.jpg

742.jpg

This concludes the body repairs on the rear.

What's left on the body repairs are some small repairs on the lower section of the bulkhead but that will be revealed soon.

For now, cheers.
 
Last edited:
great work. they all rust in the same places!Every car
Thanks, and yes they all rust on the same places and keep in mind when you see the rust on either the body or chassis then they are both serious affected with rust on every layer of sheet metal.

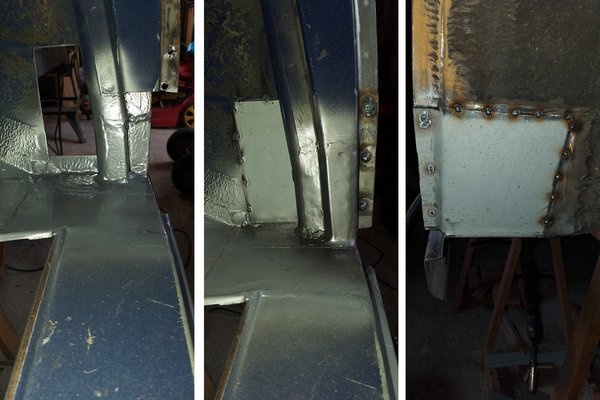
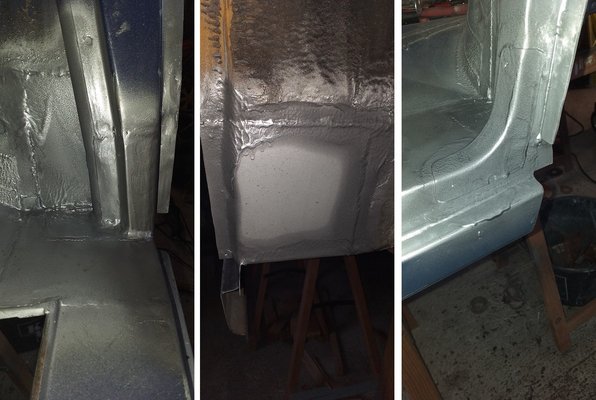
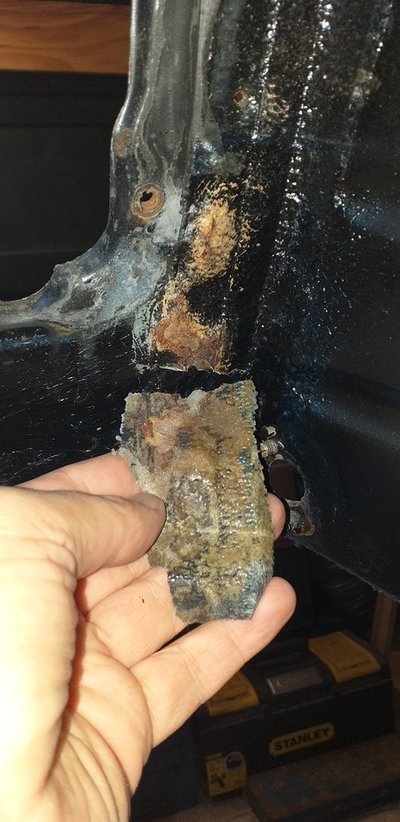
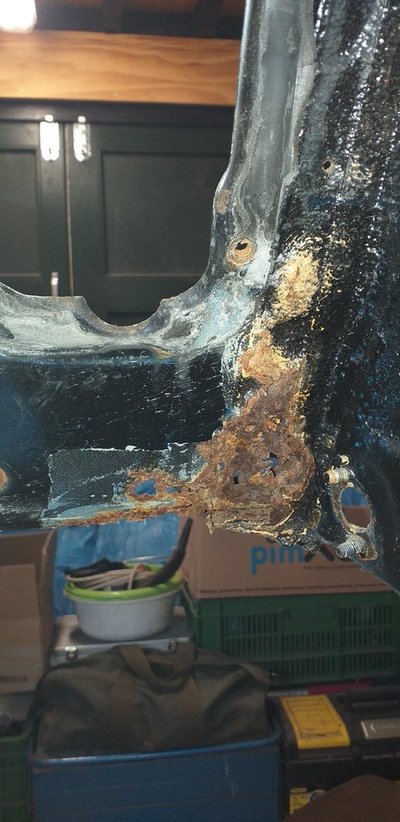
The first surprise arrised today when starting on "some small repairs" on the lower bulkhead, as I mentioned here above. When I cleaned the inner wheel arch section on the bulkhead some piece fell on the ground.
After close inspection in appeared it fell of the lower bulkhead on the inside. A whole area was covered with epoxy fiberglass...:vsad: again a bodge repair on my R4.
Fiberglass and polyester putty are only to be used on a Corvette or Lotus cars :laughing:

20220925_113606.jpg 20220925_114014.jpg
 
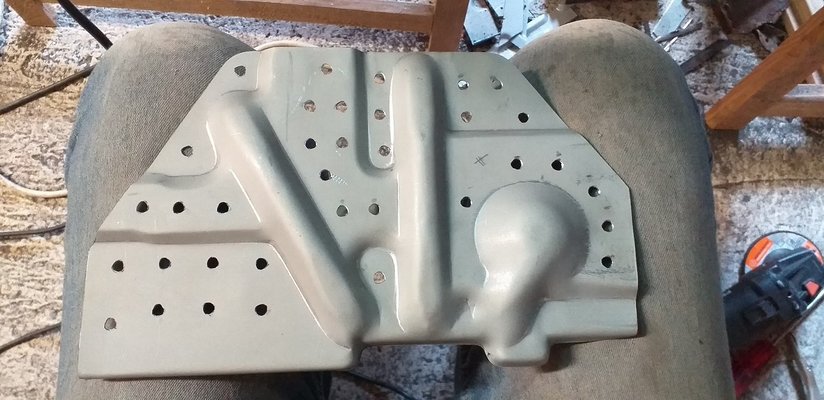
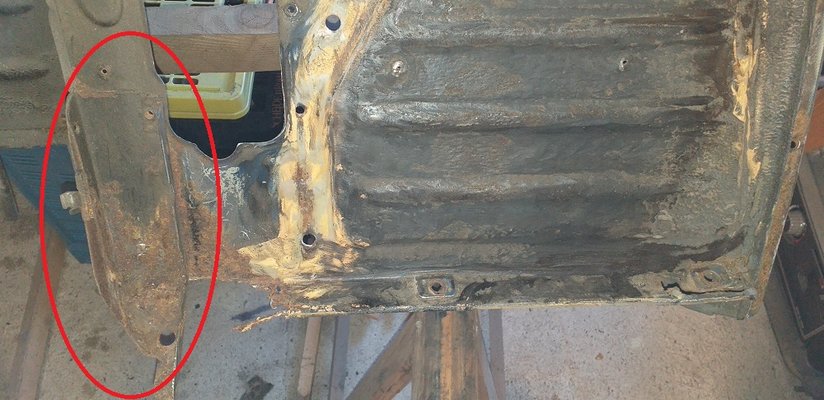
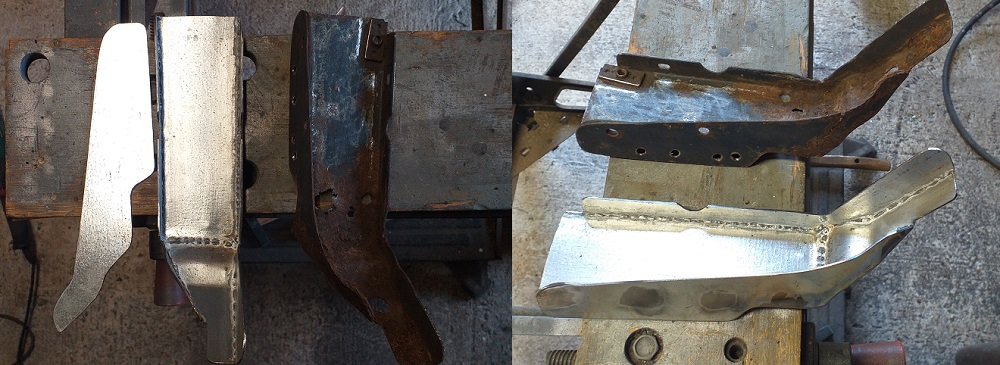
Continuing the rustoration this time a sort story on the repairs on the lower bulkhead as well as recreating a piece on the lower bulkhead known as "Console Avant" e.g. partnumber 7700654526.

A look at the left side and the "Console Avant" in the red oval which will be recreated because a repair piece isn't for sale.
752.jpg

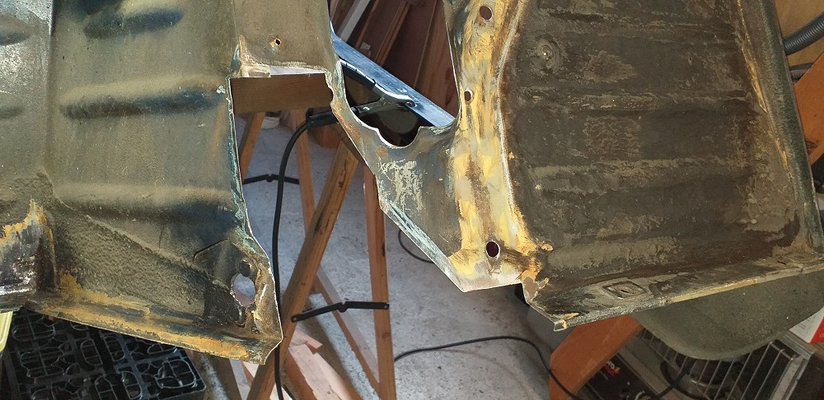
Cutting away the rusted area.
753.jpg

First I welded a new corner piece in place and then fitting a fresh piece of sheet metal for the front which will be spot welded, seam welded, grinded and protected.
754.jpg

Now the lower left side is repaired. the rust attacks two pieces, the lower bulkhead as well as an inner piece. Just cut away the misery and first start welding a small piece on the end of the inner piece so we have an area for spot welding. Here a small photo collage on the repair.
756.jpg

So the left side is done and I'll continue on the right side.
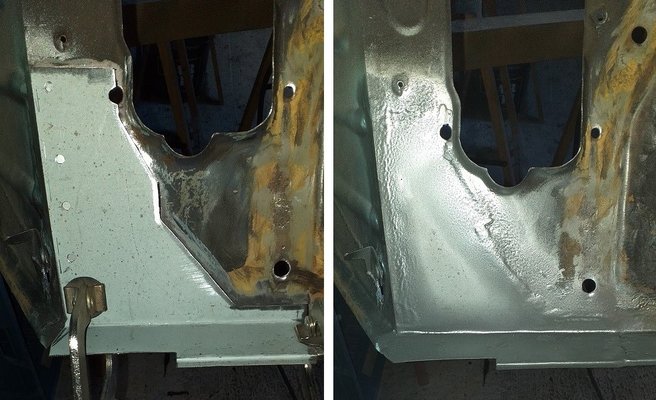
This is before...and after the repair.
758.jpg

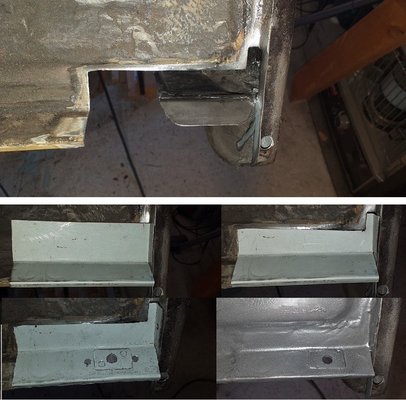
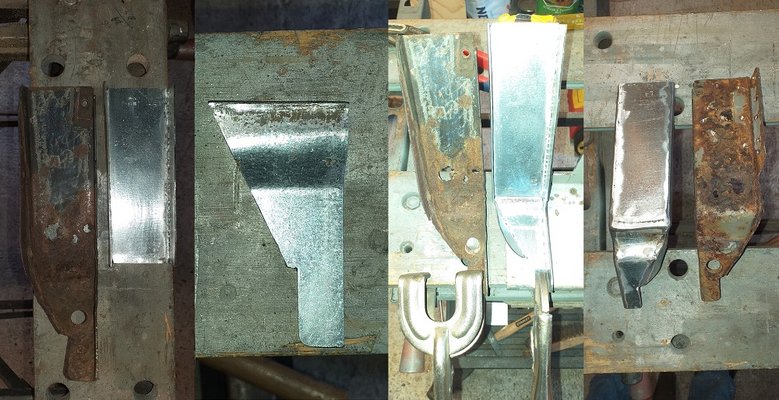
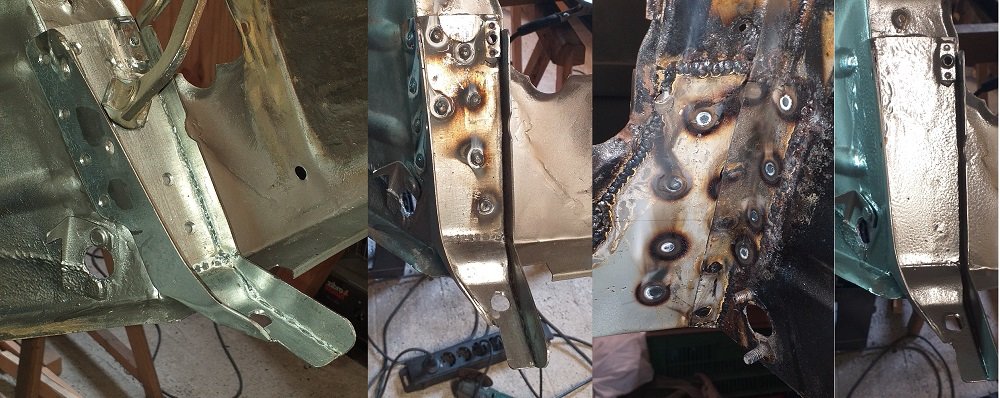
Now the "Console Avant" piece is recreated. first a look from all sides.
760.jpg

I ran out of 1,5mm zincor sheet metal so I went to my local hardware store for a small piece of even heavier galvanized sheet metal, and slowly but surely the piece is recreated.
761.jpg

762.jpg

Finally the recreation has its holes drilled and is spotwelded in place as seen in the final collage.
763.jpg

What's left is removing the front windshield just to be sure that there's no rust underneath the seal. Whilst removing the windshield the seal made it, the windshield didn't :dontknow: anyway ... shit happens and luckely I've still got a spare front and rear windshield and luckely there's no rust anywhere underneath the seal :D
764.jpg

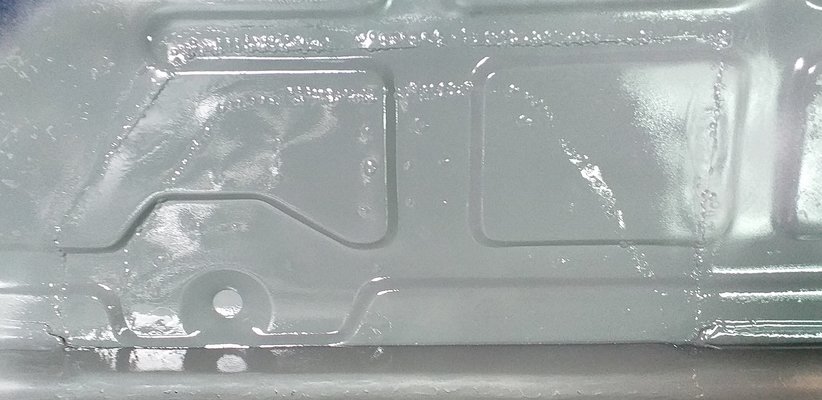
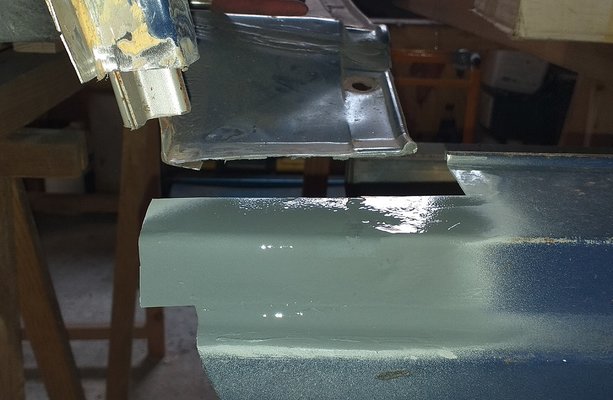
The body repairs are done :D further on it's just removing the old layer of sticky bitumen and a lot of finishing welds on the inside, some lead loading and cleaning and prepairing for painting.

But anyway there's still a lot to be done but that's for later.
For now cheers.
 
Last edited:
Back
Top