Clementine's Garage
Clementine the Cat
 
Image of flower
Yellow R4
 
Réparateur d'automobiles

R4 TL restauration

So restoring vices has precedence over restoring Louise?
Main advantage is that the rust over 70 years on that vice is less then a 30 year young R4 :D

Good job Jurjen :clapping:
 
I promise, I promise I promise, next time Louise! Or she will be mad...

Catalogus.JPG

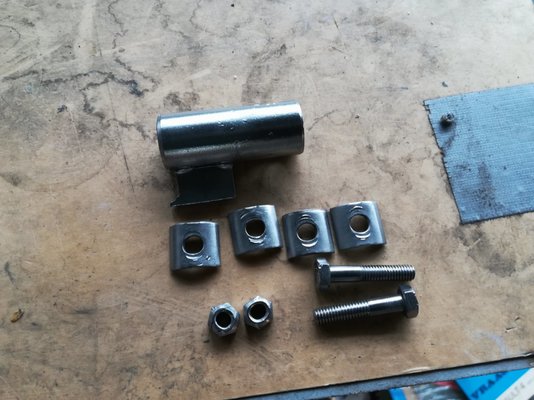
Usual stuff: sandblasting, polishing & clear coat

IMG_20180527_134646.jpg

Nice :hug:

IMG_20180527_172002.jpg

IMG_20180527_172039.jpg

China vs. England

IMG_20180527_172534.jpg

Well, oke, next time I sand Louise further on 500 & 800 grit, then paint time! :artist:

Cheers :drunk:
 
Hi guys!

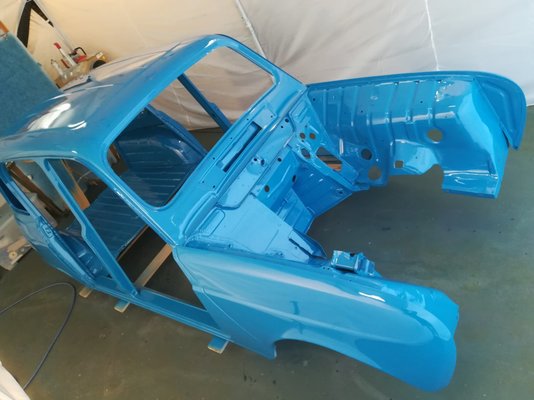
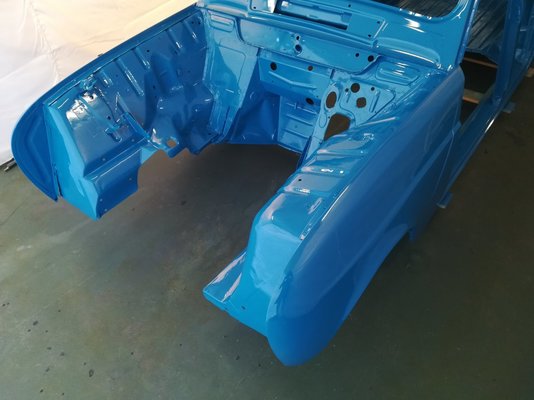
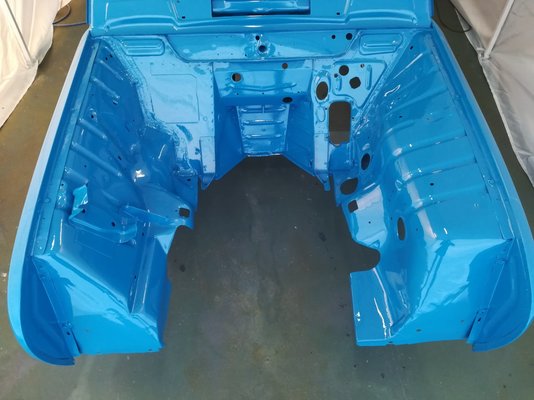
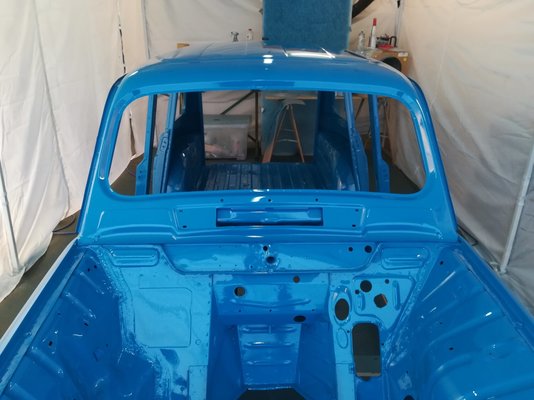
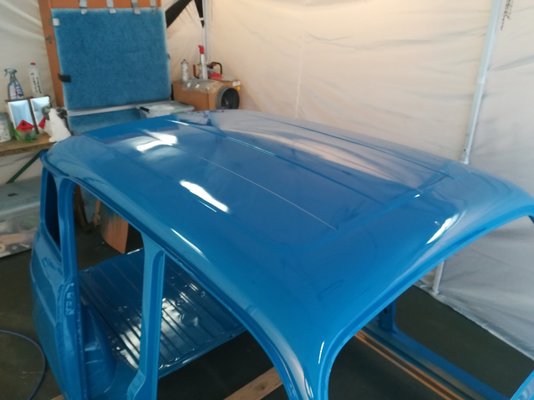
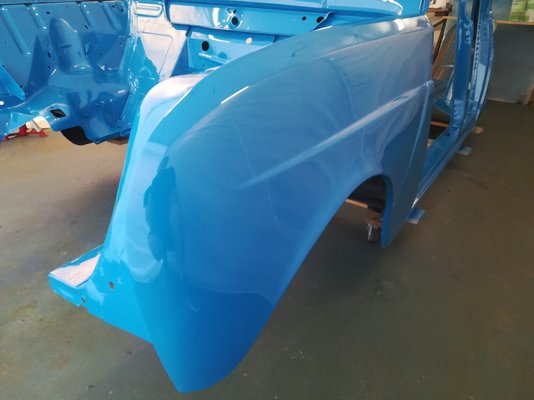
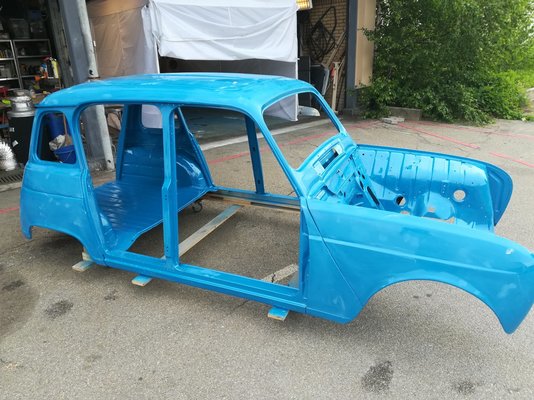
Well, I did it! Finally the day has come to paint the body in Bleu Saviem. I started with cleaning & decreasing the body. Then I mixed the paint, sprayed it and gave it a clear coat. I'm not 100% happy, as it seems out that there are still some dents on the roof, but hell, I'm not going to use filler again.. ;) Maybe I should start looking for a roofrack :).

Overall I'm pretty happy with the result, no dripping paint & fish eyes. Next time I will sand down (#1000, 1500) the orangepeel for a final clear coat.

:drunk:

IMG_20180603_154704.jpg IMG_20180603_154714.jpg IMG_20180603_154744.jpg IMG_20180603_154748.jpg IMG_20180603_154757.jpg IMG_20180603_154910.jpg
 
.........looks like a LOT LOT better paint finish than an almost-new Alfa Romeo I saw in a petrol station yesterday (orange peel seen from 4 metres away .....) !

A tricky job expertly completed - very well done to you :)
 
That's a job very well done Jurjen and what a bright blue color it's absolutely stunning :clapping:
 
Thanks guys! :D

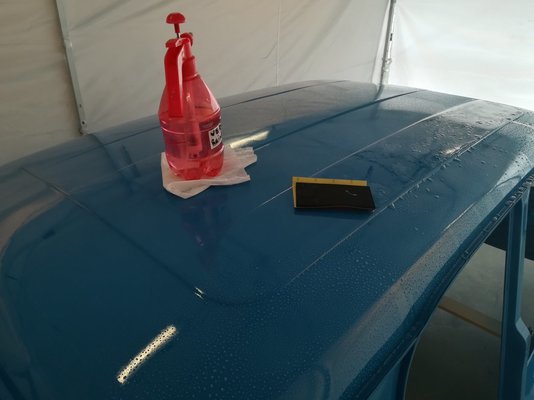
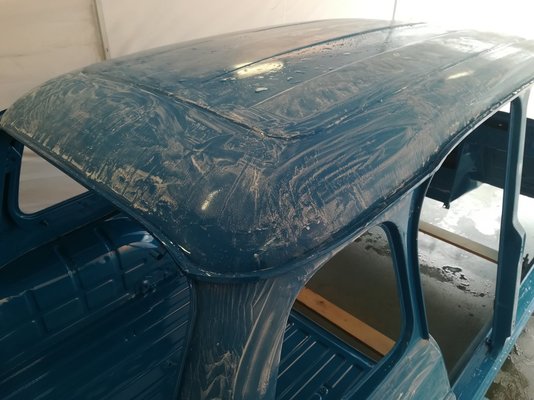
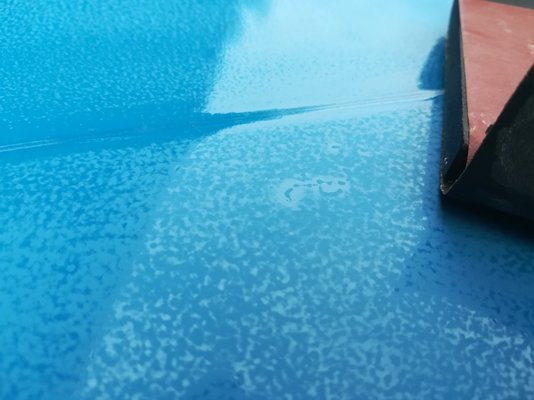
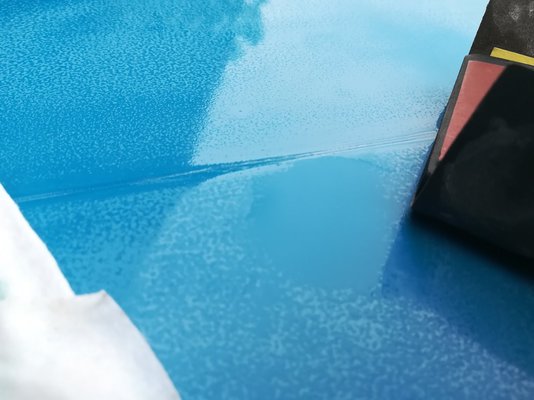
Today I worked on the exterior to smooth out the orange peel and some smell irregularities. Some spots I wetsanded with 1000 grid, main areas with 1200. This weekend I will spray another clear coat. After that I will wetsand it with 2000 grid & buffing & polishing.

Now it looks like this :fighting:

IMG_20180608_123854.jpg

Clear coat residue

IMG_20180608_140129.jpg

You can see a spot which needs to be sanded down

IMG_20180608_152550.jpg

After sanding

IMG_20180608_152632.jpg

Dull!:laughing:

IMG_20180608_155538.jpg

I will keep you updated:D
 
Howdiho,

Body got her final layer of clear, in the end of the build I will polish & buff out the orange peel.

My buddy Dick.

IMG_20180609_165539.jpg


IMG_20180609_165441.jpg

IMG_20180609_165608.jpg

IMG_20180609_165707.jpg

And for something completely different, testing the console lightbulbs :laughing:

IMG_20180609_165835.jpg

Cheers!
 
  • IMG_20180609_165751.jpg
    IMG_20180609_165751.jpg
    154.6 KB · Views: 4
Shiny Louise, Jurjen :clapping:
Now do the chassis and body mariage and get her on the road :D
 
Hi guys,

What a nightmare to connect the hand brake system. I first connected the brake cables to the brake shoes in the drums. But it seems impossible to get it right at the main lever. What is the easiest way to fix this?

Handrem.JPG
 
I do it the following way:

1. cables free at drum ends, everything free at handbrake lever, rod disconnected.
2. outer casing ferrules pushed all the way in, on both brake backplates and part #15. Tapping with a drift usually necessary.
3. fit part #22 in place, fit one cable end in it, then the other, then bend down its ends with pliers.
4. fit drum side cable ends to brake shoe levers. A little harder now that the other ends are not free, but way easier than doing it the opposite way.
5. fit brake shoes correctly ensuring the handbrake distance piece is slotted correctly.
6. pull back part #18 in order to align its hole with the first hole of the lever. A little levering with a screwdriver may be needed. Insert pin from top and don't bother with the split pin, it's impossible for the pin to come off.
7. engage rod on lever and first hole on ratchet lever.
8. adjust brake shoes as usual.
9. check handbrake travel, if excessive move rod one hole up at a time on the ratchet lever. When you reach the last hole and need shorter travel, reset the rod on the first hole, move part #18 one hole up in the lever and start over again.

P.S. Conratulations on the paint job, I admire better-than-professional paint jobs performed by amateurs!
 
Today I worked on the cooling system, check!

I'm happy I tested the windscreen wiper mechanism before I put it on the body. You can see the that the lower screenwiper is bad. Fortunately I had a spare mechanism (with a broken motor), so I made one, fully working. Love these kind of jobs!:laughing:


It's alive!

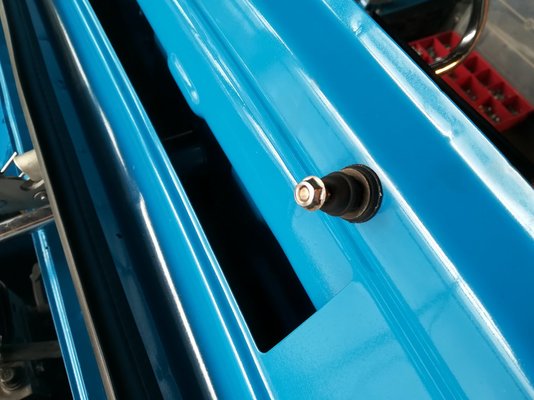
Blasting & polishing & clear lacquer, it's all about the details!

IMG_20180624_171643.jpg

IMG_20180624_134655.jpg
Next time working on connecting the brakelines on master cilinder..
 
Just a small update. I finished the exhaust system, noticed a faulty brake master cilinder, placed rear windows, looking for the correct engine loom connections & and other small bits and thingies.

IMG_20180707_140038.jpgIMG_20180707_140022.jpg
IMG_20180707_140016.jpg IMG_20180629_172937.jpg
 
Louise is coming alive again :D
Keep it up Jurjen
 
Back
Top