Clementine's Garage
Clementine the Cat
 
Image of flower
Yellow R4
 
Réparateur d'automobiles

What have I done! (R4 GTL)

I am alright with your writing......

I have those rubber mats for wheel arches (original) but they are in sorry state so i decided to make new one.....
Not same as original but i am alright with that.
On pictures is shown "top" layer of mats that i am making.
Lower part will be same foam rubber that is on carpets.

So it supposed to lower rear wheel arch even more than original.....
For now while i am driving i feel that most noise is coming from booth part of the car as there are no any insulation beside booth floor rubber mat.

Biggest noise from wheel arches is coming while you are driving on wet surface, or on gravel road....
That for sure will be reduced.
 
This weekend had some spare time and managed to cover one rear inner wheel arch.
Not quite satisfied as i would like to be but it will stay as it is for now.

Here are some pictures of process.

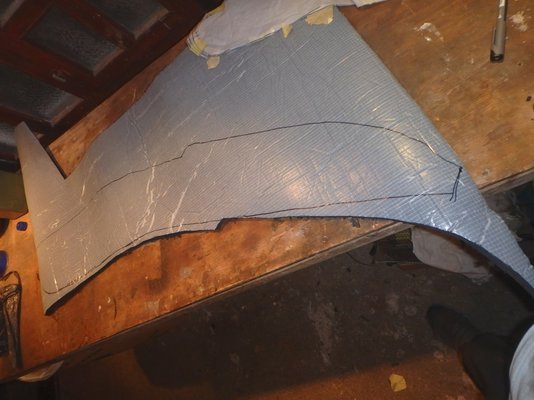
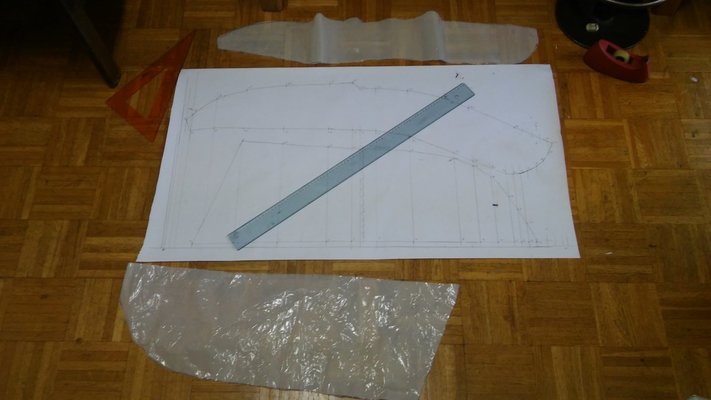
Template for insulation (upper part of wheel arc cover).

P8070008.jpg

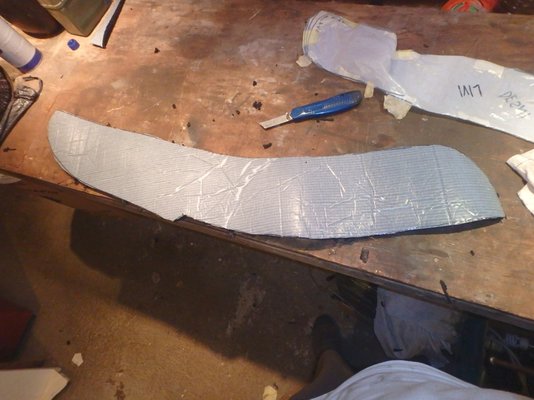
Cut out
P8070009.jpg

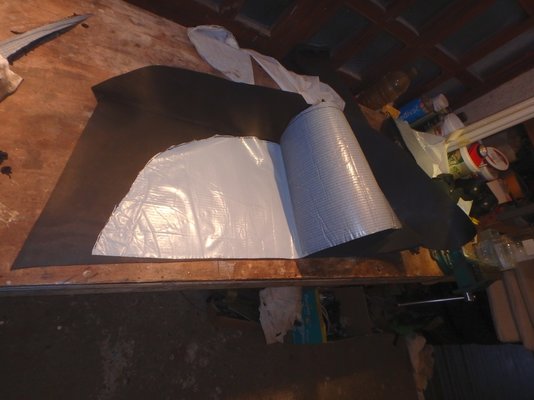
insulation is reinforced and with adhesive so joining two parts is really easy.
Lower part of insulation gluing to the rubber wheel arch cover
P8070010.jpg

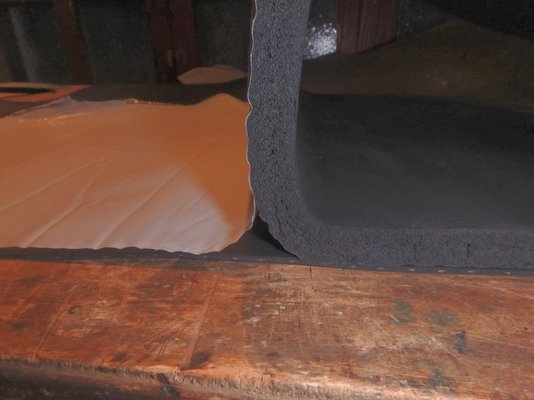
Joint
P8070011.jpg

After that i have glued all to the wheel arc with his adhesive
IMG_20150526_200848.jpg
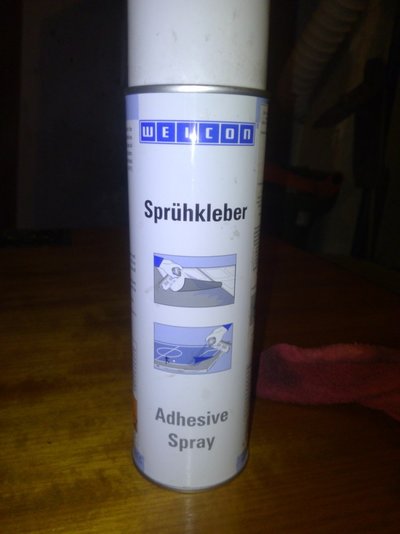
First sprayed on lower part of wheel arch and stretched cover. Left to settle for 15 min.

Than flipped upper part and sprayed adhesive on wheel arch and stretched again.

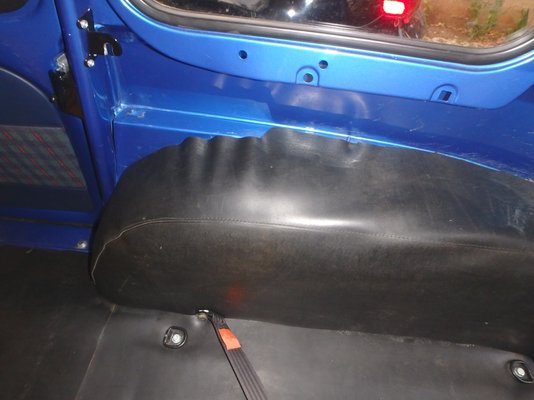
Upper part stayed wrinkled as i did not trim it better before stitching and gluing but it was to hard to keep cover in place and measure correctly how much i need to trim.

Pictures
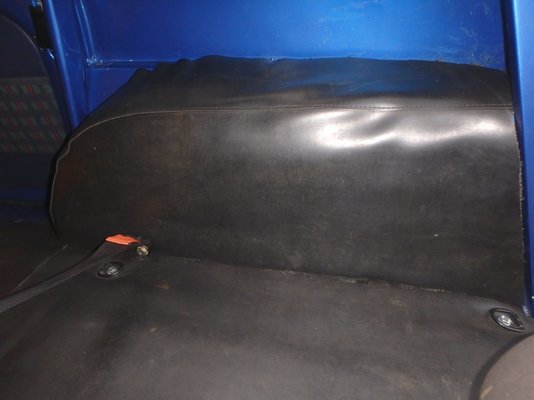
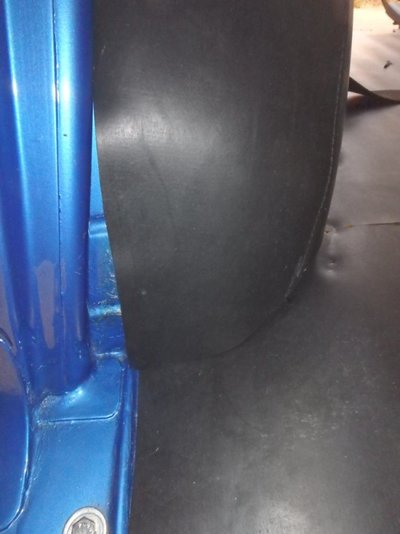
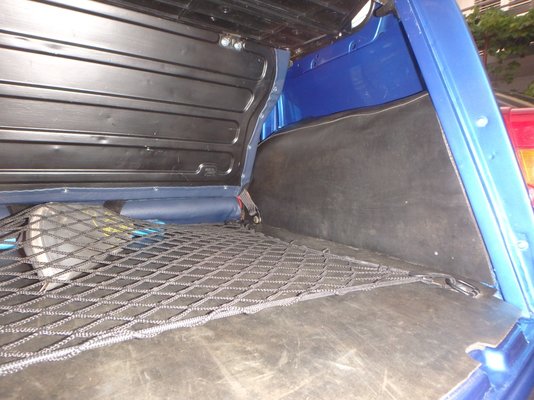
Side view
P8070001.jpg

Upper view
P8070002.jpg

wrinkles
P8070005.jpg

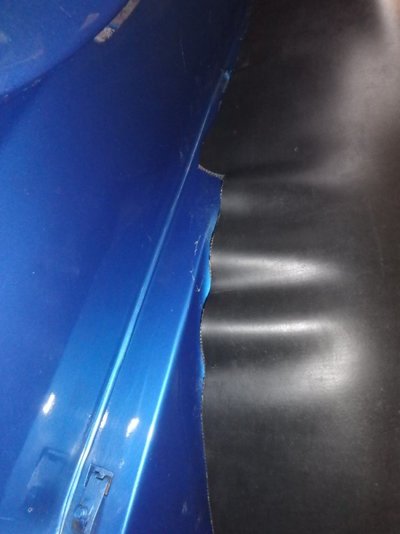
To much trimmed at the door pillar as i was triing to press it as much as possible between wheel arch and door pillar
P8070006.jpg

Poor finish but this insulation is so hard to remove once it is glued so will left it as it is until i find myself in mood to remove it and done it once again.

Hope left side will end up better as now i know where to be careful

Completely finished view
P8070007.jpg
 
Also
today take measurements for templates.

Old fashioned way. Hammer paper, ruler and drawing triangles.
20160809_102034.jpg

Soon it will be transfer into digital document
 
And here is PDF file of that templates.
It is A0 paper if you want to print it in scale (1:1)
Be prepared to trim them little bit as they are not 100% precise.
Before stitching two parts try them on wheel arch and test fitment.
You have been warned :waving:

If you would like ACAD drawing please let me know and i can send it to your email as i can not put it on forum.

If you think something is not said or is not correct on drawing let me know and i will add it

EDIT: Forgot to mention. Templates are symmetrical.
When you cut out templates be careful how you will join them.
Way they are drawn now can be left or right side depending on how you overlap them.
I have overlap upper part over lower part so any dirt would not stuck to stitch
 
  • Rear Inner wheel arch cover template.pdf
    27.4 KB · Views: 14
Maybe we can ask Malcom if a special file could be created for such drawings. there are many which could prove ideal reference
 
Yesterday had visit.
Our forum member OTTO form Czech Republic came to summer holidays near my place....so we arranged small gathering....

Lot of talk about our cars, plans for future, discussion about car parts.......and so on......

Just two nice pictures to describe our meeting.

View attachment 16479

View attachment 16480
Thanks for nice meeting. I found most of spare parts which I needed on local scrapyards. Also complete chassis in good condition for Renault 4 F4. Some pictures here: http://otto96.rajce.idnes.cz/Chorvatsko_2016/ Hope I will see you next time in Croatia or in Prague.20160719_103857.jpg
 
Glad to meet you in person.

Had really nice chat.

See you next year..
 
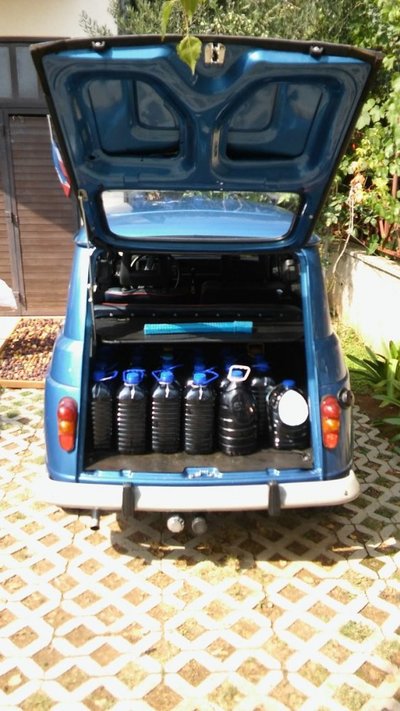
yesterdays job.
20160911_135117.jpg

My barrel dried out so need to refill it....

Now I am fine until Christmas
 
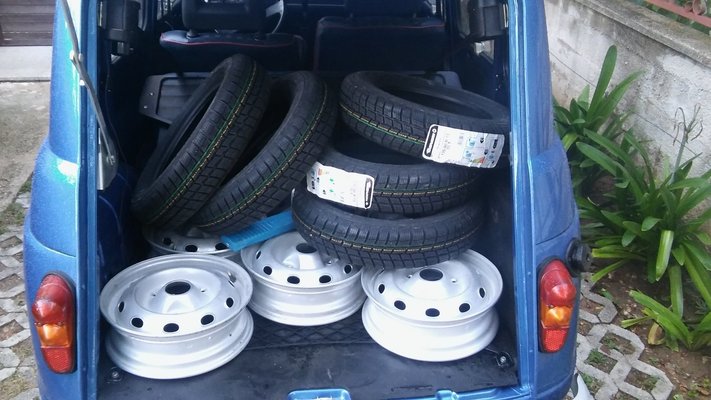
preparing for the winter.

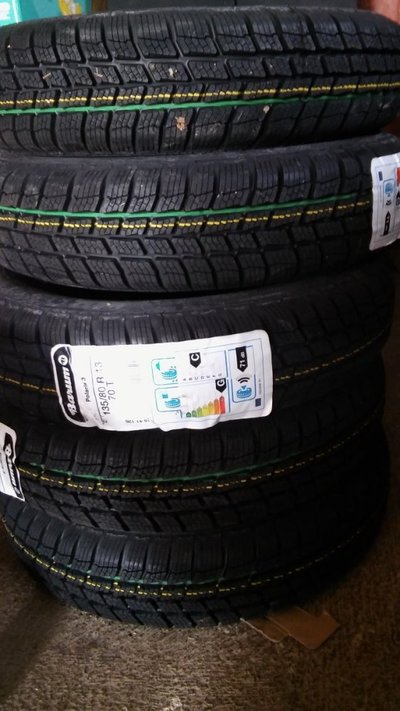
135/80/13 70T Barum polaris 3 192kn (22GBP)/piece

20161001_121325.jpg

Send them to shop for mounting and balancing.
After that will wait in garage for more late date.

20161003_181805.jpg


not that is cold like in other north parts of europe but still get cold 3-4 months.
Around 01.12. will be on car as temperatures go down below 5°C during night and in the morning.
 
Recently i have terrible squeaking noise from tailgate.

Greasing did not help.
Rubbers are brand new (aldo i can see some light between rubber on doors and floor)
Doors are closing nicely.
All hinge bolts and door lock is tight.

Everything looks alright and can not make door squeal when cars is still

Wanted to open thread here but found that problem was disused before (way before).

Thanks to this thread hope to solve my problem...
http://www.renault4.co.uk/forum/threads/squeaky-tailgates.15/#post-5864

I believe that main issue is worn pins that allow movement of the doors at hinges. Half of mm (or even less) but still enough to make noise when road is bad.

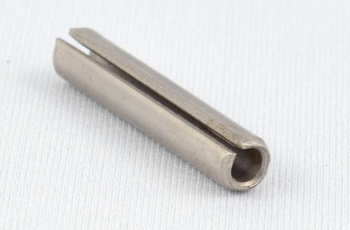
Can split pin do the job or i need to make little bit bigger pin from metal bar?

This kind of split pin
SplitPin.JPG
 
Hmm the original pins are solid with splines on one end

Do grease up the coil Spring lifter . Mine squeaked as the spring rubbed a little on the flat plate housing.
 
Did that JonathanT....helped little bit but not much....

It fills like doors are moving side to side and squeaking somewhere.

Also it feels like doors are jumping front and back (like when you try to open it) and hitting on some metal but can not find where.
Rubber is all around where can be contact.
Tried to adjust door lock on boot floor but if i move it just a little bit more inside (so that doors are more tight when closed) than i can not even close them.
 
Hi Petak, I had the same squeaking noise and put some grease on the bar of the lock on the boot floor and it solved the problem. Even if you adjust the lock to make it tighter, there's always going to be a little left/right movement to cause the squeak
 
Going to suggest grease
Have used ptfe tape round bar neither cure seems permanent
 
Hey Petak,
try to slide the bar on the floor more inwards. It puts some more pressure on the new door rubber and closes the rear door really tight. It helped with me and I have no squeak anymore.
 
Thank you guys.
Have already greased bar on lock...did not notice any difference.
Thinking of putting some rubber or plastic over that bar but do not know how.
Have idea but need to dismantle that door lock but not sure will it be possible to put it back in one peace.

Harbourseal....i was playing with position of that door lock bar. If i push it more inwards than it is now, than i can not close door.
My toughs are in same direction. When doors are closed than i can see light between lower rubber and boot floor, so lower rubber is not sitting as should.
Side and top door rubber is touching frame sooner than lower rubber and than doors are have possibility to move.

Or i did not glue lower rubber in right way?
 
Back
Top