

You are using an out of date browser. It may not display this or other websites correctly.
You should upgrade or use an alternative browser.
You should upgrade or use an alternative browser.
What I am doing!
- Thread starter JonathanT
- Start date


JonathanT
Not normal for Norfolk
- Messages
- 1,332
- Location
- Wymondham Norfolk


mr-reno-139
AKA Paul Cunningham
- Messages
- 2,268
- Location
- lancing west sussex england
Well done bet you never thought this day was going to arrive
What colour is this you have chosen looks great
What colour is this you have chosen looks great
JonathanT
Not normal for Norfolk
- Messages
- 1,332
- Location
- Wymondham Norfolk
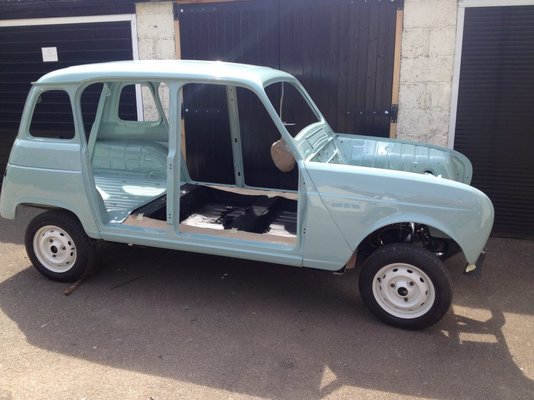
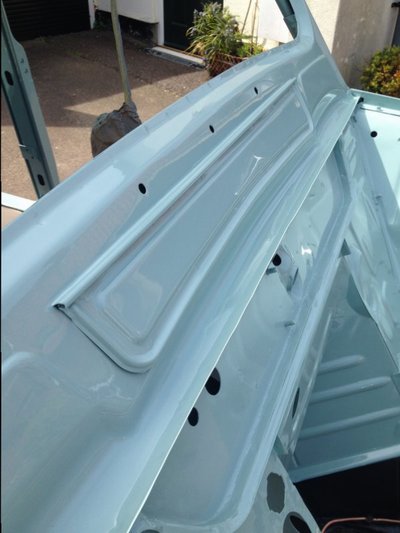
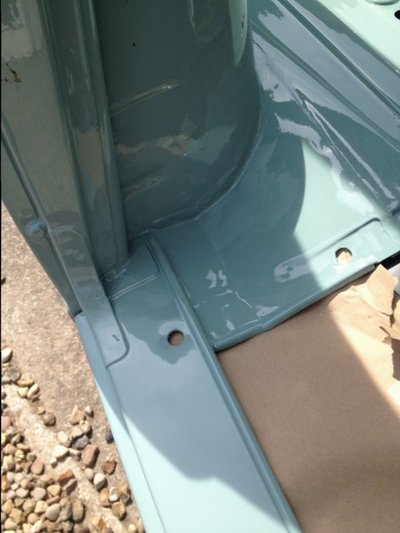
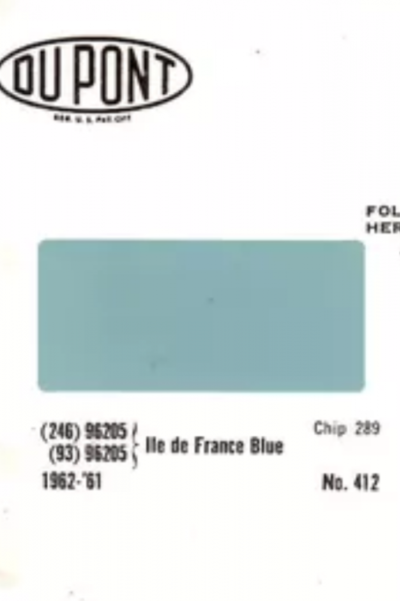
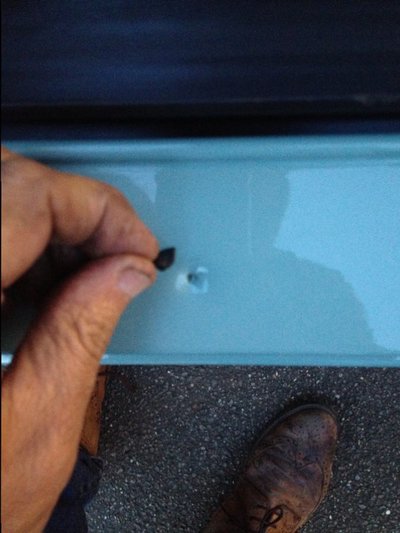
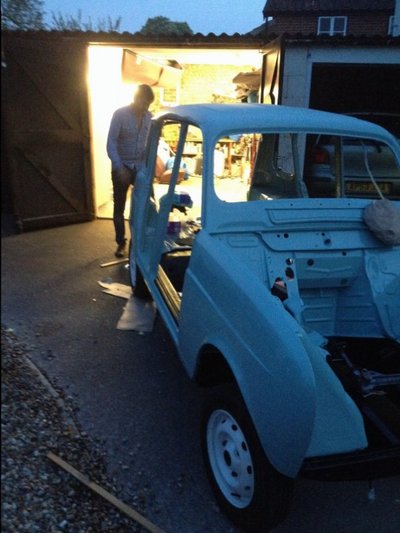
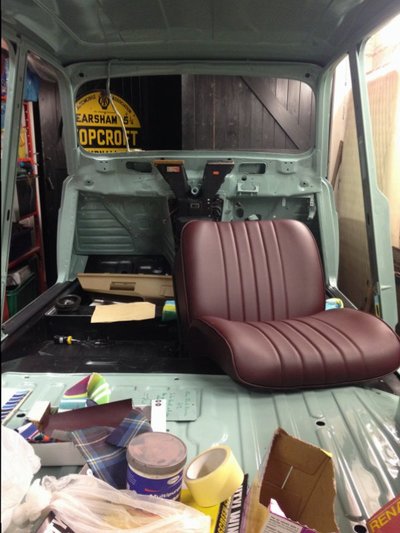
Hi Guys thank you for the comments. The colour is Ile de France 412 Extraordinarily hard to pin down as it changes dramatically in sunlight and shade. It's prob best described as duck egg blue or blue green . Looks very different on various screens. Lovely in reality -this next photo is a little nearer reality
JonathanT
Not normal for Norfolk
- Messages
- 1,332
- Location
- Wymondham Norfolk
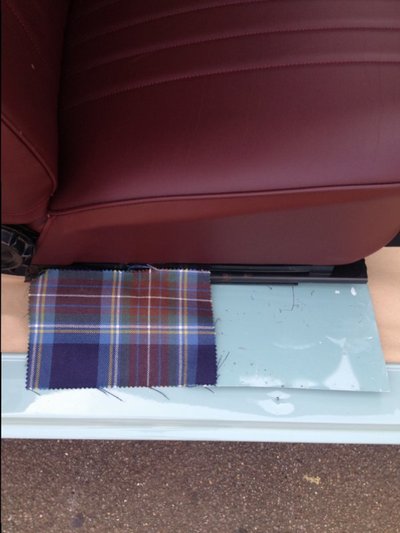
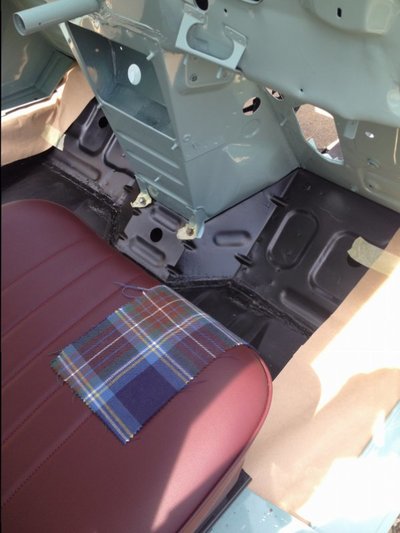
I bought some bits from a nice Frenchman on EBay called Alain. In passing email chat he sent a photo of his car which was the same colour. It was the colour I was trying to track down. He carefully prepared a sample and sent it over to me. Alain said there are many misrepresented versions of the colour. But this was matched to original panels on his car


JonathanT
Not normal for Norfolk
- Messages
- 1,332
- Location
- Wymondham Norfolk
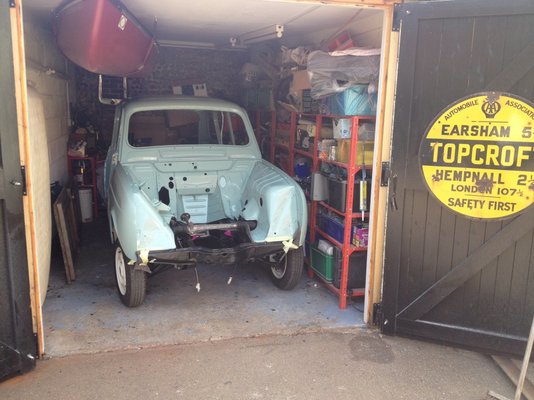
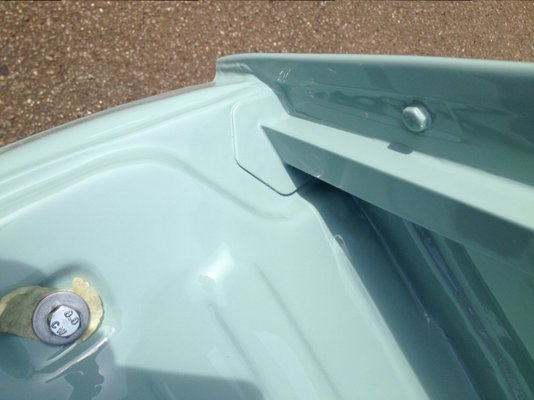
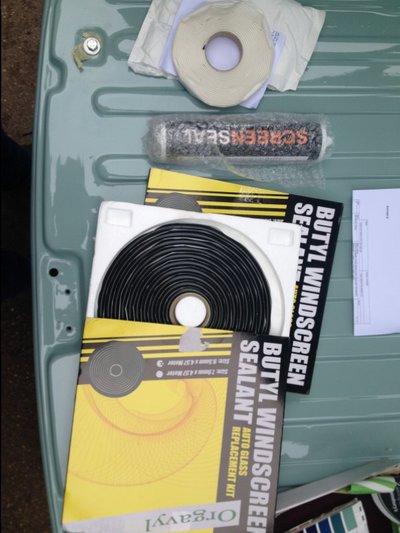
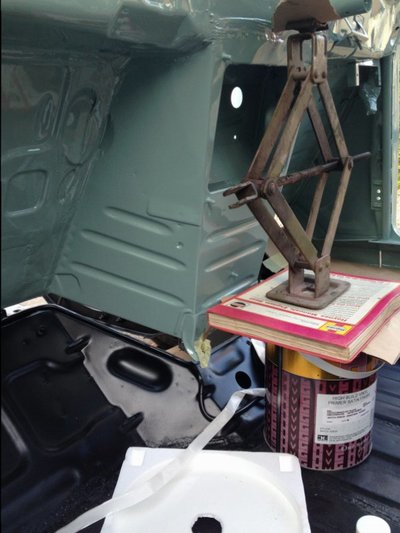
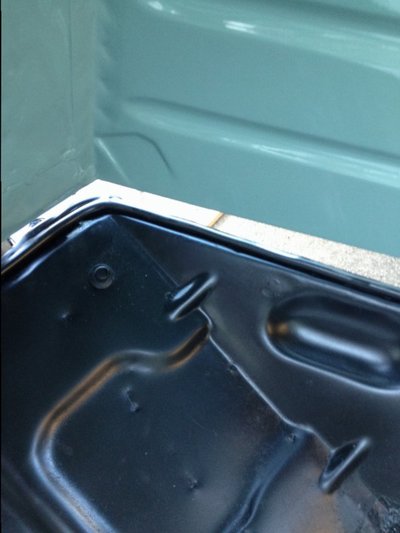
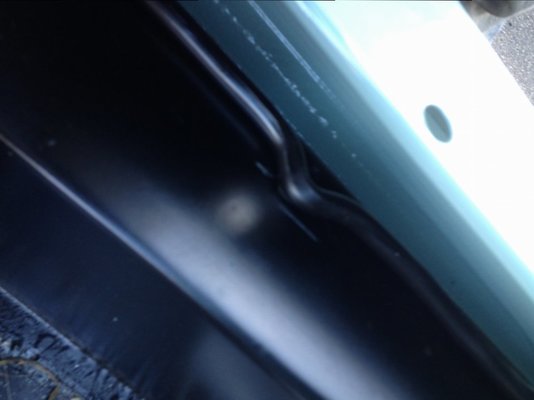
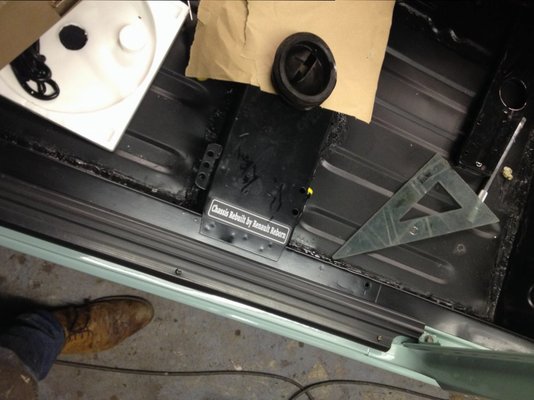
Bolting the body down and bedding the Butyl - I had a cunning plan as you can see to lower the body gently into position in a controlled way. Then I fixed the kick plates using a little bit of butyl on the holes as per factory

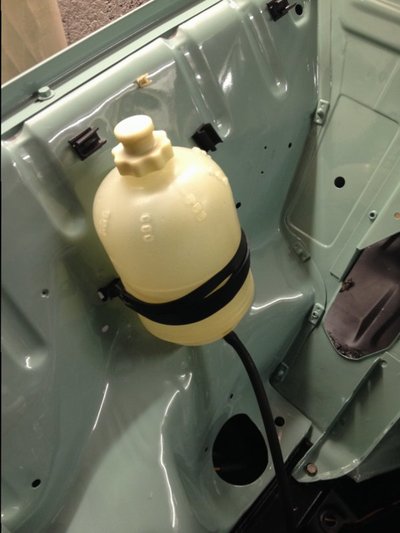
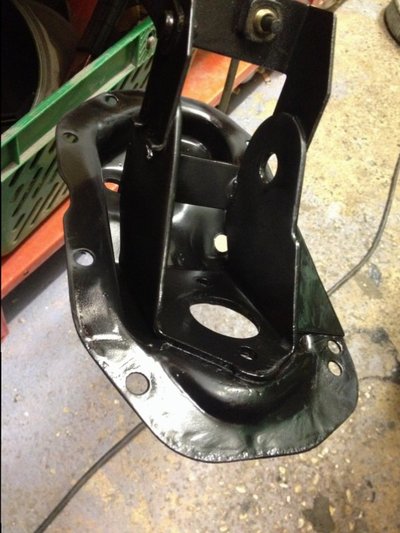
 spent a while dismantling and cleaning up the master cylinder and pedal assembly