You are using an out of date browser. It may not display this or other websites correctly.
You should upgrade or use an alternative browser.
You should upgrade or use an alternative browser.
R4 GTL 1985 Restoration
- Thread starter JdeW
- Start date
Jurjenz
Enthusiast
- Messages
- 468
- Location
- Groningen, Netherlands
Oh nodarn ... all pictures disabled by Photobucket due to a reason that embedding (img link in a forum) isn't allowed anymore...pfff they just want $$$ and that's a pitty.
I feel your pain! Same problem here, I restarted uploading all the photos in my topic.
pfffff

barnfind
Enthusiast
- Messages
- 323
- Location
- Lancashire
Photobucket is rubbish these days, slow to load and full of pop up advertising. I am progressively archiving most of my pictures off there. I would suggest that you direct upload any images onto the forum server. Don't be tempted to use Facebook images either, since they disappear after a while.
JdeW
Enthusiast
- Messages
- 1,169
- Location
- Laarbeek The Netherlands
It's almost holidays so time to do a reunification of engine and gearbox.
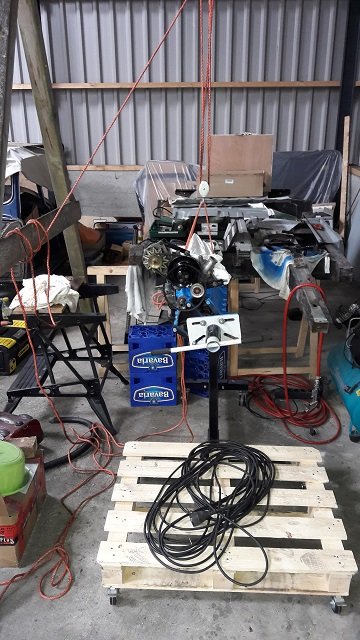
First I'll get some pulleys to raise the engine and lower it on a soft bedding.
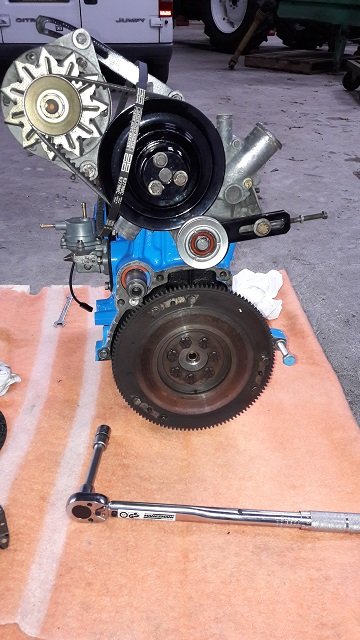
Then I'll mount the flywheel and torque wrench the crownbolts.
Needless to say that we first check everything about engine timing and put it in the right settings.
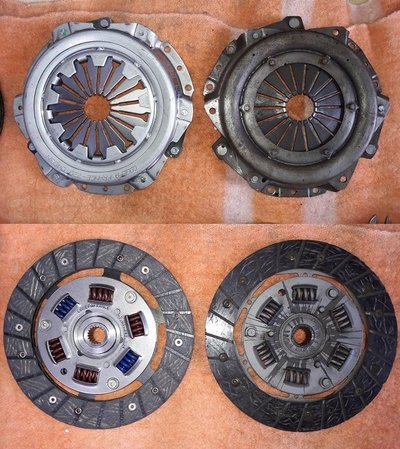
Everything is still pretty open so new parts are ordered and mounted, such as clutch plate, pressure group and pressure bearing.
Better safe than sorry and this will last at least for another 250,000 km.
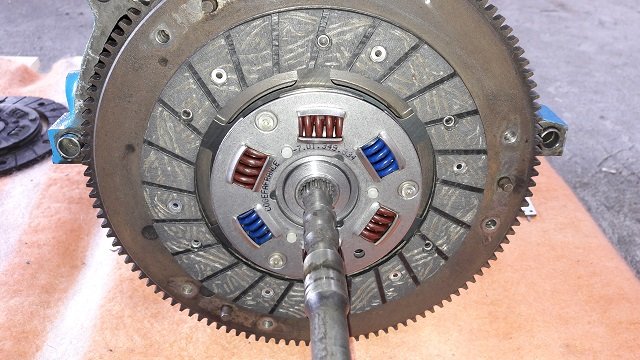
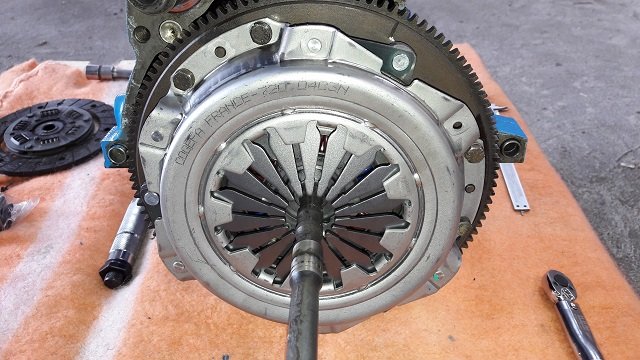
Centering the clutch plate with a nice piece of centering tool.
Mount the pressure group and gently fastening the bolts in the right order.
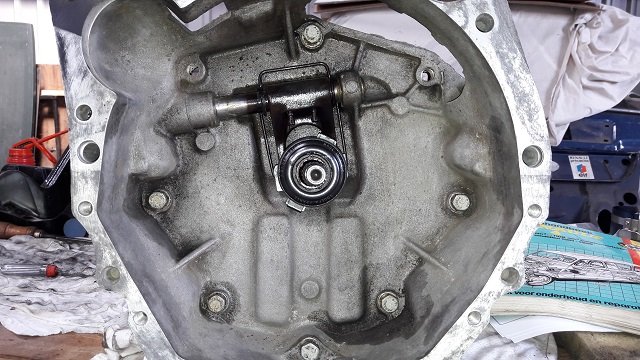
Placed the new pressure bearing.
Lining up for reunification.
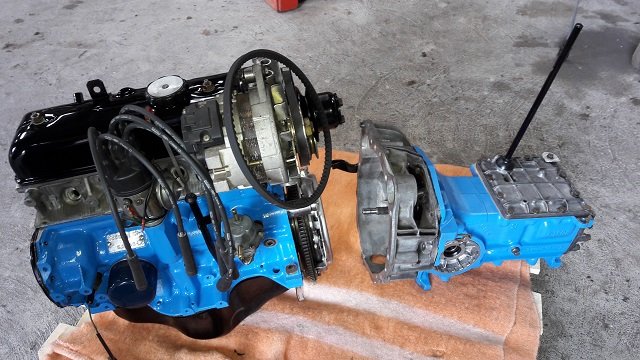
And after a few hours everything is bolted together as well as starter engine and all the engine supports and other bits and pieces.
And as a bonus the preview of my and my sons choice of colors on the engine and gearbox.
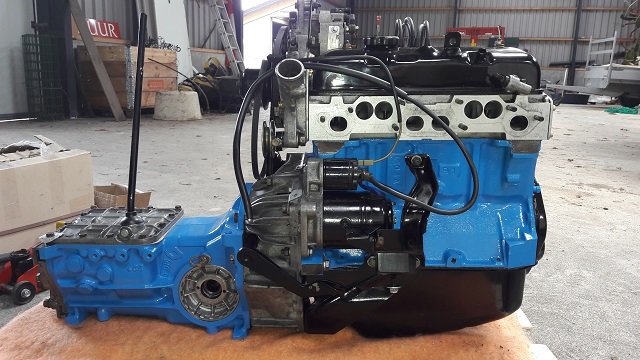
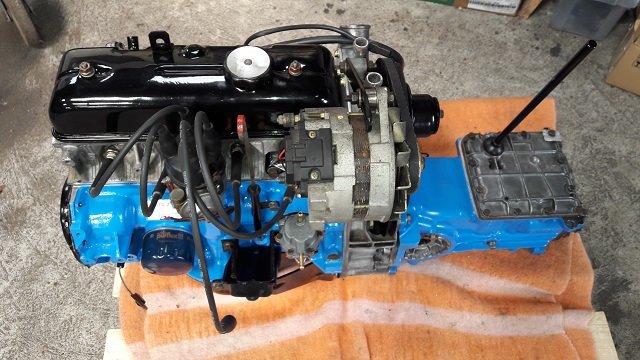
We're now six months further from the start, after the holidays chassis restoration will start.
For now it's time for a well deserved beer, cheers folk's
First I'll get some pulleys to raise the engine and lower it on a soft bedding.

Then I'll mount the flywheel and torque wrench the crownbolts.
Needless to say that we first check everything about engine timing and put it in the right settings.

Everything is still pretty open so new parts are ordered and mounted, such as clutch plate, pressure group and pressure bearing.
Better safe than sorry and this will last at least for another 250,000 km.

Centering the clutch plate with a nice piece of centering tool.

Mount the pressure group and gently fastening the bolts in the right order.

Placed the new pressure bearing.

Lining up for reunification.

And after a few hours everything is bolted together as well as starter engine and all the engine supports and other bits and pieces.
And as a bonus the preview of my and my sons choice of colors on the engine and gearbox.


We're now six months further from the start, after the holidays chassis restoration will start.
For now it's time for a well deserved beer, cheers folk's

Last edited:
Miguel Verde
Enthusiast
- Messages
- 18
- Location
- Guatape, Colombia
I have a stupid question.. where can you check the oil level in the gearbox, and where do you fill it? I have a leak and until I can get it fixed I want to make sure that I dont run low on lubricant. I checked the drawing earlier in this string, but it does not show a filler plug just the drain plug. Any help would be appreciated!
petak
Enthusiast
- Messages
- 1,924
- Location
- Vodice, Croatia
If we are talking about HA0 gear box (one that has flat cover on top of it) then filler plug is on right side of gearbox (looking from the car)
There is no device to check oil level (like engine do) but in manual it says that gearbox is filled up when oil start to drain from filling hole.
That can be some indicator for you.
Try to unplug bolt and put finger (or some stick) and see do you feel oil inside.
There is no device to check oil level (like engine do) but in manual it says that gearbox is filled up when oil start to drain from filling hole.
That can be some indicator for you.
Try to unplug bolt and put finger (or some stick) and see do you feel oil inside.
JdeW
Enthusiast
- Messages
- 1,169
- Location
- Laarbeek The Netherlands
Petak explained it right on the HAO gearbox though none of my fingers won't fit through the filler plugI have a stupid question.. where can you check the oil level in the gearbox, and where do you fill it? I have a leak and until I can get it fixed I want to make sure that I dont run low on lubricant. I checked the drawing earlier in this string, but it does not show a filler plug just the drain plug. Any help would be appreciated!
When you have an oil leak on the gearbox the best thing to do is to replace all the gaskets (3), seals (3) and rings (2). It's a relative time consuming job but in Colombia there are still many many R4's on the road so help from somebody local should be easy.
JdeW
Enthusiast
- Messages
- 1,169
- Location
- Laarbeek The Netherlands
Unfortunately, the holidays are over, so enough time to spare with the Renault.
Now that the engine and gearbox are reunited we will pick up the chassis.
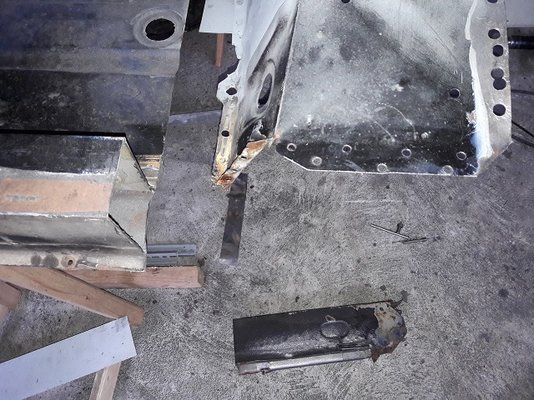
Piece for piece and bit for bit I create some space for replacement of the rear left support beam.
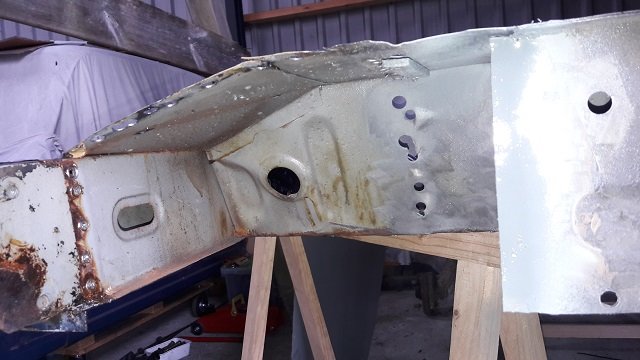
Crude adjustments...
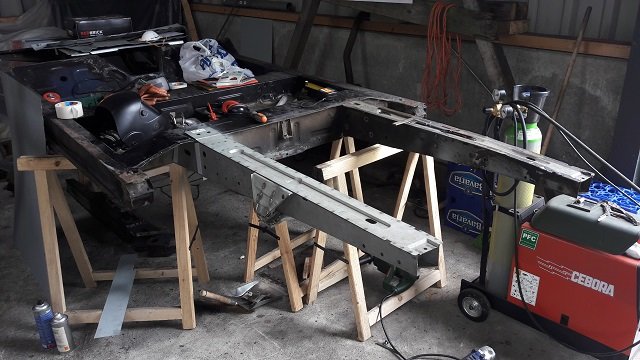
Fine adjustments and tighten it up to retain the size of the measurements after which it can be well welded.
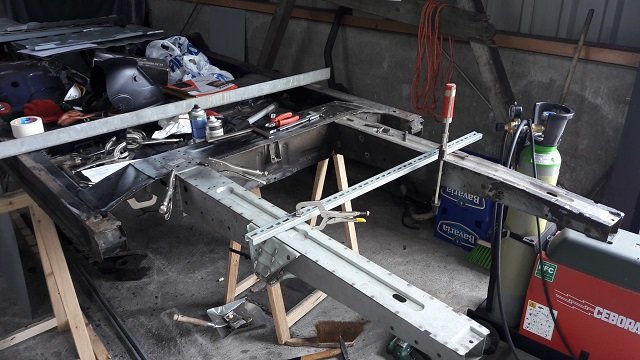
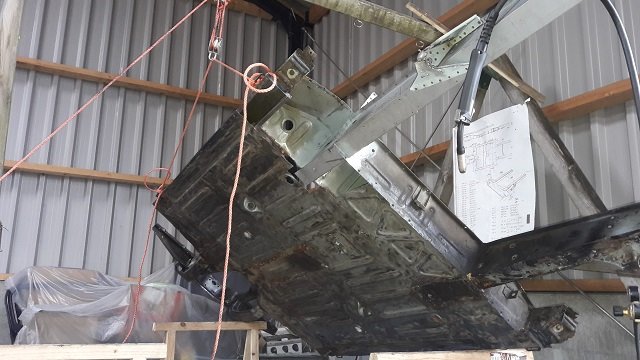
An easy way with a few pulleys and hand-force to maneuver your chassis.
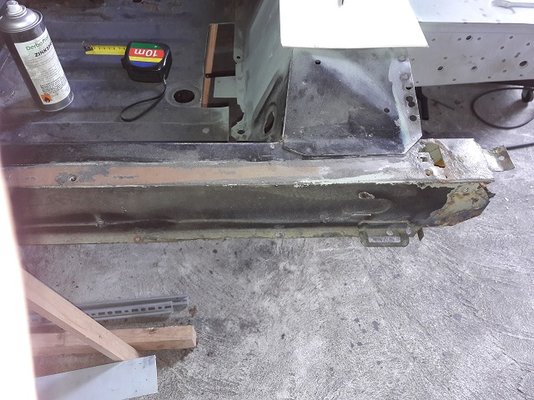
The rear end of the left support beam also gets along.
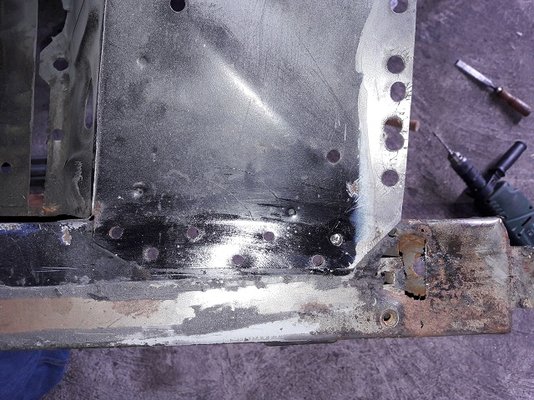
Drilling out various spotwelds.
Creating some space on the bottom... Great show by the way Bottom with Rik Mayall and Adrian Edmondson!!!
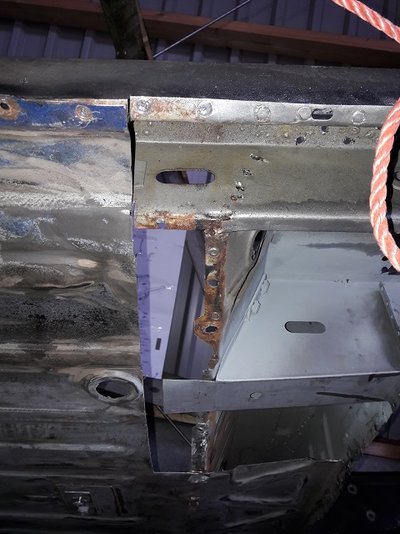
And away with it ...
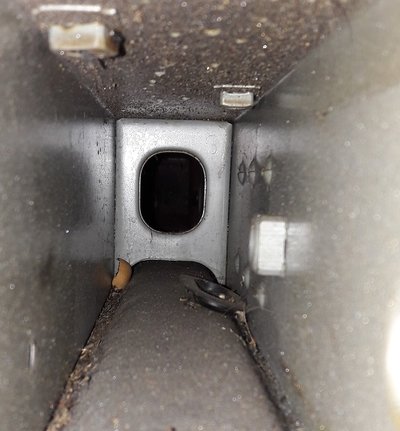
A view inside the support beam reveals "disappeared" parts and again shows evidence that the hollow spaces were inhabited ... Mus domesticus.
To be continued
Now that the engine and gearbox are reunited we will pick up the chassis.
Piece for piece and bit for bit I create some space for replacement of the rear left support beam.

Crude adjustments...

Fine adjustments and tighten it up to retain the size of the measurements after which it can be well welded.

An easy way with a few pulleys and hand-force to maneuver your chassis.

The rear end of the left support beam also gets along.

Drilling out various spotwelds.

Creating some space on the bottom... Great show by the way Bottom with Rik Mayall and Adrian Edmondson!!!

And away with it ...

A view inside the support beam reveals "disappeared" parts and again shows evidence that the hollow spaces were inhabited ... Mus domesticus.

To be continued

Last edited:
JdeW
Enthusiast
- Messages
- 1,169
- Location
- Laarbeek The Netherlands
Good Morning Jurjen, in a couple of hours we'll meet and I'll see your progress on the bodyshell.Hi Joop,
good work on the chassis! Keep it up!
Siejou
harbourseal
Renault R4 Lunatic
- Messages
- 1,049
- Location
- Breda The Netherlands
Joop, If you want to use a Jig for aligning the back end? I have one you can use. Saves you some headaches.
Keep it up you are doing great.
Keep it up you are doing great.
JdeW
Enthusiast
- Messages
- 1,169
- Location
- Laarbeek The Netherlands
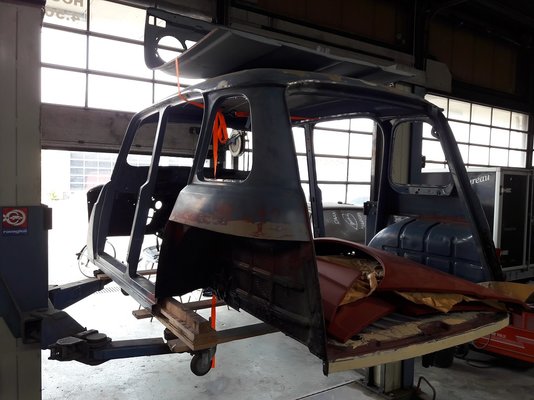
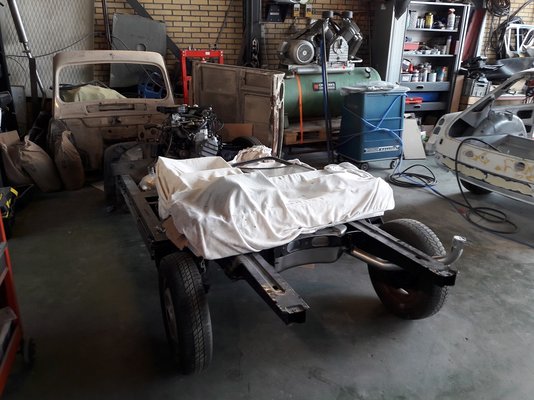
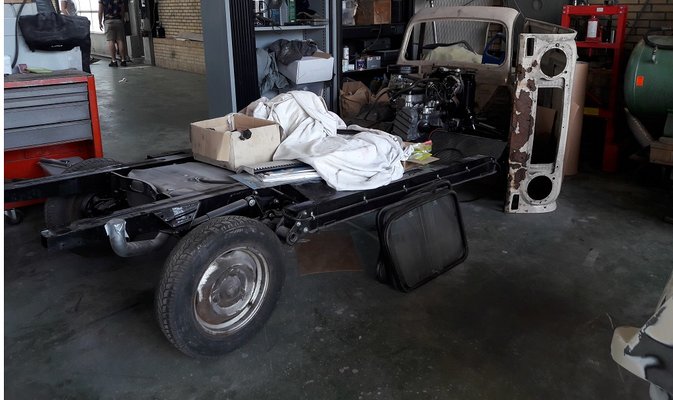
Yesterday, I visited our colleague-restorer Jurjen in the middle of the Dutch highlands namely Groningen.
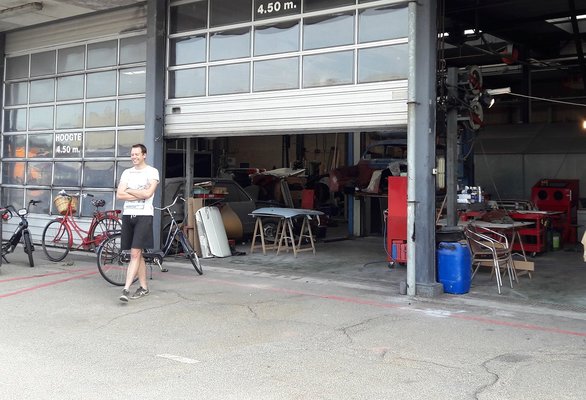
Take a look at the body-shell and chassis
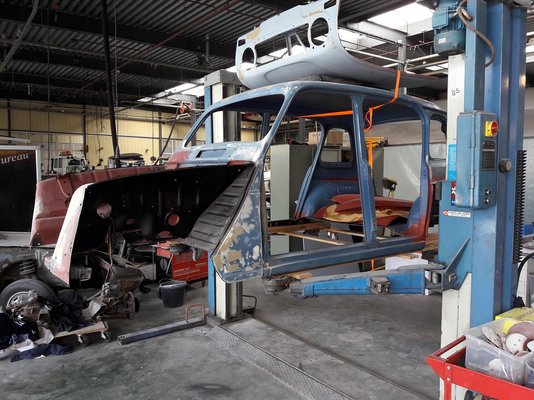
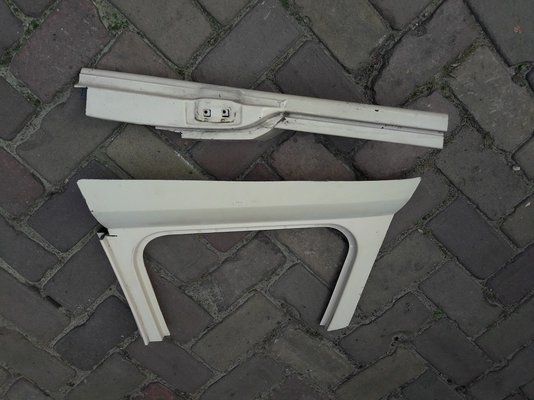
Here we went for picking up some donor material for my car.
It was very sociable and time flew over because we were continuously in conversation. The key location there is really great and yes, I could also let the donor material be sent to my home, but it was much more fun and better to make a 480km roundtrip for a few kilos of iron and admire Jurjen's project in close proximity.
Good work Jurjen and keep it up!

Take a look at the body-shell and chassis


Here we went for picking up some donor material for my car.

It was very sociable and time flew over because we were continuously in conversation. The key location there is really great and yes, I could also let the donor material be sent to my home, but it was much more fun and better to make a 480km roundtrip for a few kilos of iron and admire Jurjen's project in close proximity.
Good work Jurjen and keep it up!
Last edited:
harbourseal
Renault R4 Lunatic
- Messages
- 1,049
- Location
- Breda The Netherlands
Count me in when my 1108 Boy Racer engine is ready


