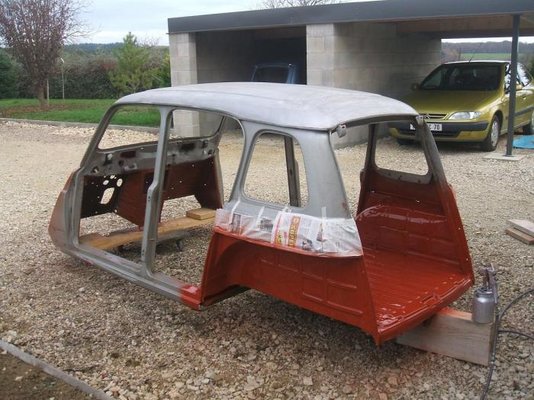
Clementine's Garage
Clementine the Cat
 
Image of flower
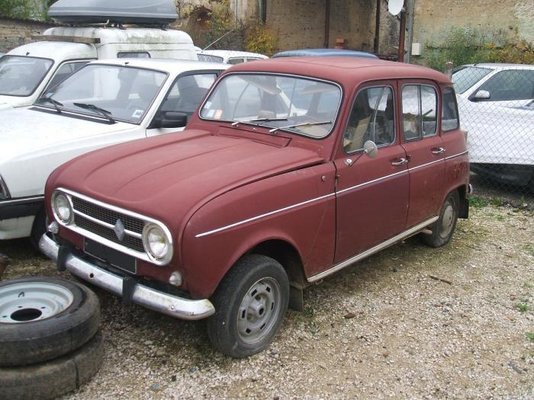
Yellow R4
 
Réparateur d'automobiles

R4 restoration made in France

;) Hi, I had many things to do these last months...

Not many news of my car... except I built my fiberglass parts :rolleyes:
Inner left wing:
441 Pièce terminée.jpg
Removing from the mould:
439 Démoulage.jpg
First adjustment:
443 Premiere présentation.jpg
Building of the first front wing:
451 Aile D démoulage.jpg
Fitting of the accessories in the engine bay:
459 Joues d'ailes fixées.jpg
 
5. At this moment the most pleasant (!!!!) part the work started: protecting all the places which will keep this color, I used adhesive paper tape and scalpel to have precise cuttings;
View attachment 2997

I know I've already seen such a restoration somewhere... It tooks me several day to find out this thread another time!
Very good job, I am involved in a similar one (though I do not know if I will be so professional...)...
I will borrow you the masking trick, I think...
Thank you for sharing your experience!
 
Snoopy1974,
I became a member a few weeks ago and I just ran into your thread. I must congratulate you... you are a fine mechanic and a artist! Thank you for sharing your project with us.
On a side note I noticed your detail in working with the project. You have taken photos of every aspect of the restoration plus many many notes. So I just thought I would put the idea out there of writing a book about your restoration!:smile:
I have been looking for information on the subject and your thread has been the best! I am sure you have many more pictures that you have not posted so you defiantly have the material you just have to put it together and do some more writing with those pictures.
I am sure you will have plenty of buyers for your book. I would be one of them!
All the best and keep up the good work!
Robert
P.S. I know it has been mentioned, but you definitely could sell those fiberglass wings. Have you done a weight comparison between the fiber wings (inside wing and outside wing) with the original? Would be interesting to see the weight difference!
 
;) Hello everybody,

many months passed since my last post, many things change in my life too... but it's another story :rolleyes:

So, firstly my car isn't still finished, but these days I started the job again, and every day I prepare another part for job painting...

Let me show you pictures of these last months...
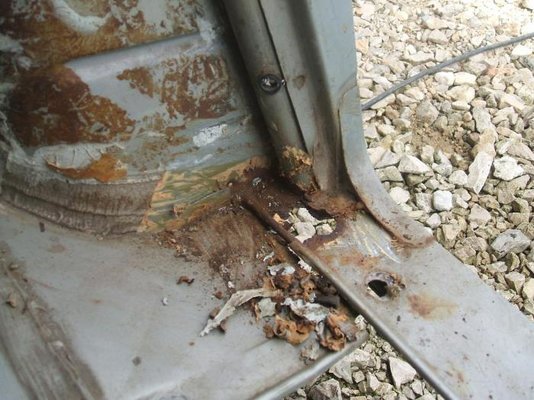
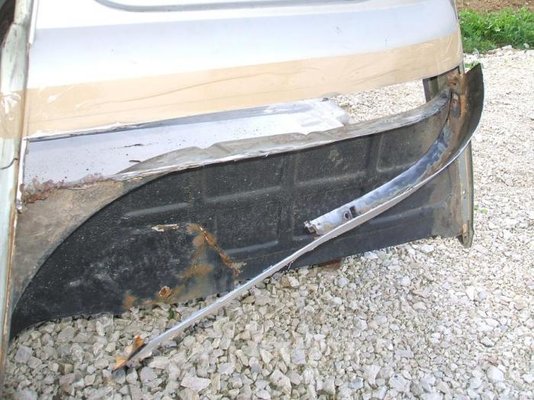
Corner behind the rear left door...
468 Coin arrière gauche.jpg
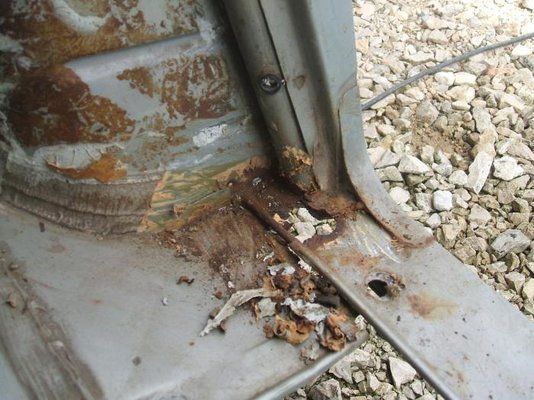
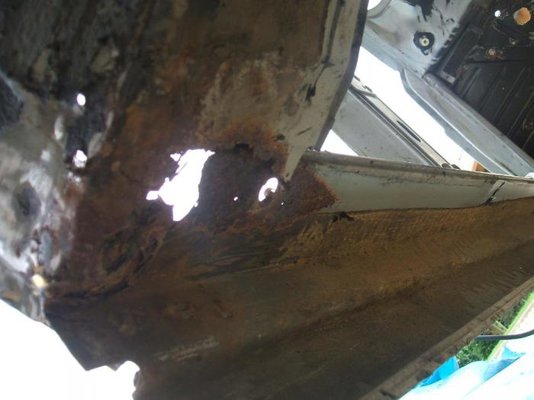
View from the underside, not very pleasant :eek:
469 Coin vue de dessous.jpg
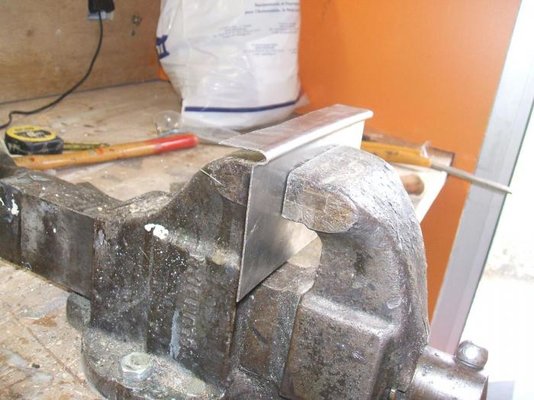
Building of one of the different new parts in 0.8mm steel sheet:
472 Formage tôle.jpg
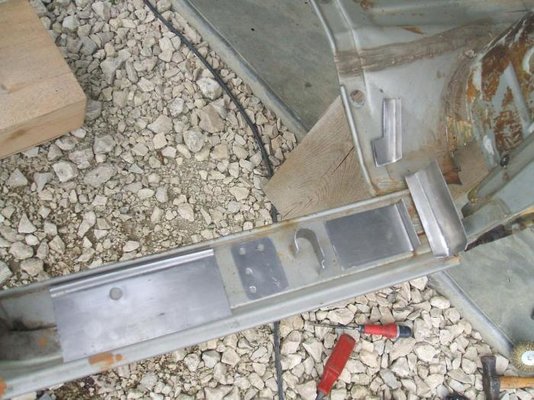
After many (very) long hours of job, here are the 6 news parts home-made :smile:
473 Rustines côté droit.jpg
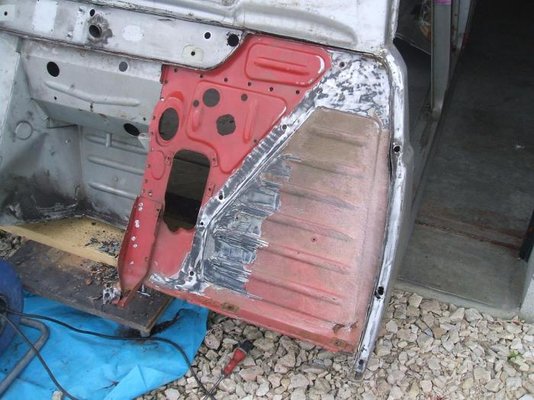
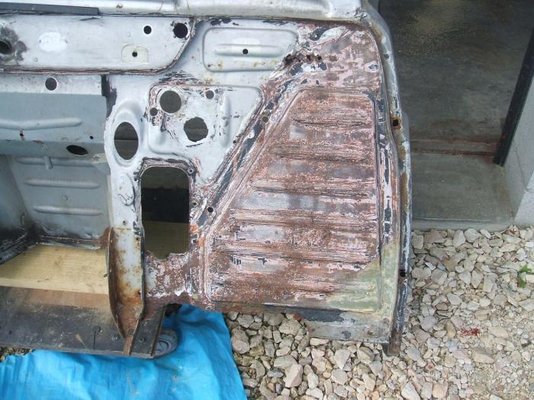
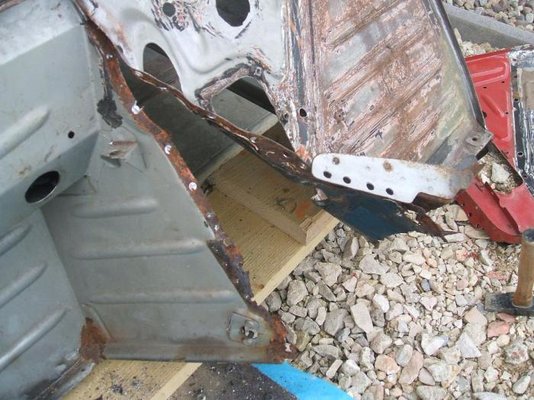
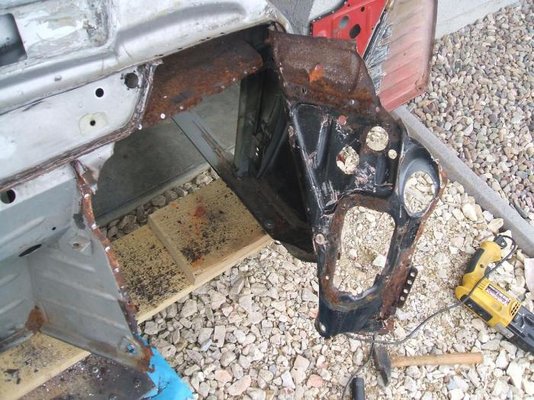
This side of the "tablier" in french (I don't know the good word in english) is too rusted to be saved, I decided to take off it to weld a new one found in a scrapyard:
479 Tablier en place.jpg
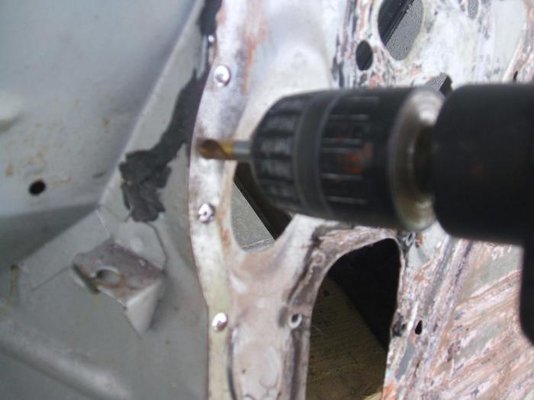
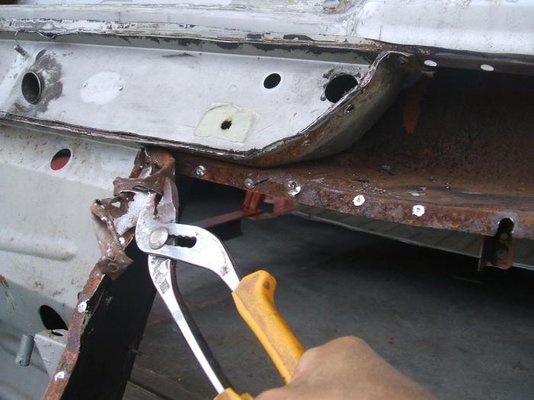
480 Dépointage.jpg
481 Début démontage.jpg
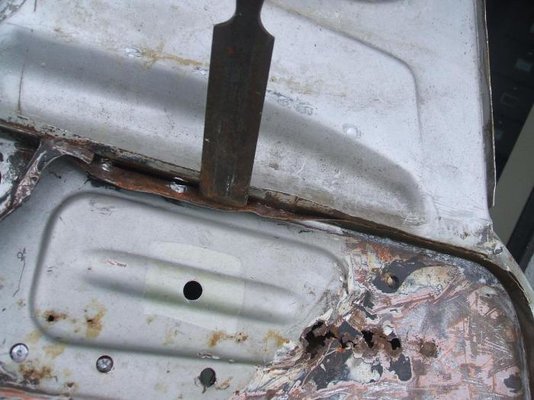
482 Ciseau à bois.jpg
483 Tablier dépointé.jpg
486 Finition dépointage.jpg

You can notice all the rust in the interior, behind the dashboard, due to the fact that in 1999 the wiring loom has burnt, which destroy all the paint at this place in particular, the body wasn't protected against the rust....

To be continued in the next post, in few minutes ;)
 
:D The last post for today, open yours eyes, and do not hesitate to write remarks on my job...
I can't resist, I try to put the new one in place... it fits perfectly :hug::hug:
488 Nouveau tablier en place.jpg
After this step, and before the next painting jobs, I protect all the underneath of the dashboard with "Rustol CIP", the best anti rust primer know in France in general, and from the R4 enthusiasts in particular !
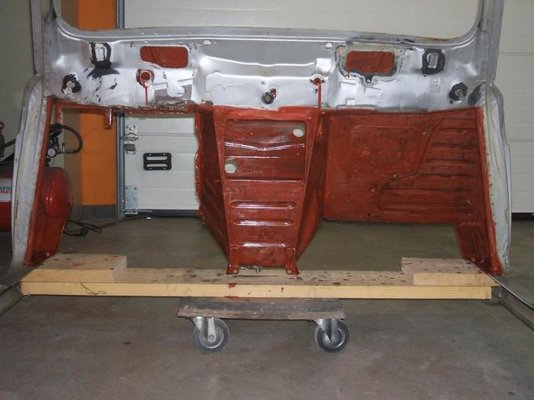
491 Avant protégé.jpg
Even the interior have been painted with a special gun to protect the inaccesible areas:
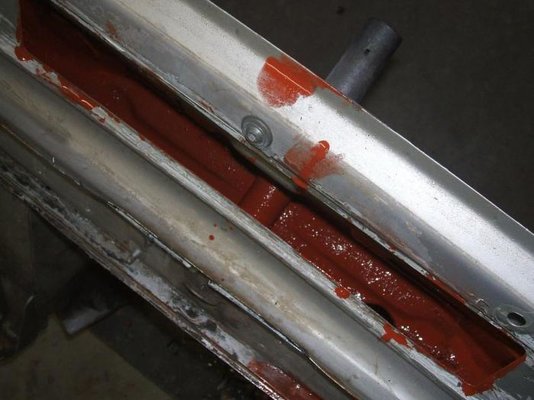
493 Corps creux traités.jpg
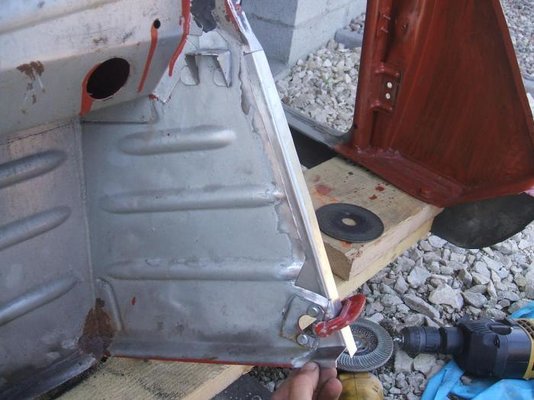
The day after, I had to prepare the support of the new part:
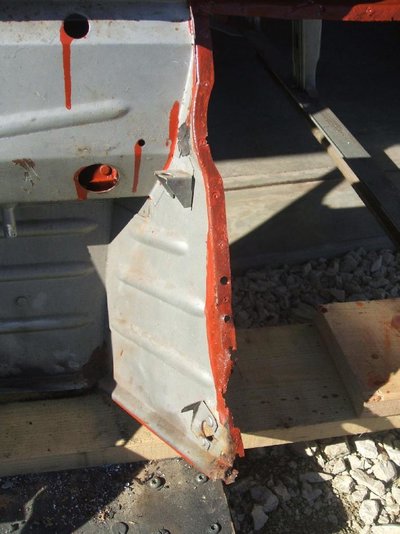
496 Rebord avant découpe.jpg
As I already do, I started with a simple sketch of the part I have to do:
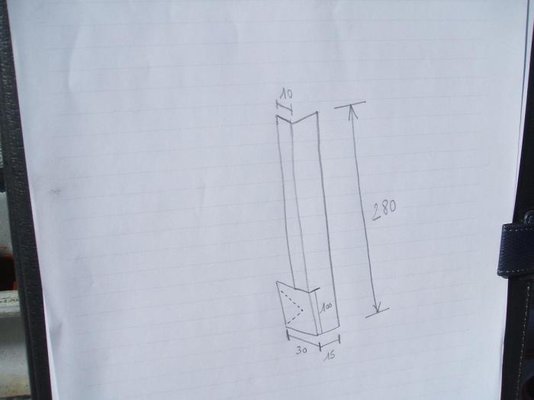
497 Croquis rustine.jpg
After... several long minutes of boring job, cutting, adjusting, etc, the new parts are in place, they fit perfectly again :D
503 Repli terminé.jpg
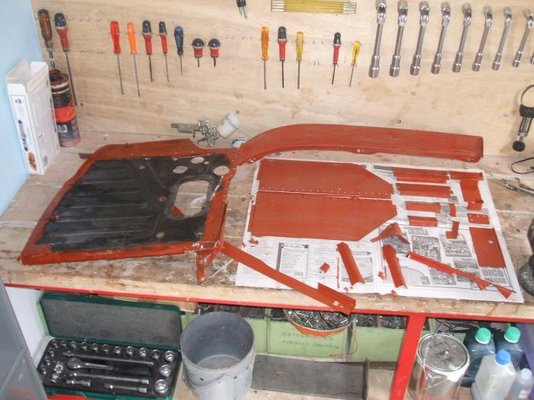
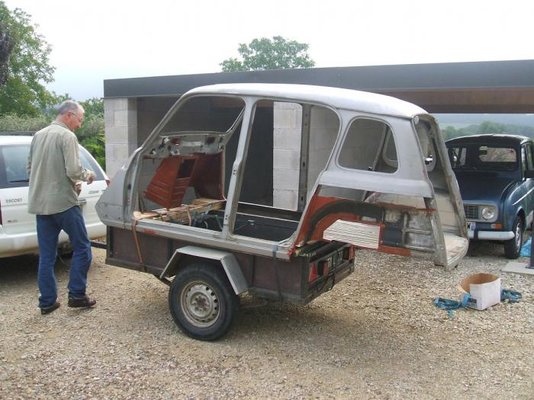
Here are all the parts I have to build (or bought fot the 2 largest one), they are going to be welded in place with the help of a professional welder working in a marvallous little car garage specialized in old cars, in the village I lived the first 3 years of my life :rolleyes::rolleyes:
506 Rustines terminées.jpg
507 Chargement remorque.jpg
509 Voyage 2.jpg
510 Arrivée garage.jpg

Seen you soon, I actually wait for the call from the garage owner for the starting of the welding job ;)
 
Last edited:
soundproofing material glued to the floors

:smile: good evening to all,
I started to dismantle the new chassis at the beginning of september, I removed the (wich keep the water and make the floor rusting, I won't put them again when I will reassemble the chassis), the front floor seemed to be in good condition at first sight.

I did put 4mm bitumen mat to my R4 floor and the result seem excellent, 2mm mat is too ligth.It is very easy with electric heat fan. three mats of 40x100 cm is enough.This will add your vehicle weigth by 7,5kg/m2 added
 
Hi all ;)

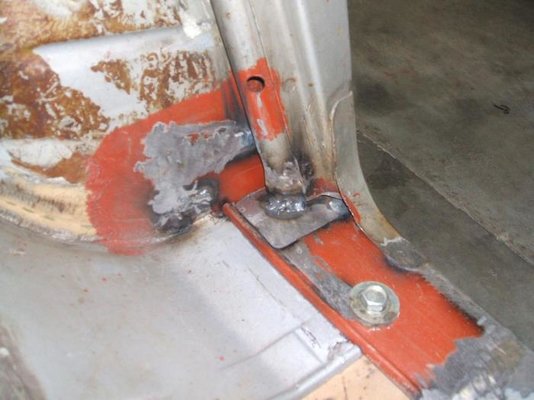
after waiting 2 months and few days the weldinc job on my R4 body is finally finished, Gerard made an awesome job, let me show you several "before and after":
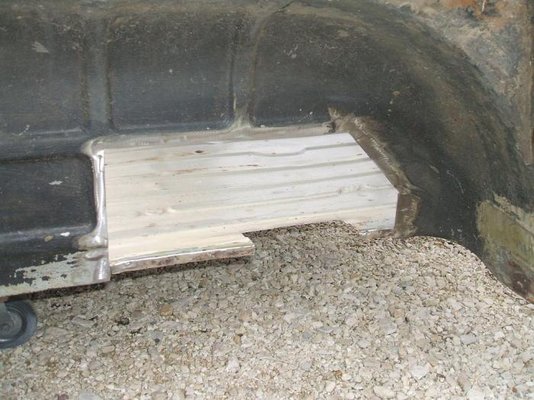
Left rear corner, before:
468 Coin arrière gauche.jpg
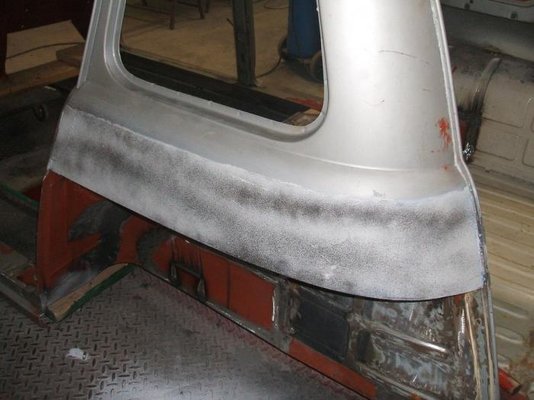
After:
DSCF4980.jpg

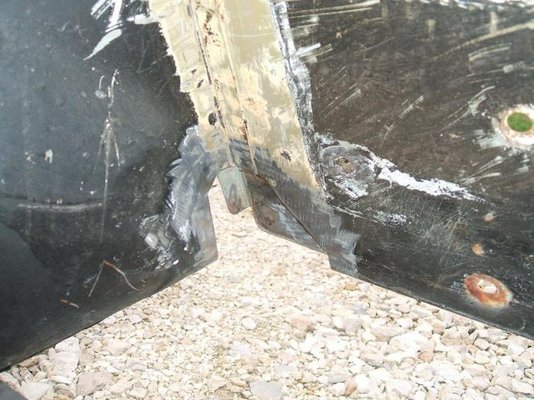
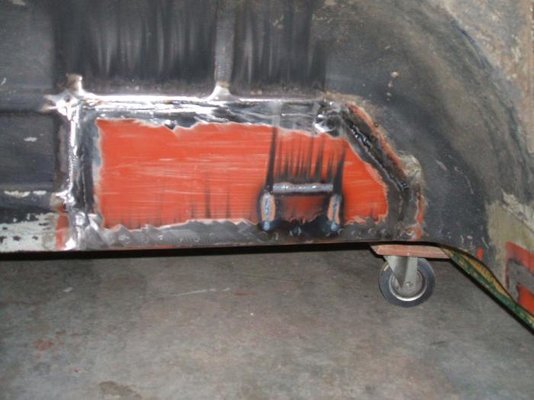
Right rear corner, before:
344 Tôles superposées.jpg
After:
DSCF4993.jpg

Left rear wing mouting, before:
390 Caisse découpée.jpg
After:
DSCF4971.jpg

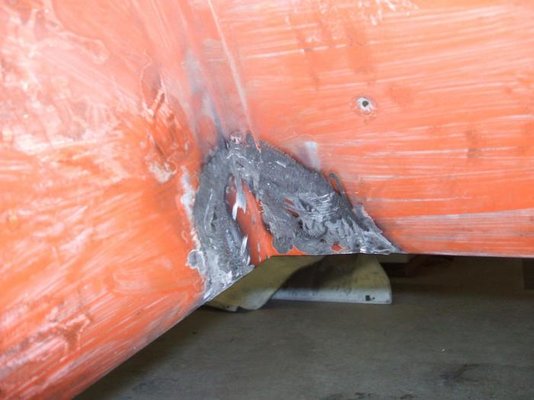
Right boot floor corner, before:
351 Découpe effectuée.jpg
After:
DSCF4984.jpg

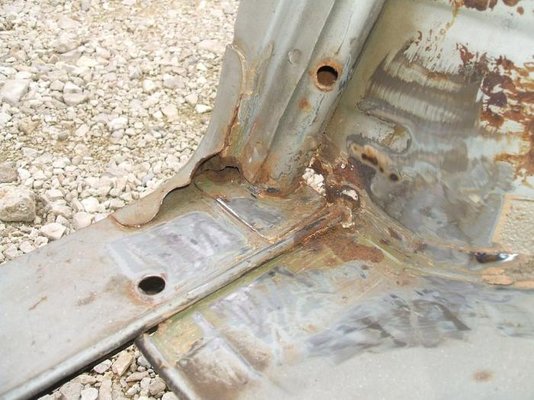
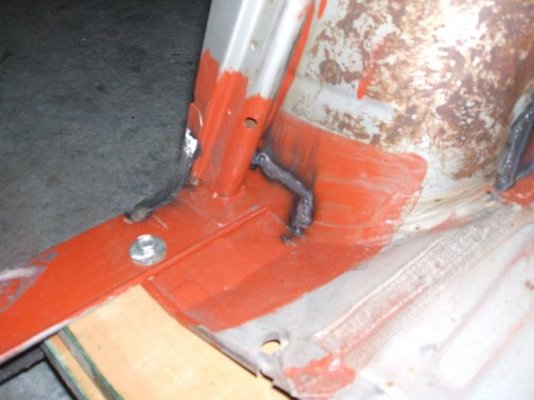
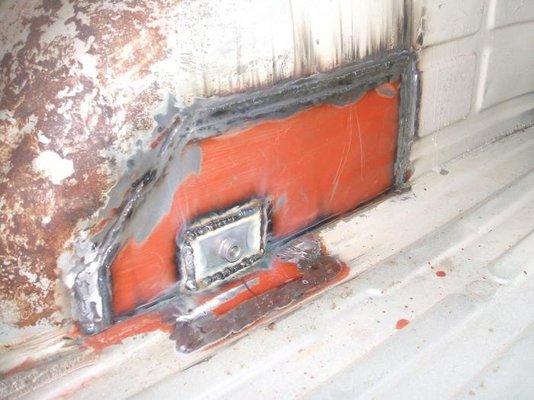
And finally the biggest one(s), rear seat belt mouting (right side), before:
352 Découpe support ceinture.jpg
After:
DSCF4992.jpg

Nice job, isn't it ?
 
Looks Great! Had to do exactly the same things (and more!). Great job! Hope you'll be making progress, I'm sure you're eager to drive it again just like I'm eager to drive mine again! Good luck.
 
Many thanks !

You're luckier than me, your car is about to be finished, mine needs still many months to be on the road :shock: :shock:

I forgot to tell that I bought... 2 others R4, as soon as my 1987 GTL will be finished, I will start the restoration of another one :rolleyes:

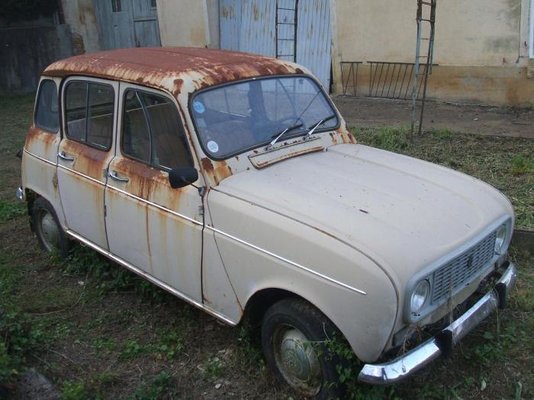
Maybe the TL 1977:
DSCF4911.jpg

Maybe the 1967:
DSCF4968.jpg

1967, 1977, 1987... is anybody here has the same collection ???? :D :D
 
Hmm, that TL looks like it could use some work. If the roof hasn't been rotten through, it should be fixable though! But i guess it's pretty far gone right? That 0.8 mm sheet metal can't take a lot of rust or it'll be rotten through pretty soon.
Personally, I'd give the 1967 a try first, since it's oldest and store the TL somewhere dry in the meantime!
 
cleaning with vinegar and intake manifold cleaning

item 1: To remove all the fur inside the water pump I decided to dip it in vinegar, someone told me it's a good method
-->how was the result, i can see the photo but what was the acetic acid content in your vinegar used?
-->can i use vinegar for inner cleaning of the radiator, when loose it can heard loose rust? particle to move inside but cannot be washed out with warm water

item 2: Hi everybody, this week I cleaned all the parts before fitting the engine and gearbox in the chassis. My manifold is now ready to fit
-->anybody tried to clean manifolds inside?pls give some ideas for toos to be used
 
;) Hi all, news of my little GTL...

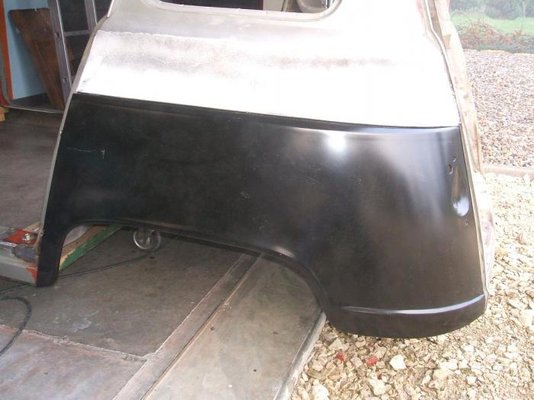
I bought 2 rear wings at Melun Retro Passion, few days ago, before sanding the repaired body and primer coating, I decided to fit these wings to see if all is ok;

A first sight, it seems to fit very well, even I had to enlarge all the fixing holes to fit the wing correctly:
544 Présentation aile.jpg
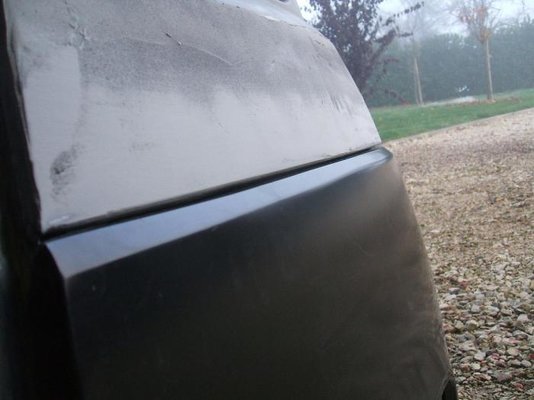
The space between the body and the wing is also good, except at the rear of the body:
545 Jeu caisse-aile.jpg
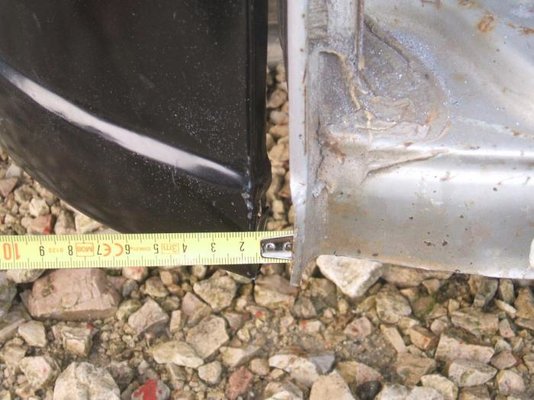
But THE problem is... there is 1,5cm space at the rear between the body and the wing :eek::eek:
547 Ecart de 1.5cm.jpg

What can I do to correct this problem ? The only thing I thought about is welding a steel sheet to enlarge this part of the wing, very complicated for me :mad::mad::mad::mad:
 
Hey Alexandre,

I had similar problems with both my new front and rear wings, I just persuaded them into position and fastened the bolts in a strategic way. In the end you'll be able to get them where you want them, the sheetmetal is pretty bendable.

It's just a really nasty job. Use Sikaflex or some kind of adhesive (for correct sealing) when you're fitting them.
 
;) Hi Rutger-Peer,

waiting for finding a solution to this problem I decided to protect the body before the temperatures will be too cold...

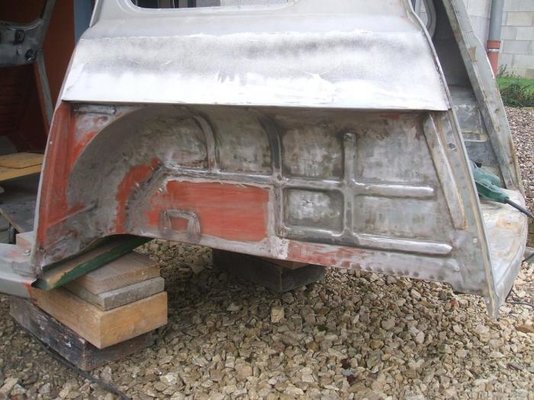
I started to sand all the rear of the body, where the repairs have been made, a dirty and a not very pleasant job in my opinion:
551 Ponçage intérieur G.jpg
553 Ponçage extérieur G.jpg

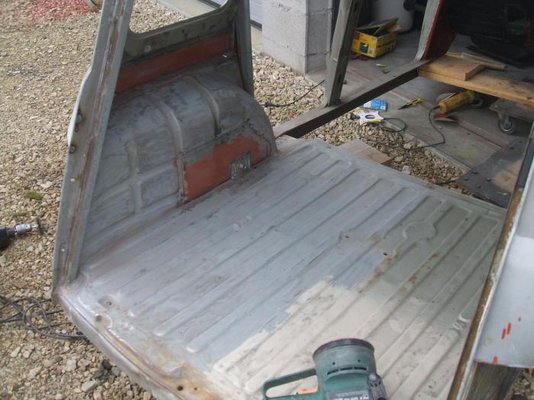
At this point, half of the floor of the luggage compartiment has been sanded, it's not easy to access to the veins with the electric sander, and I have to finish by hand :(
554 Ponçage moitié du coffre.jpg

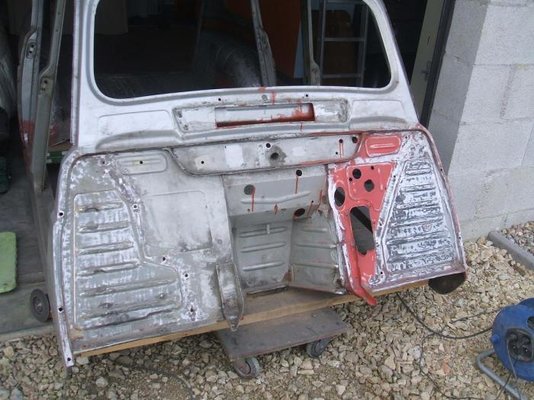
At the front of the body the bulkhead have been sanded too, note that the left side it has been completly changed with another one in better condition:
559 Tablier poncé.jpg

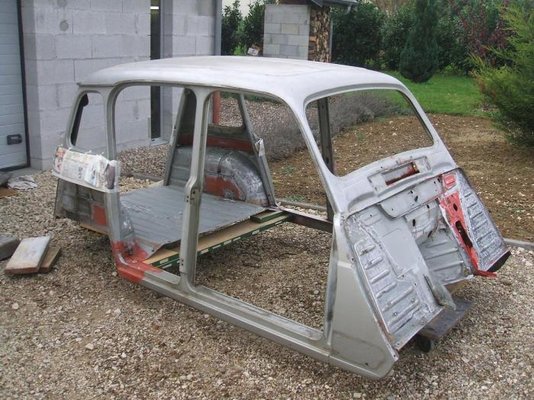
The body is ready to be painted :)
562 Caisse prête à peindre.jpg

This job is much more pleasant, even if you can see that there are many bumps on the floor in the rear compartiment...the owner before me used to transport sheeps in the car :eek: :eek: :eek: Unfortunatly I don't have the good tools, and the competences to repair them :(
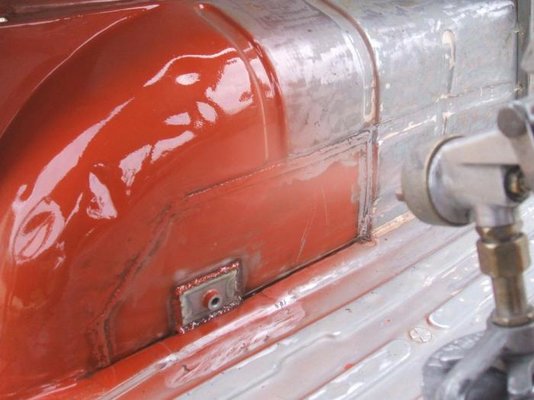
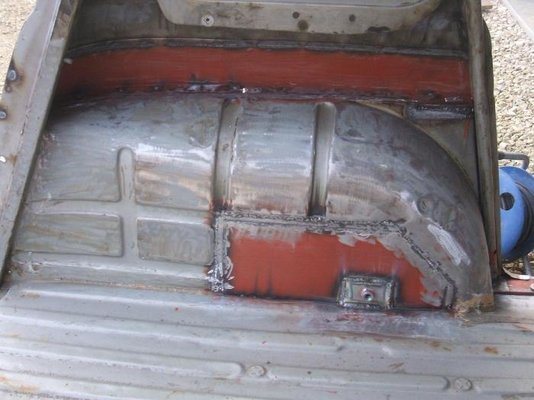
563 Rustol passage de roue.jpg
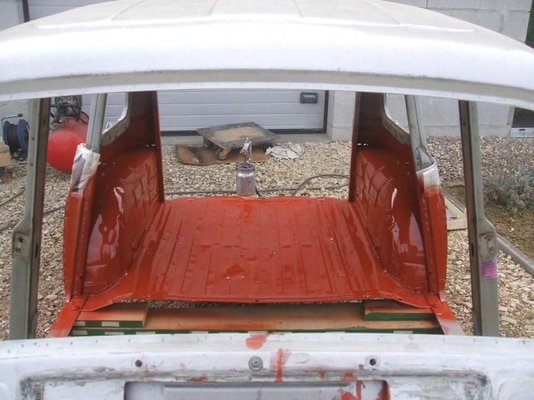
565 Arrière terminé.jpg
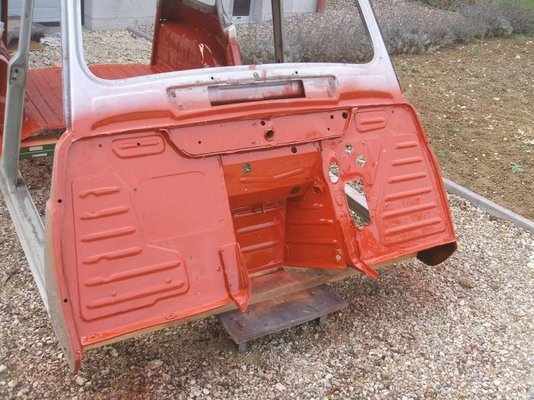
567 Tablier terminé.jpg

With this regular color on the repaired parts, the body looks suddenly more finished :)
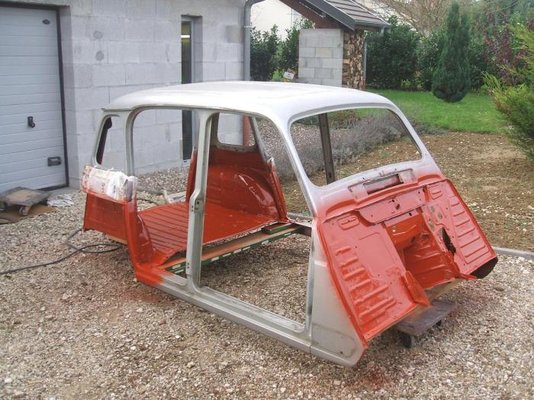
568 Rustol CIP terminé.jpg
570 Trois-quart arrière.jpg

To be continued ;)
 
Hi Eoynteenie,

I don't know if it's the best way, but even there are not the mouldings as a new car, it's the best I could do with 0.8 mm steel sheet.
 
Back
Top