You are using an out of date browser. It may not display this or other websites correctly.
You should upgrade or use an alternative browser.
You should upgrade or use an alternative browser.
What have I done! (R4 GTL)
- Thread starter petak
- Start date
borgeb
just love them
- Messages
- 22
Hello Petak, I am happy to see you are finally so close! Soon I will see you driving in my neighborhoud with a big ( or nervous?) smile in your face. I have followed your work, it is indeed some standard you are defining here!
For the door switches, it should be enough with the drivers door. And, maybe it should be possible to find a magnetic or induction switch that can do the job, glued in a hidden place? Just my first thaught.
I will be around after mid- april, see you!
For the door switches, it should be enough with the drivers door. And, maybe it should be possible to find a magnetic or induction switch that can do the job, glued in a hidden place? Just my first thaught.
I will be around after mid- april, see you!
petak
Enthusiast
- Messages
- 1,903
- Location
- Vodice, Croatia
Thank you borgeb for idea!
I have started to pull wires through pillars for door switch....At the end they will go on pillars.....easiest way to do it....
Borgeb.....then i have little time left until you came.....must hurry myself
See you in few days
I have started to pull wires through pillars for door switch....At the end they will go on pillars.....easiest way to do it....
Borgeb.....then i have little time left until you came.....must hurry myself
See you in few days
mr-reno-139
AKA Paul Cunningham
- Messages
- 2,268
- Location
- lancing west sussex england
Think I would of mounted switches inside pillar area and let it be operated on the part of the door restraining strap which folds up when door closed and opening door will pull strap outwards to operate
mr-reno-139
AKA Paul Cunningham
- Messages
- 2,268
- Location
- lancing west sussex england
How about those micro switches with a spring y lever arm mounted really low near the sill mounted to b pillar the arm could touch the inner face of rear door ?
petak
Enthusiast
- Messages
- 1,903
- Location
- Vodice, Croatia
Can you give me some picture of that switches
I have bought some like this one
http://www.ebay.com/itm/Universal-C...-Gasket-Boot-Bonnet-Alarm-Light-/251554320287
I have bought some like this one
http://www.ebay.com/itm/Universal-C...-Gasket-Boot-Bonnet-Alarm-Light-/251554320287
mr-reno-139
AKA Paul Cunningham
- Messages
- 2,268
- Location
- lancing west sussex england
 these are more used in electronic applications but I have used them for reverse light switches on some cars were there is no hole in the gearboxthere are loads of types listed on ebay this is just a random one I found it should be possible to mount a small bracket lowdown true the two fixing holes Or possibly even mount flush with the sill
Tomcat
Enthusiast
- Messages
- 968
- Location
- Milton Keynes
Used on my Hillman Imp as a reversing light switch.This is great! Thank you, thank you........will investigate those switches little bit more....and definitely would consider them.
Can you give me some clue how their wiring goes?
Will sort out wiring and advise asap.
petak
Enthusiast
- Messages
- 1,903
- Location
- Vodice, Croatia
Today i was just thinking of how i should put some update here.
little bit busy on all other fields so no much time for R4.
Most of my time is spend on this project
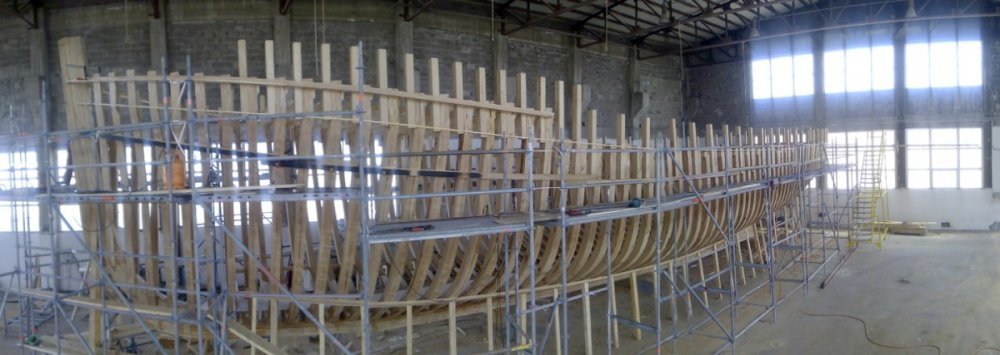
But let go back to R4.
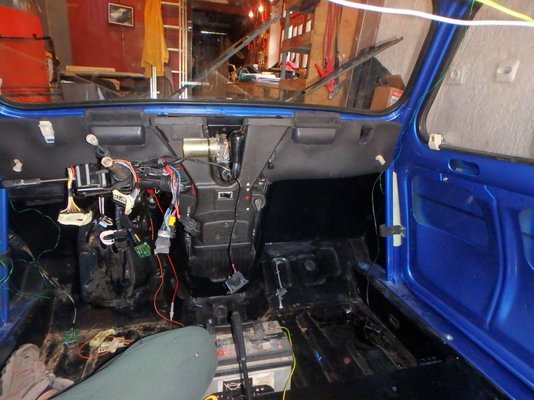
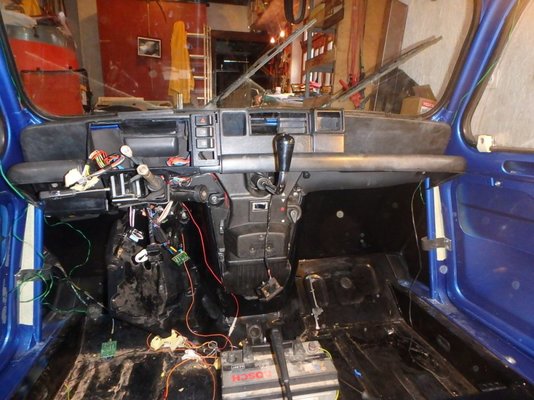
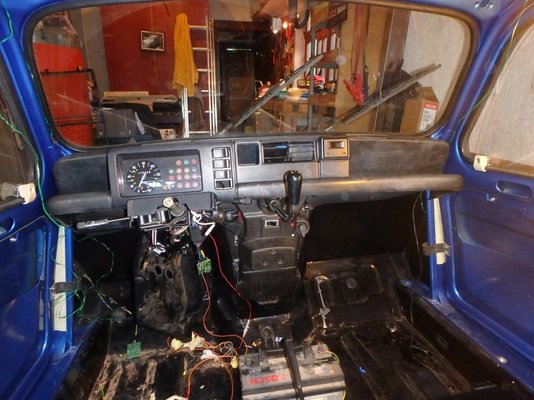
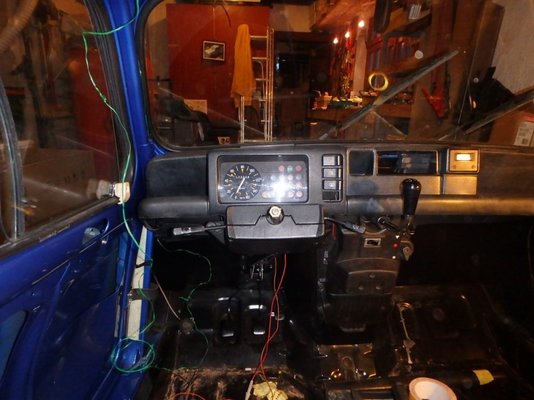
Electrical wiring inside cabin is finished (left to connect light in boot)
Interior light is connected to door switches.
Add right side B pillar light (same as original one)
Light will go on when you open any door (including boot) and shut down after some 15-20sec.
But in any time you can switch it in traditional way by turning glass on light it self.
Both lights (left and right) will illuminate
Some wiring
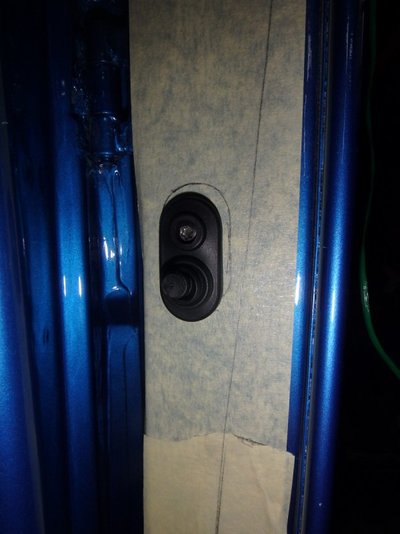
Door switches (after some time spend investigating microswitches left that idea aside)
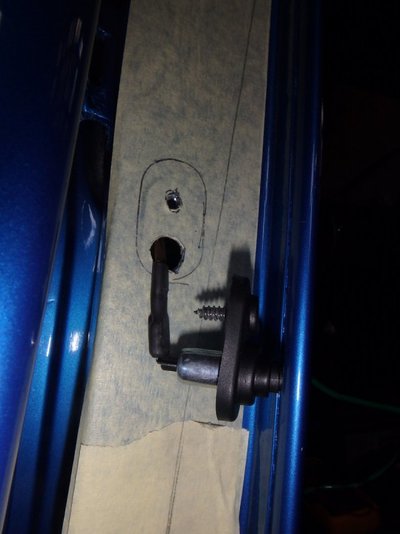
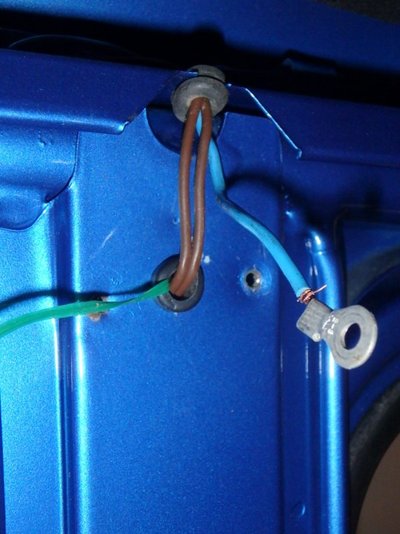
Wiring through B pillar
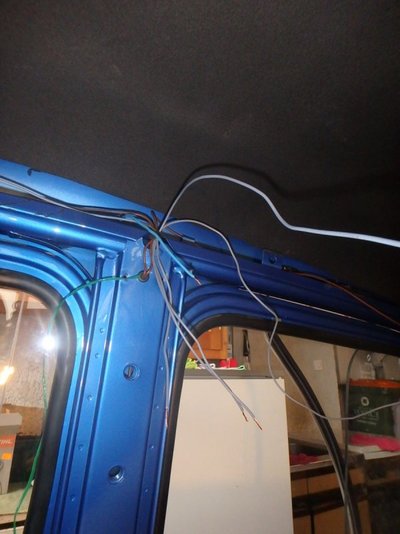
Left side
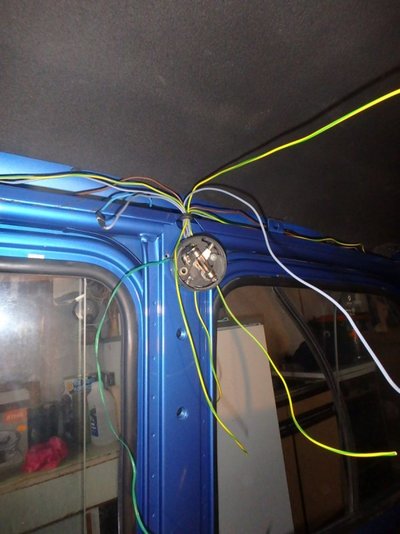
Right side
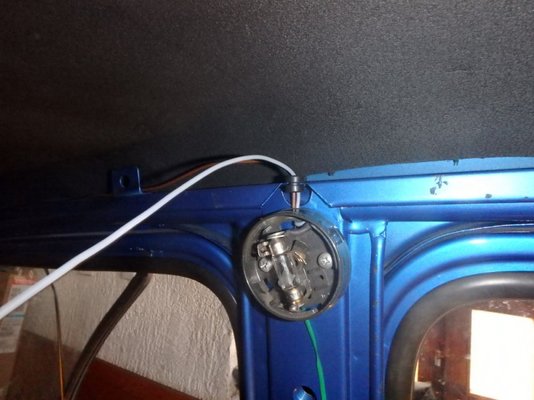
Finished wiring
Left light
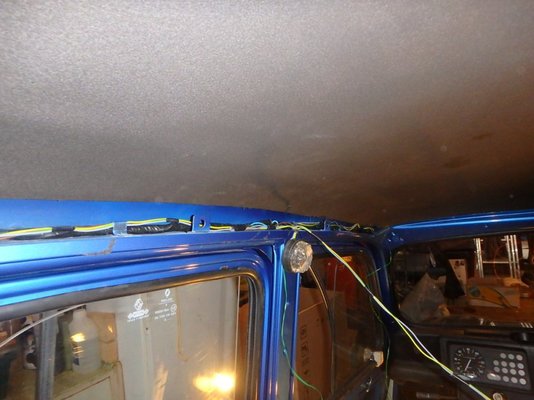
Right light
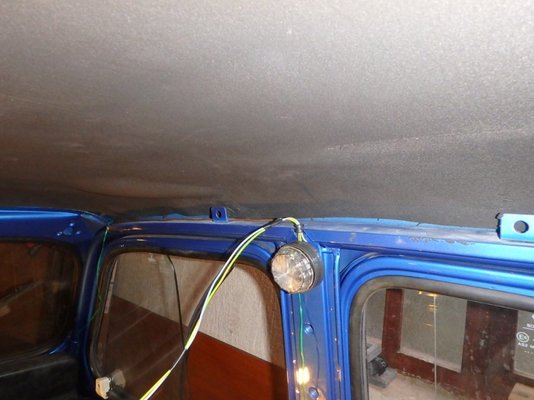
little bit busy on all other fields so no much time for R4.
Most of my time is spend on this project

But let go back to R4.
Electrical wiring inside cabin is finished (left to connect light in boot)
Interior light is connected to door switches.
Add right side B pillar light (same as original one)
Light will go on when you open any door (including boot) and shut down after some 15-20sec.
But in any time you can switch it in traditional way by turning glass on light it self.
Both lights (left and right) will illuminate
Some wiring
Door switches (after some time spend investigating microswitches left that idea aside)


Wiring through B pillar


Left side

Right side

Finished wiring
Left light

Right light

petak
Enthusiast
- Messages
- 1,903
- Location
- Vodice, Croatia
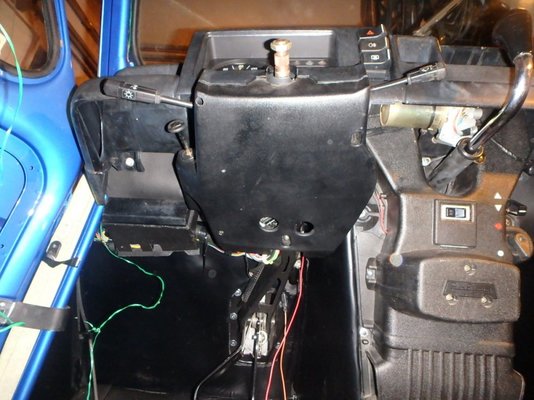
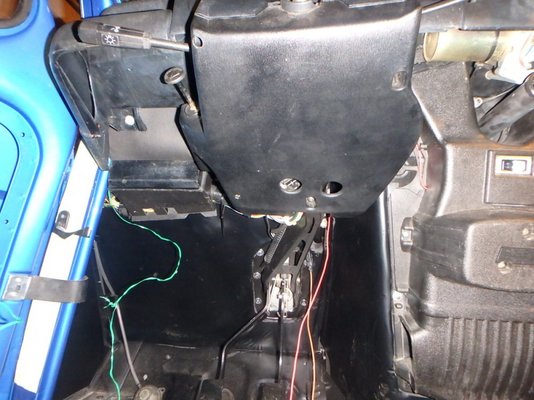
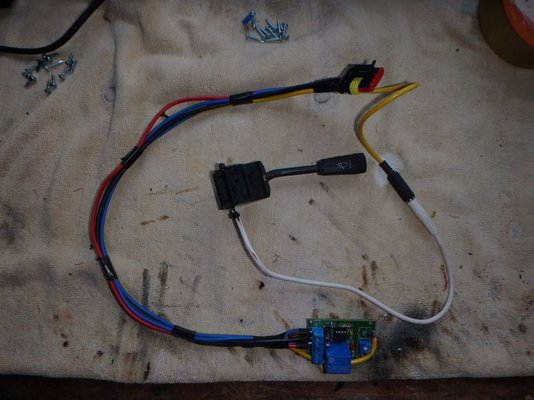
Device that is controlling light
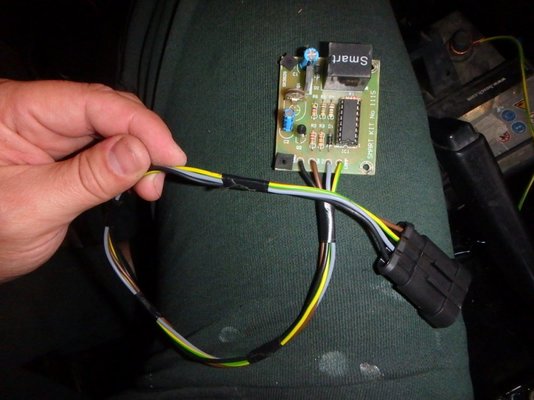
Wipers are equpied with interval wiping.
Wires are arranged in such manner that is i decide to remove it or it got broke i can unplug it and wiper will work as normal R4 wippers
In proces of planing
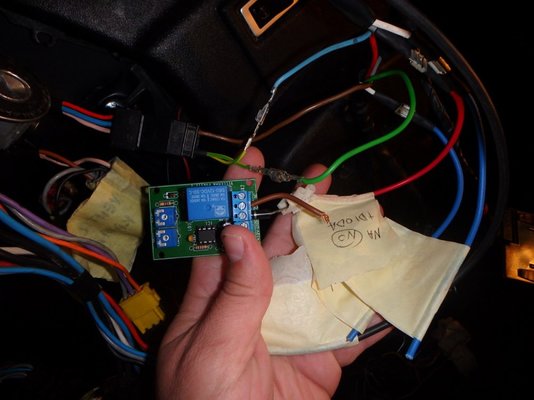
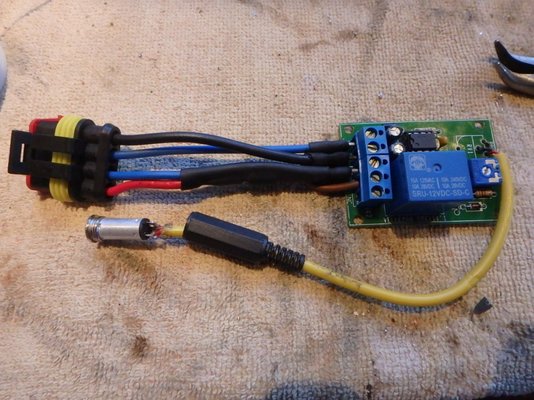
Conected as i wanted and checked if it works correctly
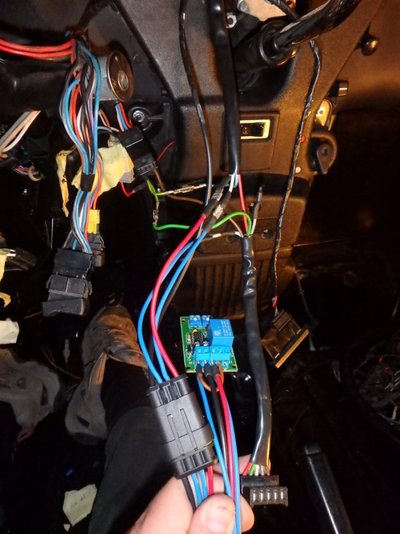
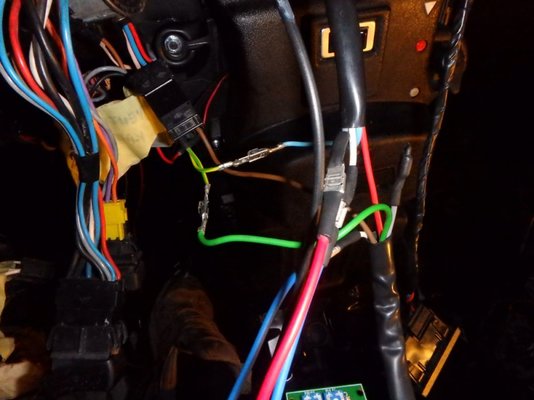
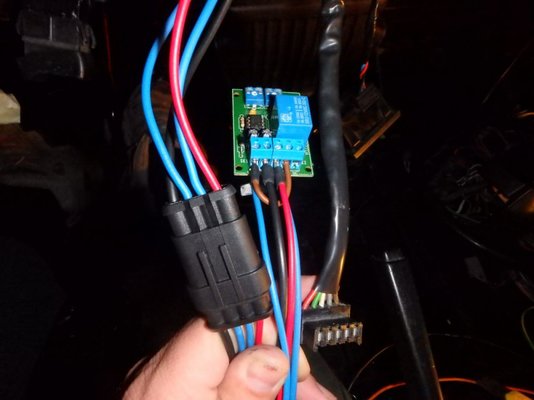
Device it self
Cut to reasonable length after positioning under the steering column
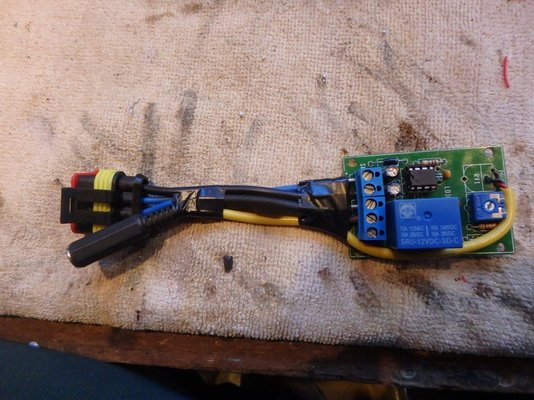
Location under steering column with double side adhesive and rubber
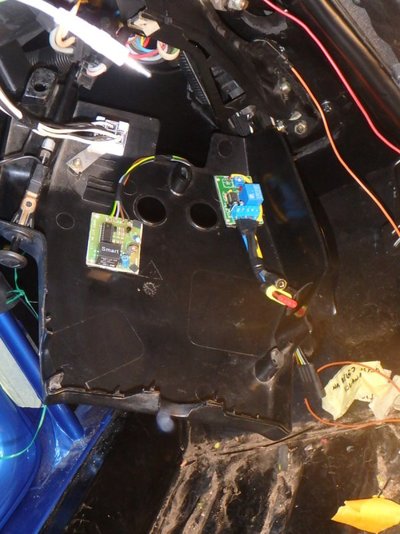

Wipers are equpied with interval wiping.
Wires are arranged in such manner that is i decide to remove it or it got broke i can unplug it and wiper will work as normal R4 wippers
In proces of planing

Conected as i wanted and checked if it works correctly


Device it self

Cut to reasonable length after positioning under the steering column


Location under steering column with double side adhesive and rubber

petak
Enthusiast
- Messages
- 1,903
- Location
- Vodice, Croatia
JonathanT
Not normal for Norfolk
- Messages
- 1,332
- Location
- Wymondham Norfolk
I'm a long way behind that's great work Petak . Have taken the plunge and bought a Mig welder. So some fast reading of Malcolm's Mig welding tutorial should have me back on track soon. Lovely boat ...great lines. I have many projects too and not all RENAULT related!
mr-reno-139
AKA Paul Cunningham
- Messages
- 2,268
- Location
- lancing west sussex england
Wish I could get the photos and descriptions to layout on the page like that
Keep up the good work
Keep up the good work
petak
Enthusiast
- Messages
- 1,903
- Location
- Vodice, Croatia
Thank you guy for encourage...at this moment crucial thing i s not to start rushing to finish it...and i am barely holding myself of doing just that.
JonathanT.....same way my thoughts are going.....it is time to get my self some welding machine and start to learn to weld...(for my next project
 )
)
Cornish4.....actually i am not boat builder...not building boats with my own hands but with my head ("They" call my profession "naval architect") and this is my latest project...24m long new building made of laminated oak wood....
But usually doing bigger or smaller reconstructions on existing vessels. fishing vessel to tourist vessel for example
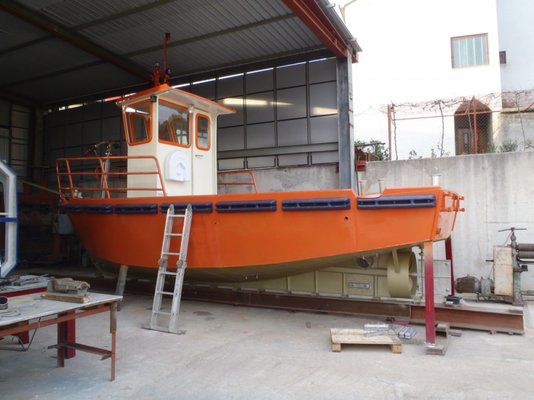
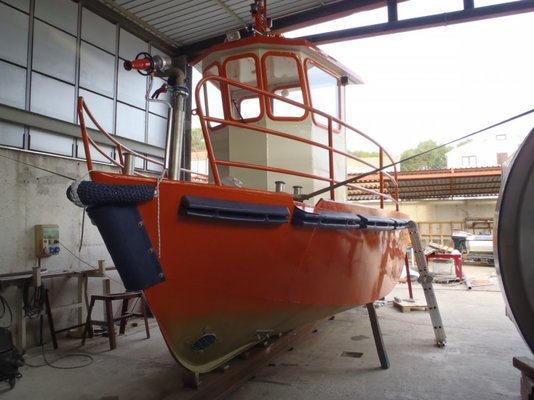
Made one more new building in my career. small 8,5m long aluminum harbor vessel for collecting gray/waste and bilge waters from big yachts that can not get to the shore to connect to land systems and with strong firefighting gun for harbor/marinas purposes..
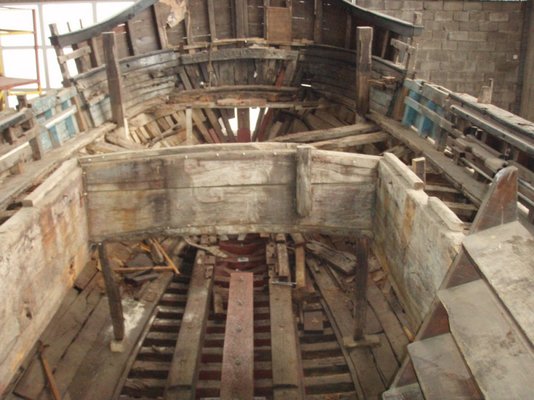
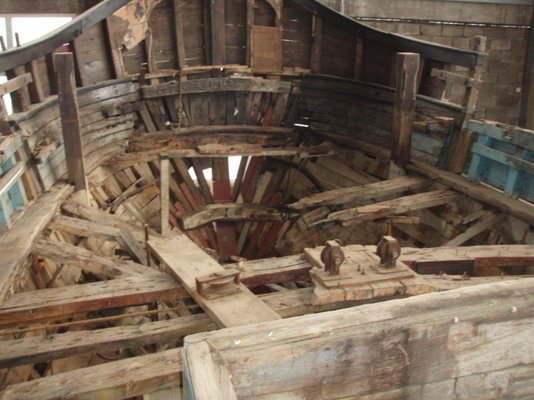
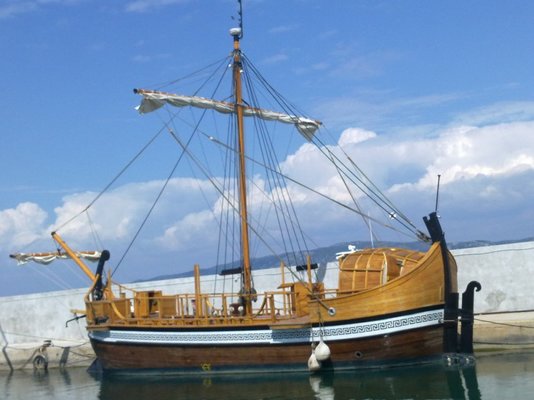
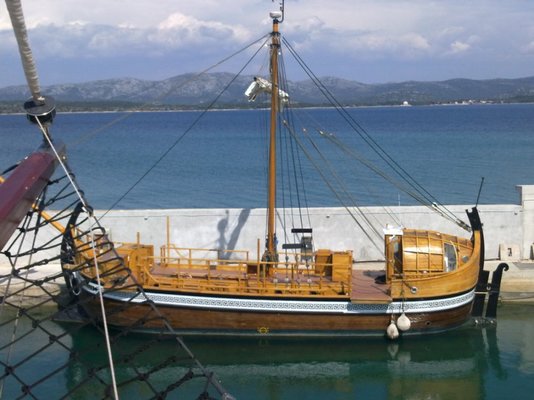
And one major reconstruction of movie set vessel that was under water for year. from old vessel only was left idea and body lines but every peace of wood was changed with new (full restoration ) because it rotted
Before
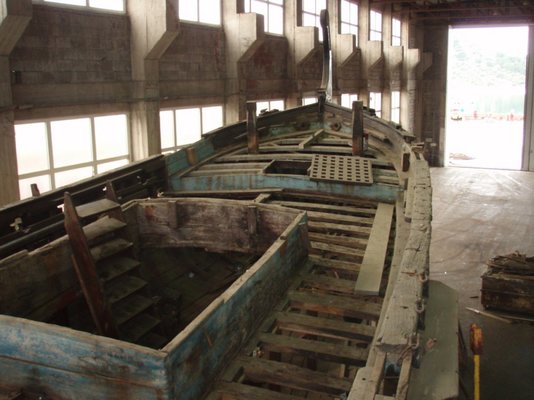
After
Mr-reno-139...pictures are made because of me at first place so i can put my R4 back as it was (and to learn and memorize how R4 is build) and after that it is easy to select pictures and share with you.
P.S. Hope that this few vessel pictures wont bother you here in this topic....Is you believe that they do not belong here i will remove them...Thank you
JonathanT.....same way my thoughts are going.....it is time to get my self some welding machine and start to learn to weld...(for my next project
 )
)Cornish4.....actually i am not boat builder...not building boats with my own hands but with my head ("They" call my profession "naval architect") and this is my latest project...24m long new building made of laminated oak wood....
But usually doing bigger or smaller reconstructions on existing vessels. fishing vessel to tourist vessel for example
Made one more new building in my career. small 8,5m long aluminum harbor vessel for collecting gray/waste and bilge waters from big yachts that can not get to the shore to connect to land systems and with strong firefighting gun for harbor/marinas purposes..


And one major reconstruction of movie set vessel that was under water for year. from old vessel only was left idea and body lines but every peace of wood was changed with new (full restoration
 ) because it rotted
 Before


After


Mr-reno-139...pictures are made because of me at first place so i can put my R4 back as it was (and to learn and memorize how R4 is build) and after that it is easy to select pictures and share with you.
P.S. Hope that this few vessel pictures wont bother you here in this topic....Is you believe that they do not belong here i will remove them...Thank you


