Renault 5 Engine Rebuild
The Renault 5 TX is fitted with a 64bhp 1397cc engine. That doesn't sound a lot these days, but the Renault 5 only weighs about 775kg so performance is equivalent to over 100bhp in a modern hatch that weighs nearly twice as much. The TX was a warm hatch in it's day.
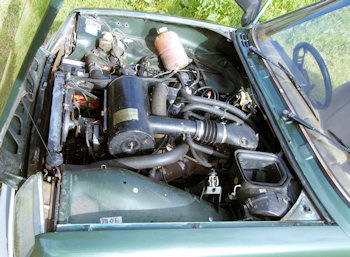
There's definitely an engine in there somewhere. The engine layout traces it's origin back to the rear engined 4CV from the 1950s which had the gearbox in front of the engine. Front engines were the thing in the '60s and rather than redesign anything Renault just moved the whole lump to the front of the car for the Renault 4. The Renault 5 is based loosely on Renault 4 mechanicals and retained the layout. As a result the engine sits behind the front wheels so the Renault 5 is mid-engined.
A problem with this layout is the ancillaries (waterpump, alternator etc) have to be at the front of the engine and the only place to drive them is from a pulley on the end of the camshaft. That means the timing chain has to do more work than just drive valves, and with extra load of power steering in the TX the timing chain is knocking at 55,000 miles.
This car also had head gasket issues. The engine cooling fan would only come on if the water can get up to pressure, and the water can't get to pressure when the seal in the radiator cap has gone. If you aren't careful all the water falls out and the head needs a skim.
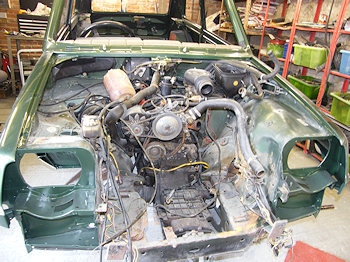
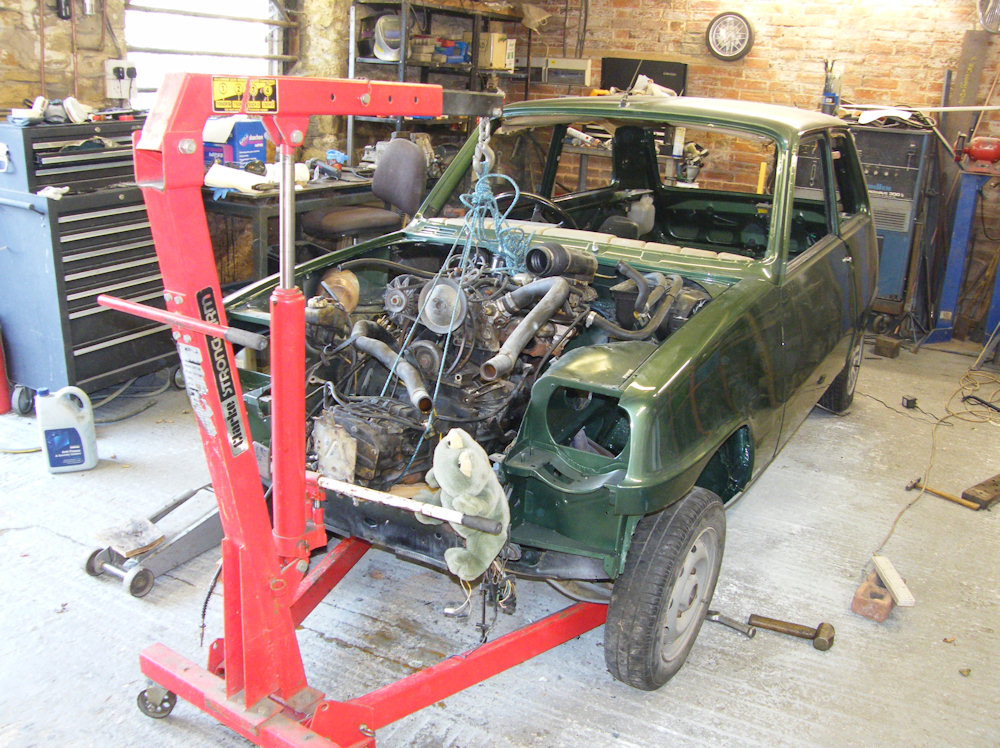
Pulling the engine out isn't too bad. The steering rack, driveshafts, bonnet and radiator are the big lumps that need to be removed first. Other than that it's just a case of undoing wiring and cables and gear linkages until the engine isn't connected to the car any more.
Work got in the way of the project for a month and now it's late November. I've decided I don't like work and have resolved to give it up and become self sufficient. Like the 'Good Life' only with more Renaults. But sadly fewer Felicity Kendals.
Removing the gear linkages had me confused. The little ball joint pops off but the big one needs to be unscrewed using an allen key through the hole in the back of the joint.
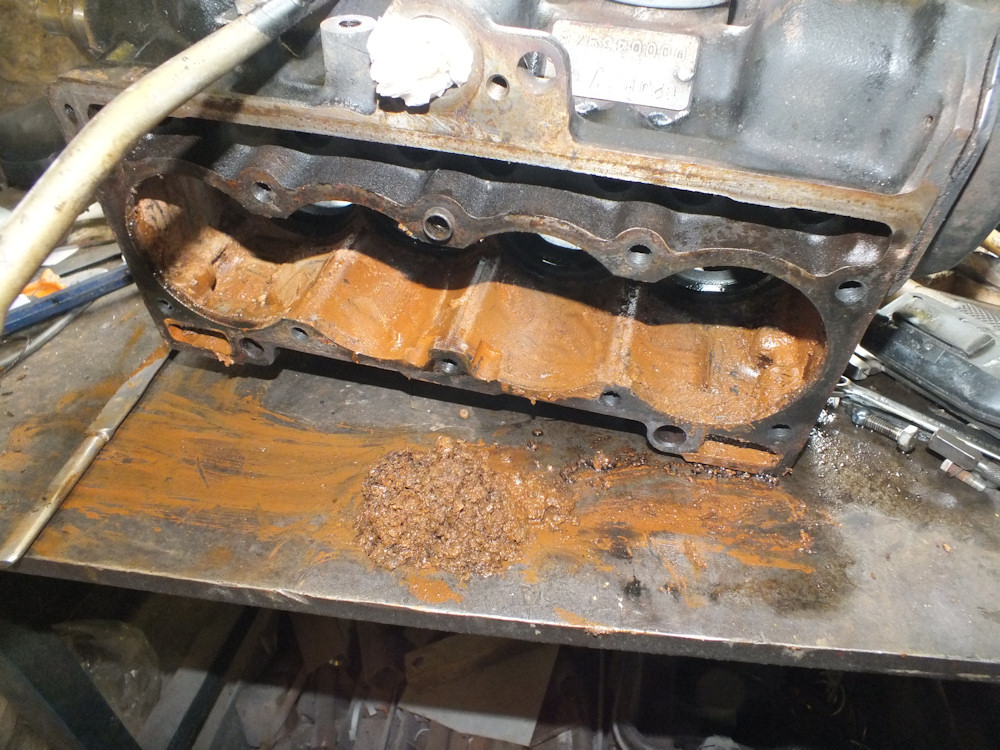
The car was taken off the road because of a head gasket failure back in 2007 or so. The oil inside is still brown and emulsified, and there is corrosion appearing on the metal parts (the water originally in there didn't have any anti-freeze).
It's horrible in there - needed a wash. Washing revealed that oil changes hadn't been as regular as I might have hoped. This engine has not been loved.

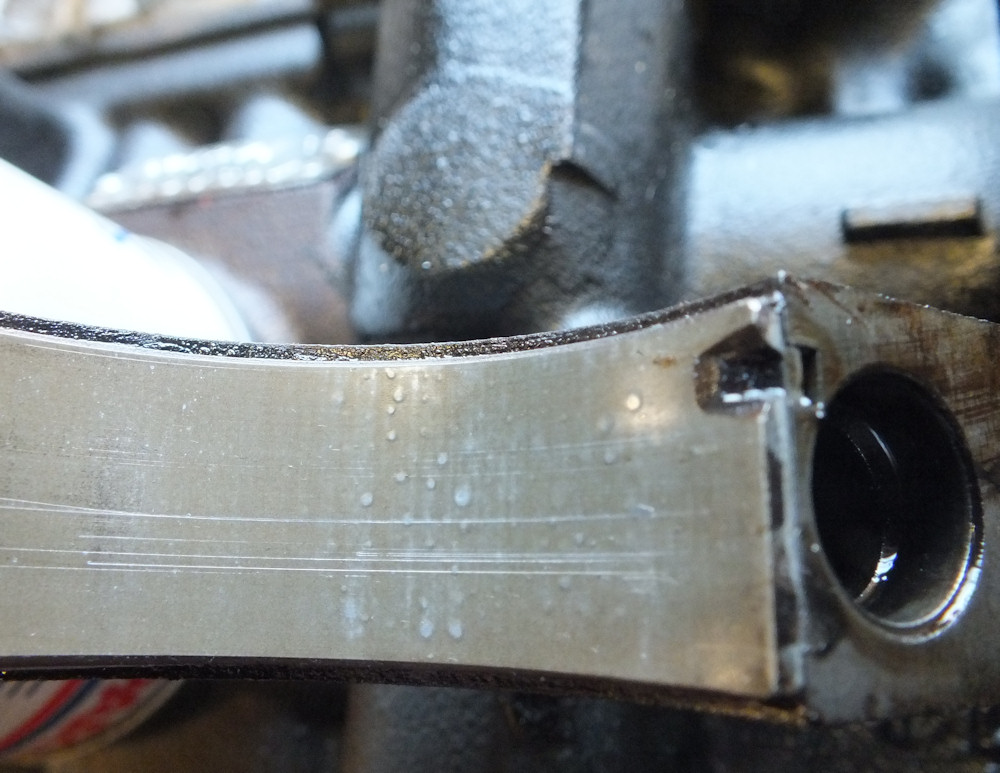
I finally got around to pulling the engine apart at the end of January 2012. The crankshaft seems OK but the bearings have weird bubbles on them that are rough to the touch. I guess this is a result of water separating from the oil and corroding the bearings.
There's a lesson here - if you are planning a head gasket failure first make sure there is anti-freeze in the coolant! That'll at least stop corrosion damage.
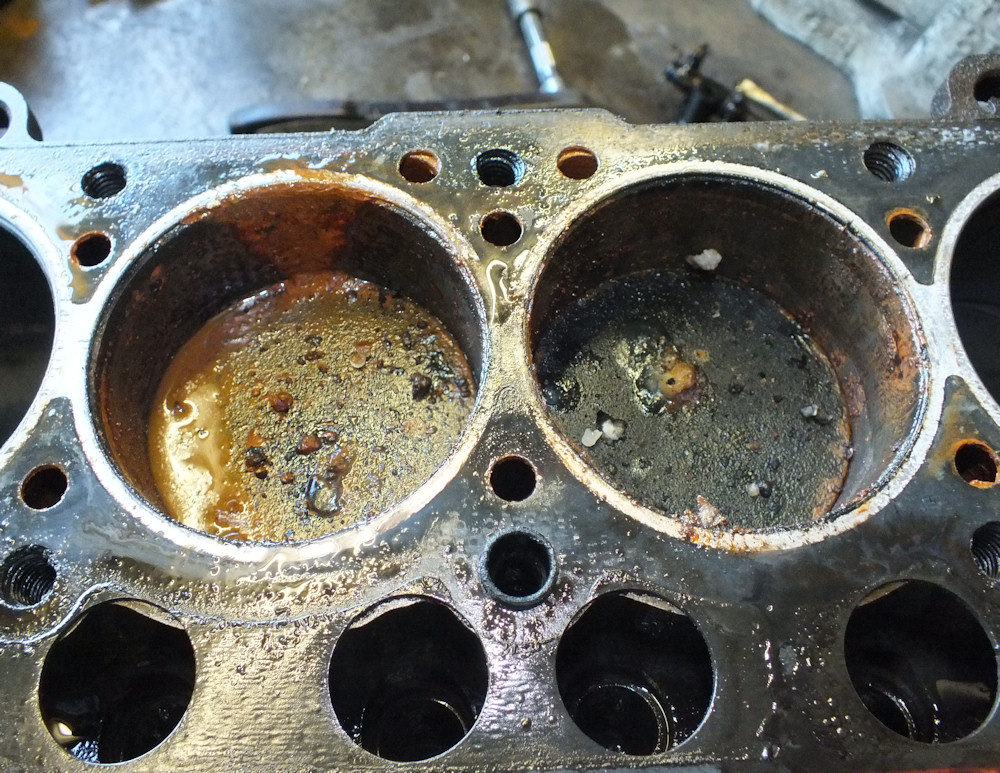
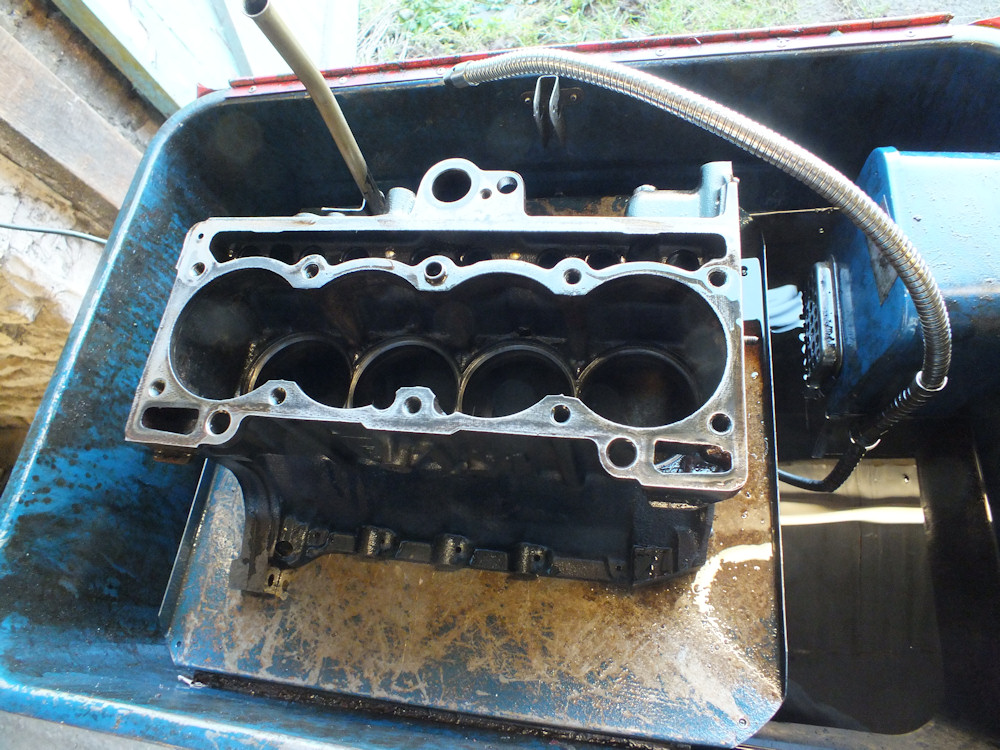
Getting expensive now - the middle two cylinders had water in them and the bores had rusted. The dirty brown coolant was completely drained before removing the head so that stuff must have found it's way in earlier.
The cylinder head also has some corrosion and has signs of a gasket blow between the middle two cylinders. Hopefully it is recoverable. It's going to the engine builders for crack testing and a skim.
I decided to have some new exhaust valve seats too. I have a habit of burning exhaust valves using unleaded petrol on trips to France.
Big mistake. When the head came back the new seats were recessed into the head by between 1.5mm and 2mm. On querying this I was told the head was like that before. True enough on a quick trial assembly the valve clearances were similar to where they were. I reckon someone had the original seats re-cut in the past, and my engine shop didn't question the positions.
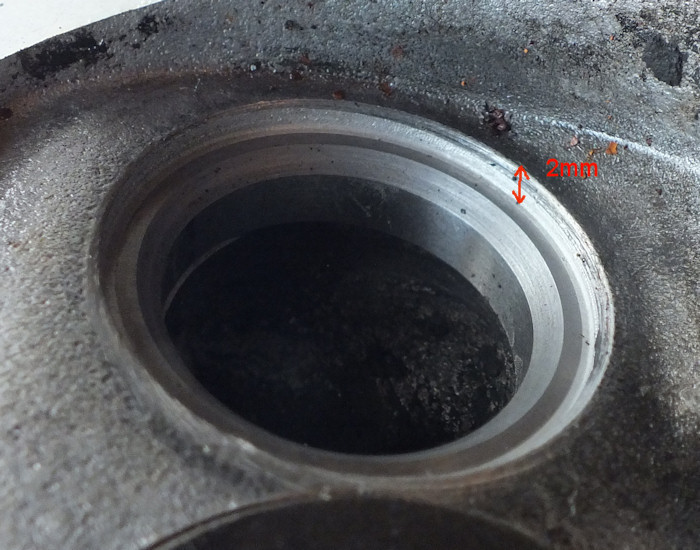
The head is specific to MK 1 Renault 5 TX and TS engines so there wasn't a good chance of picking up another. It would not be recoverable with further new seats as the aluminium had been machined to seat height.
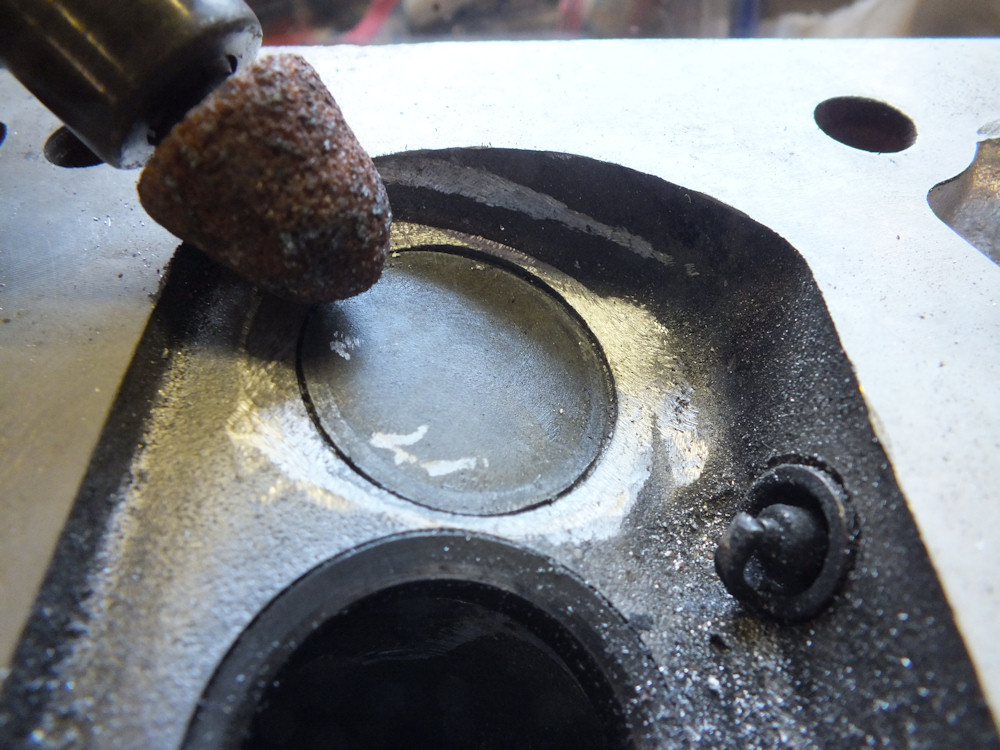
I decided to grind away some of the combustion chamber around the exhaust valves to give gasses some chance of flowing for the first couple of millimetres of valve lift. It's only got 8mm so the first quarter of that is important.
That's a piece of thin metal sheet where the valve would be to protect the valve seat.
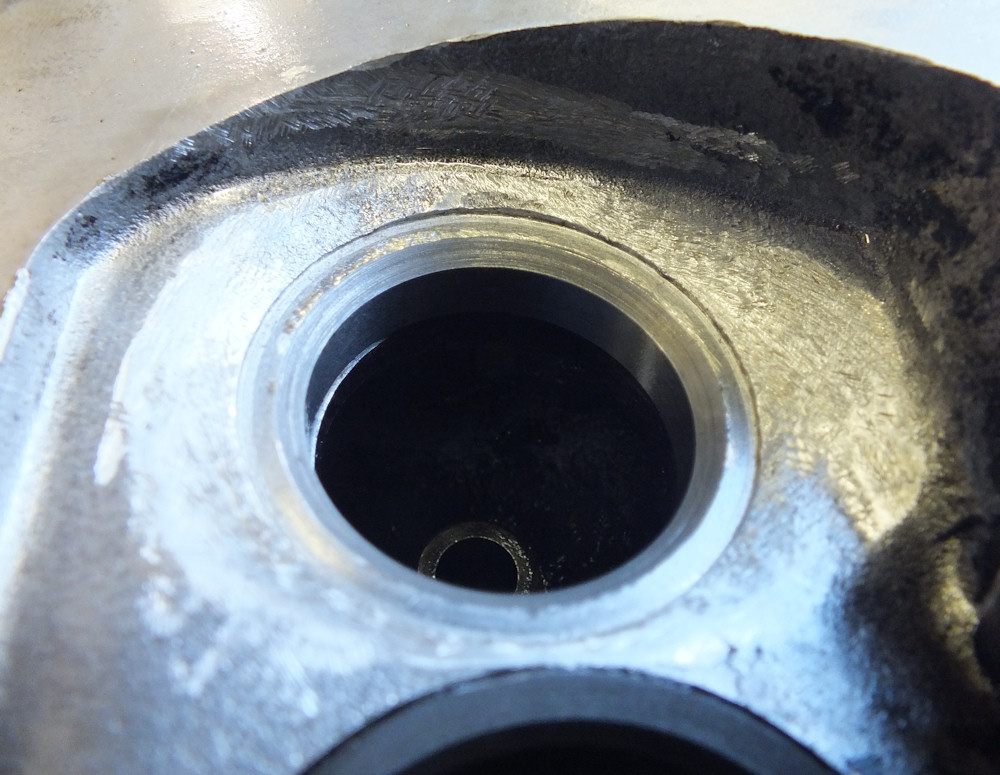
It turned out reasonably well. The valve springs will be less compressed than they ought to be but the gas flow should be OK.
Back to the engine which had been run without anti-freeze. You can just about make out a big pile of rust in front of the engine which had been filling up the space around the cylinder liners. That was the remains of the water pump and various blanking plates.
It needed a good wash. I stripped it down to the block to make it easier to clean.
The block took most of a day to clean up. The liner seals and seating faces were still in excellent condition. I gave them a good clean up with a scraping knife and scotchbrite and then several more rinses to get rid of the bits of scotchbrite that remained in the block.
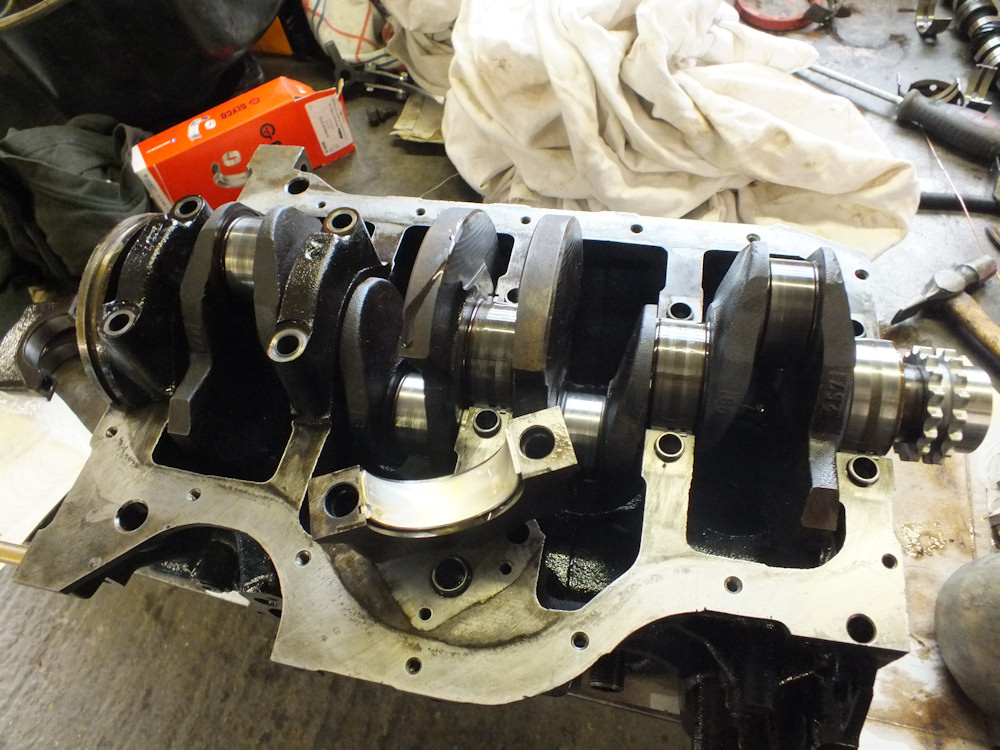
The crankshaft was the first thing to go on. The bearing surfaces were a little discoloured but perfectly smooth and unworn so it just had a wash and some new bearings.
I've not found a bad crankshaft on one of these engines yet.
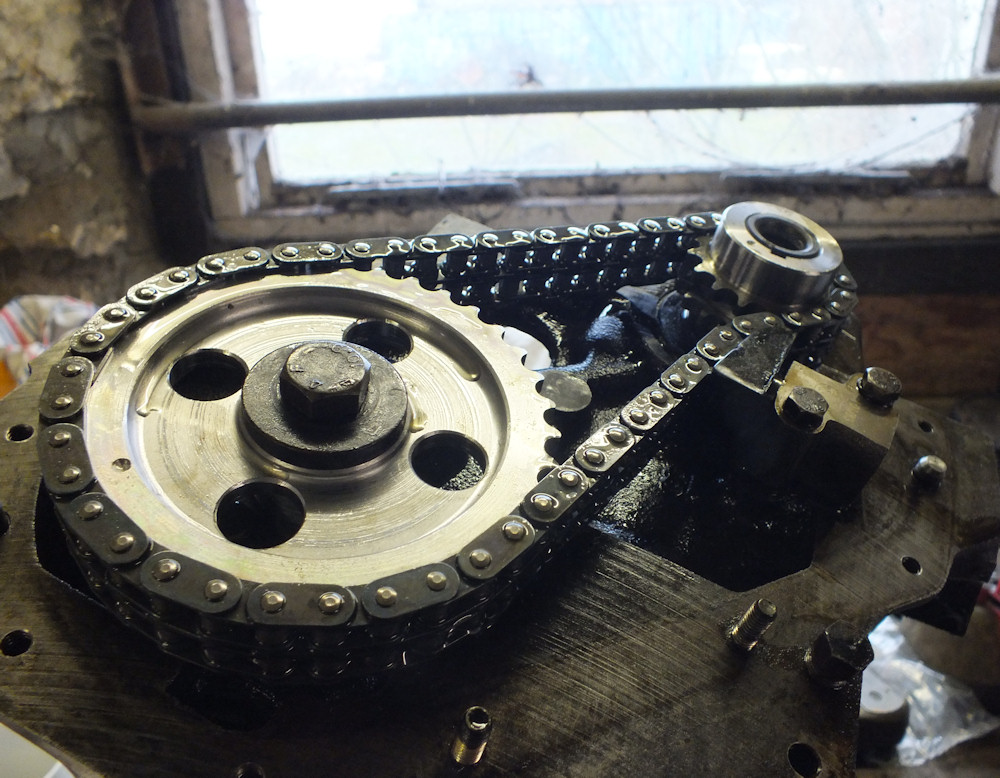
I've found plenty of bad timing chains on these engines and this one was noisy, so I fitted two new sprockets and a new chain and tensioner. With the configuration of the engine the timing chain takes all the load of driving ancillaries like waterpump and alternator, and in the case of the TX power steering.
The rubber pad on the old tensioner was very worn. It seemed more worn than it ought to have been after 55,000 miles but I couldn't find a good reason for that.
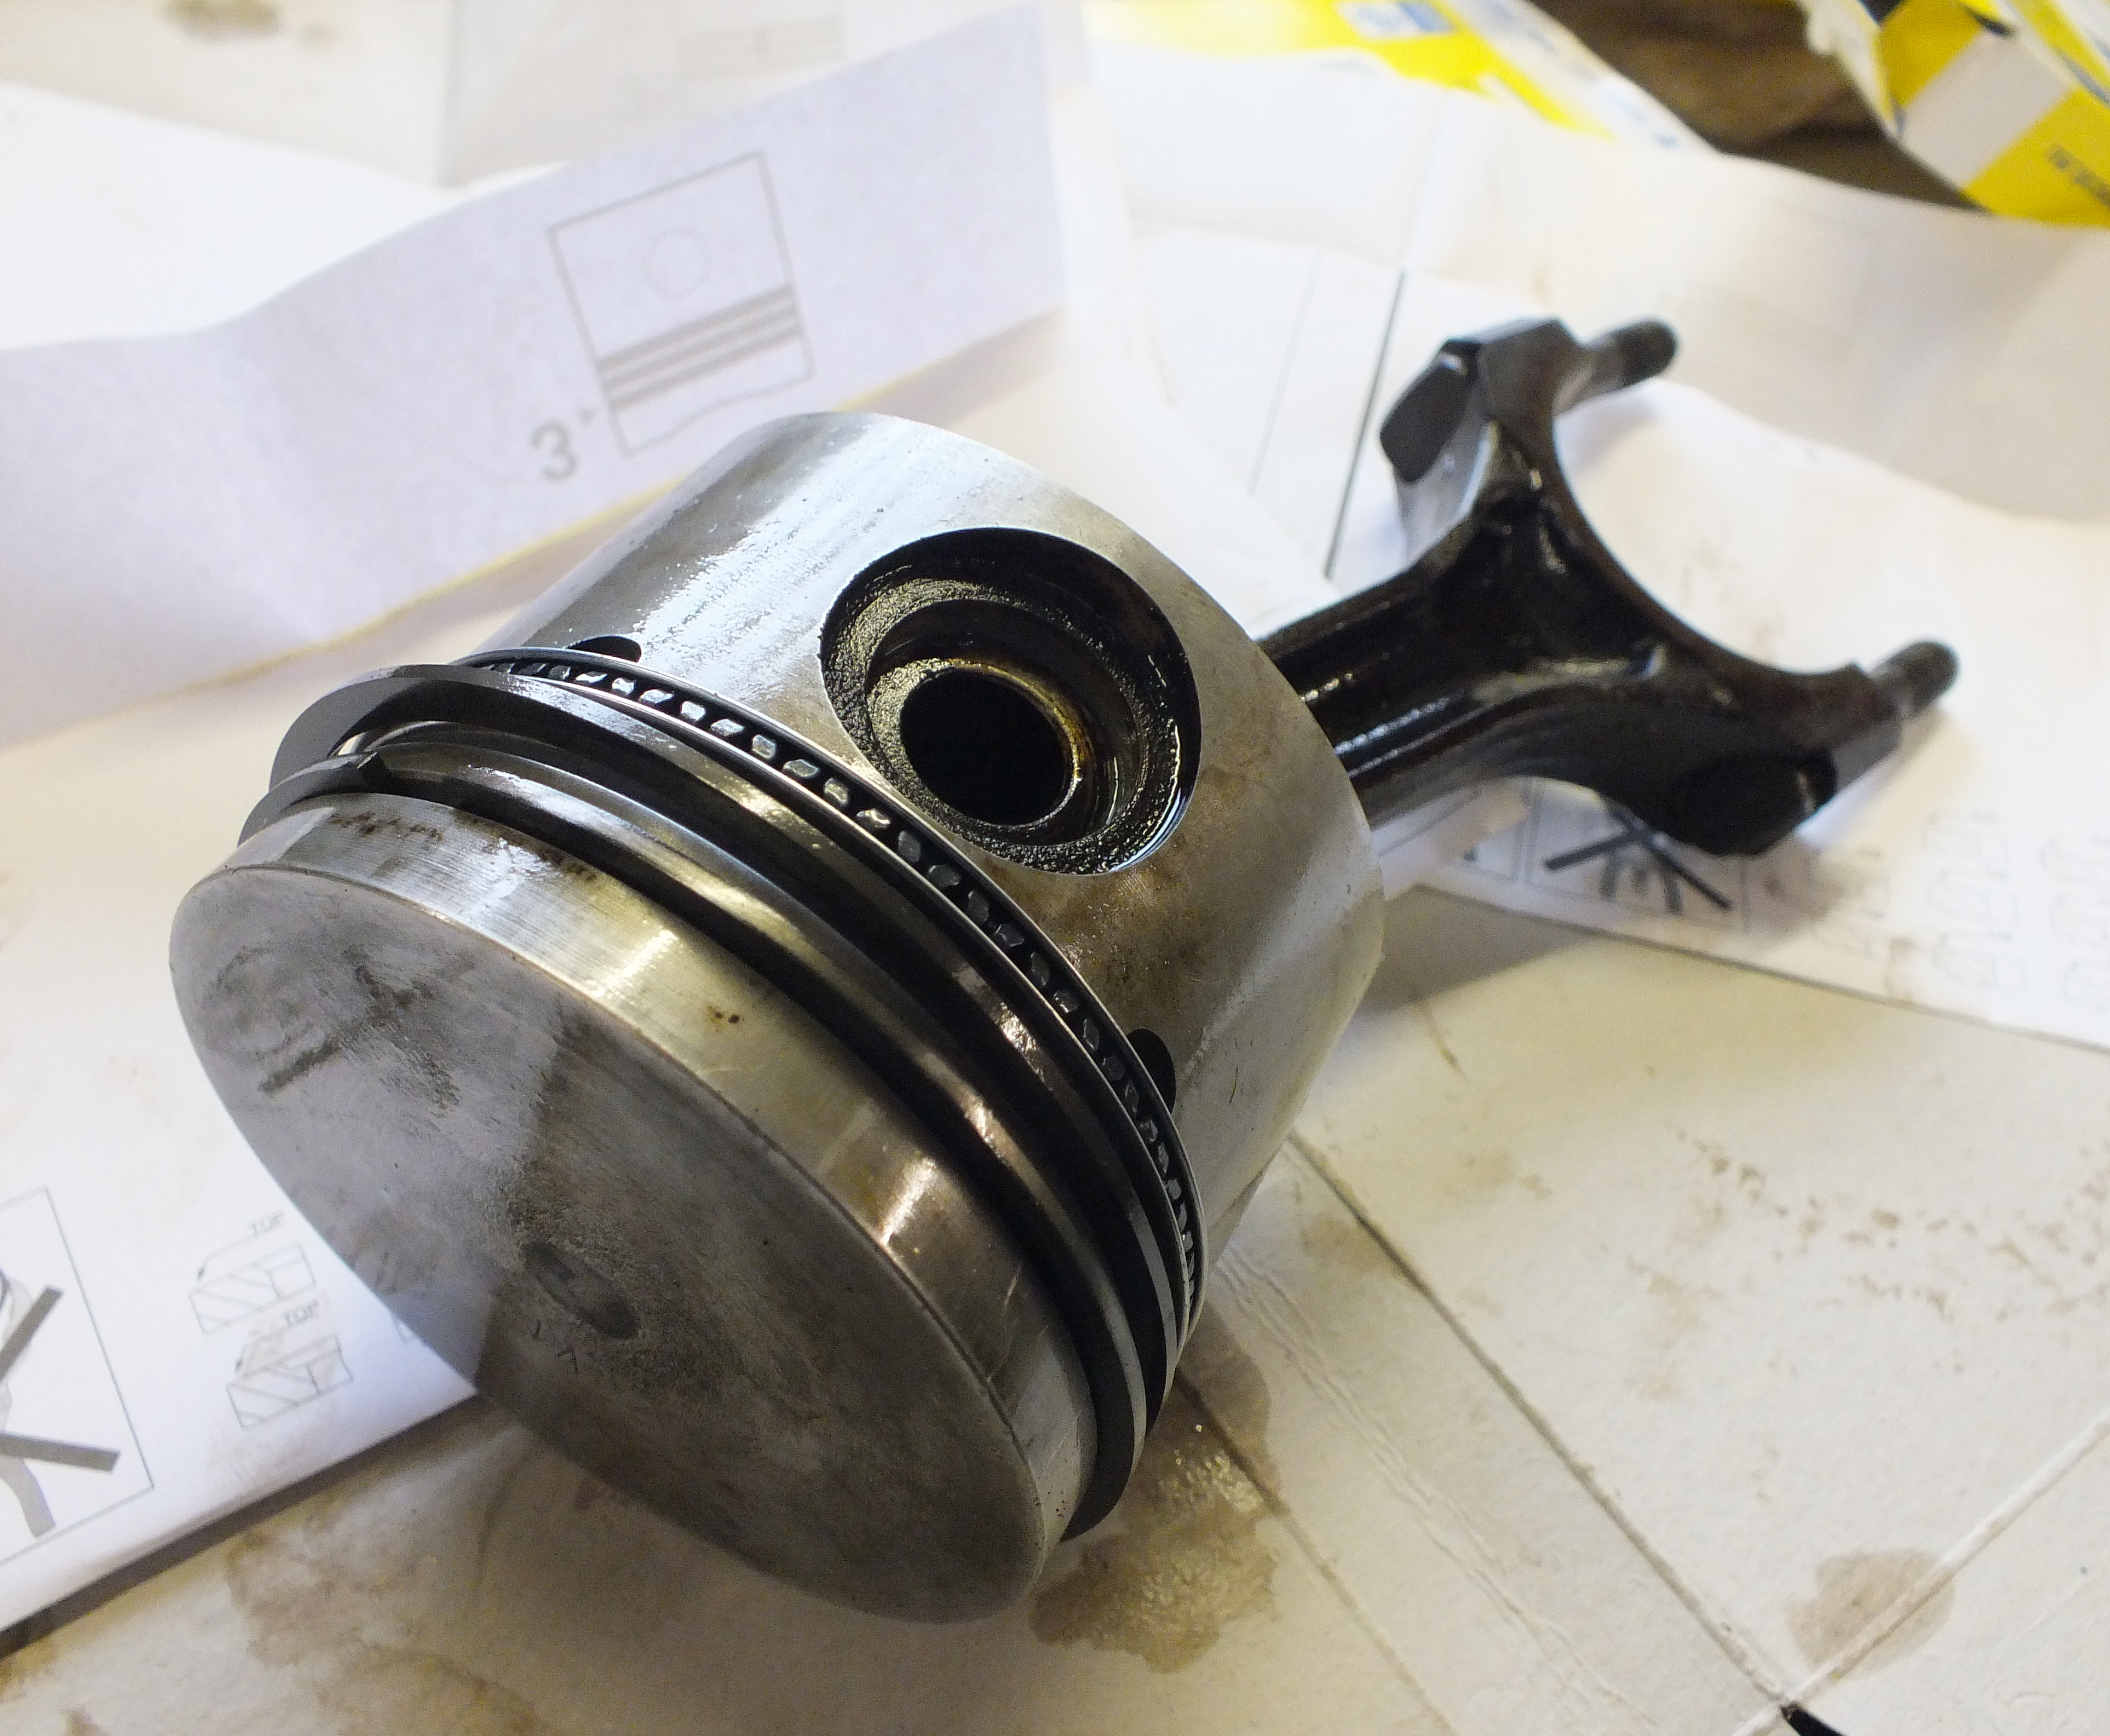
The old pistons were fine, just needing a clean up and carbon removal. The piston ring grooves were a bit caked up with carbon. That was scraped out with half a piston ring.
I'd normally fit new pistons, but couldn't find them initially - it turns out they need to be ordered through engine rebuilders. Using the old ones saves having to take them down to the engine shop to have the gudgen pins heated into place, but they took an age to clean up and fit new rings.
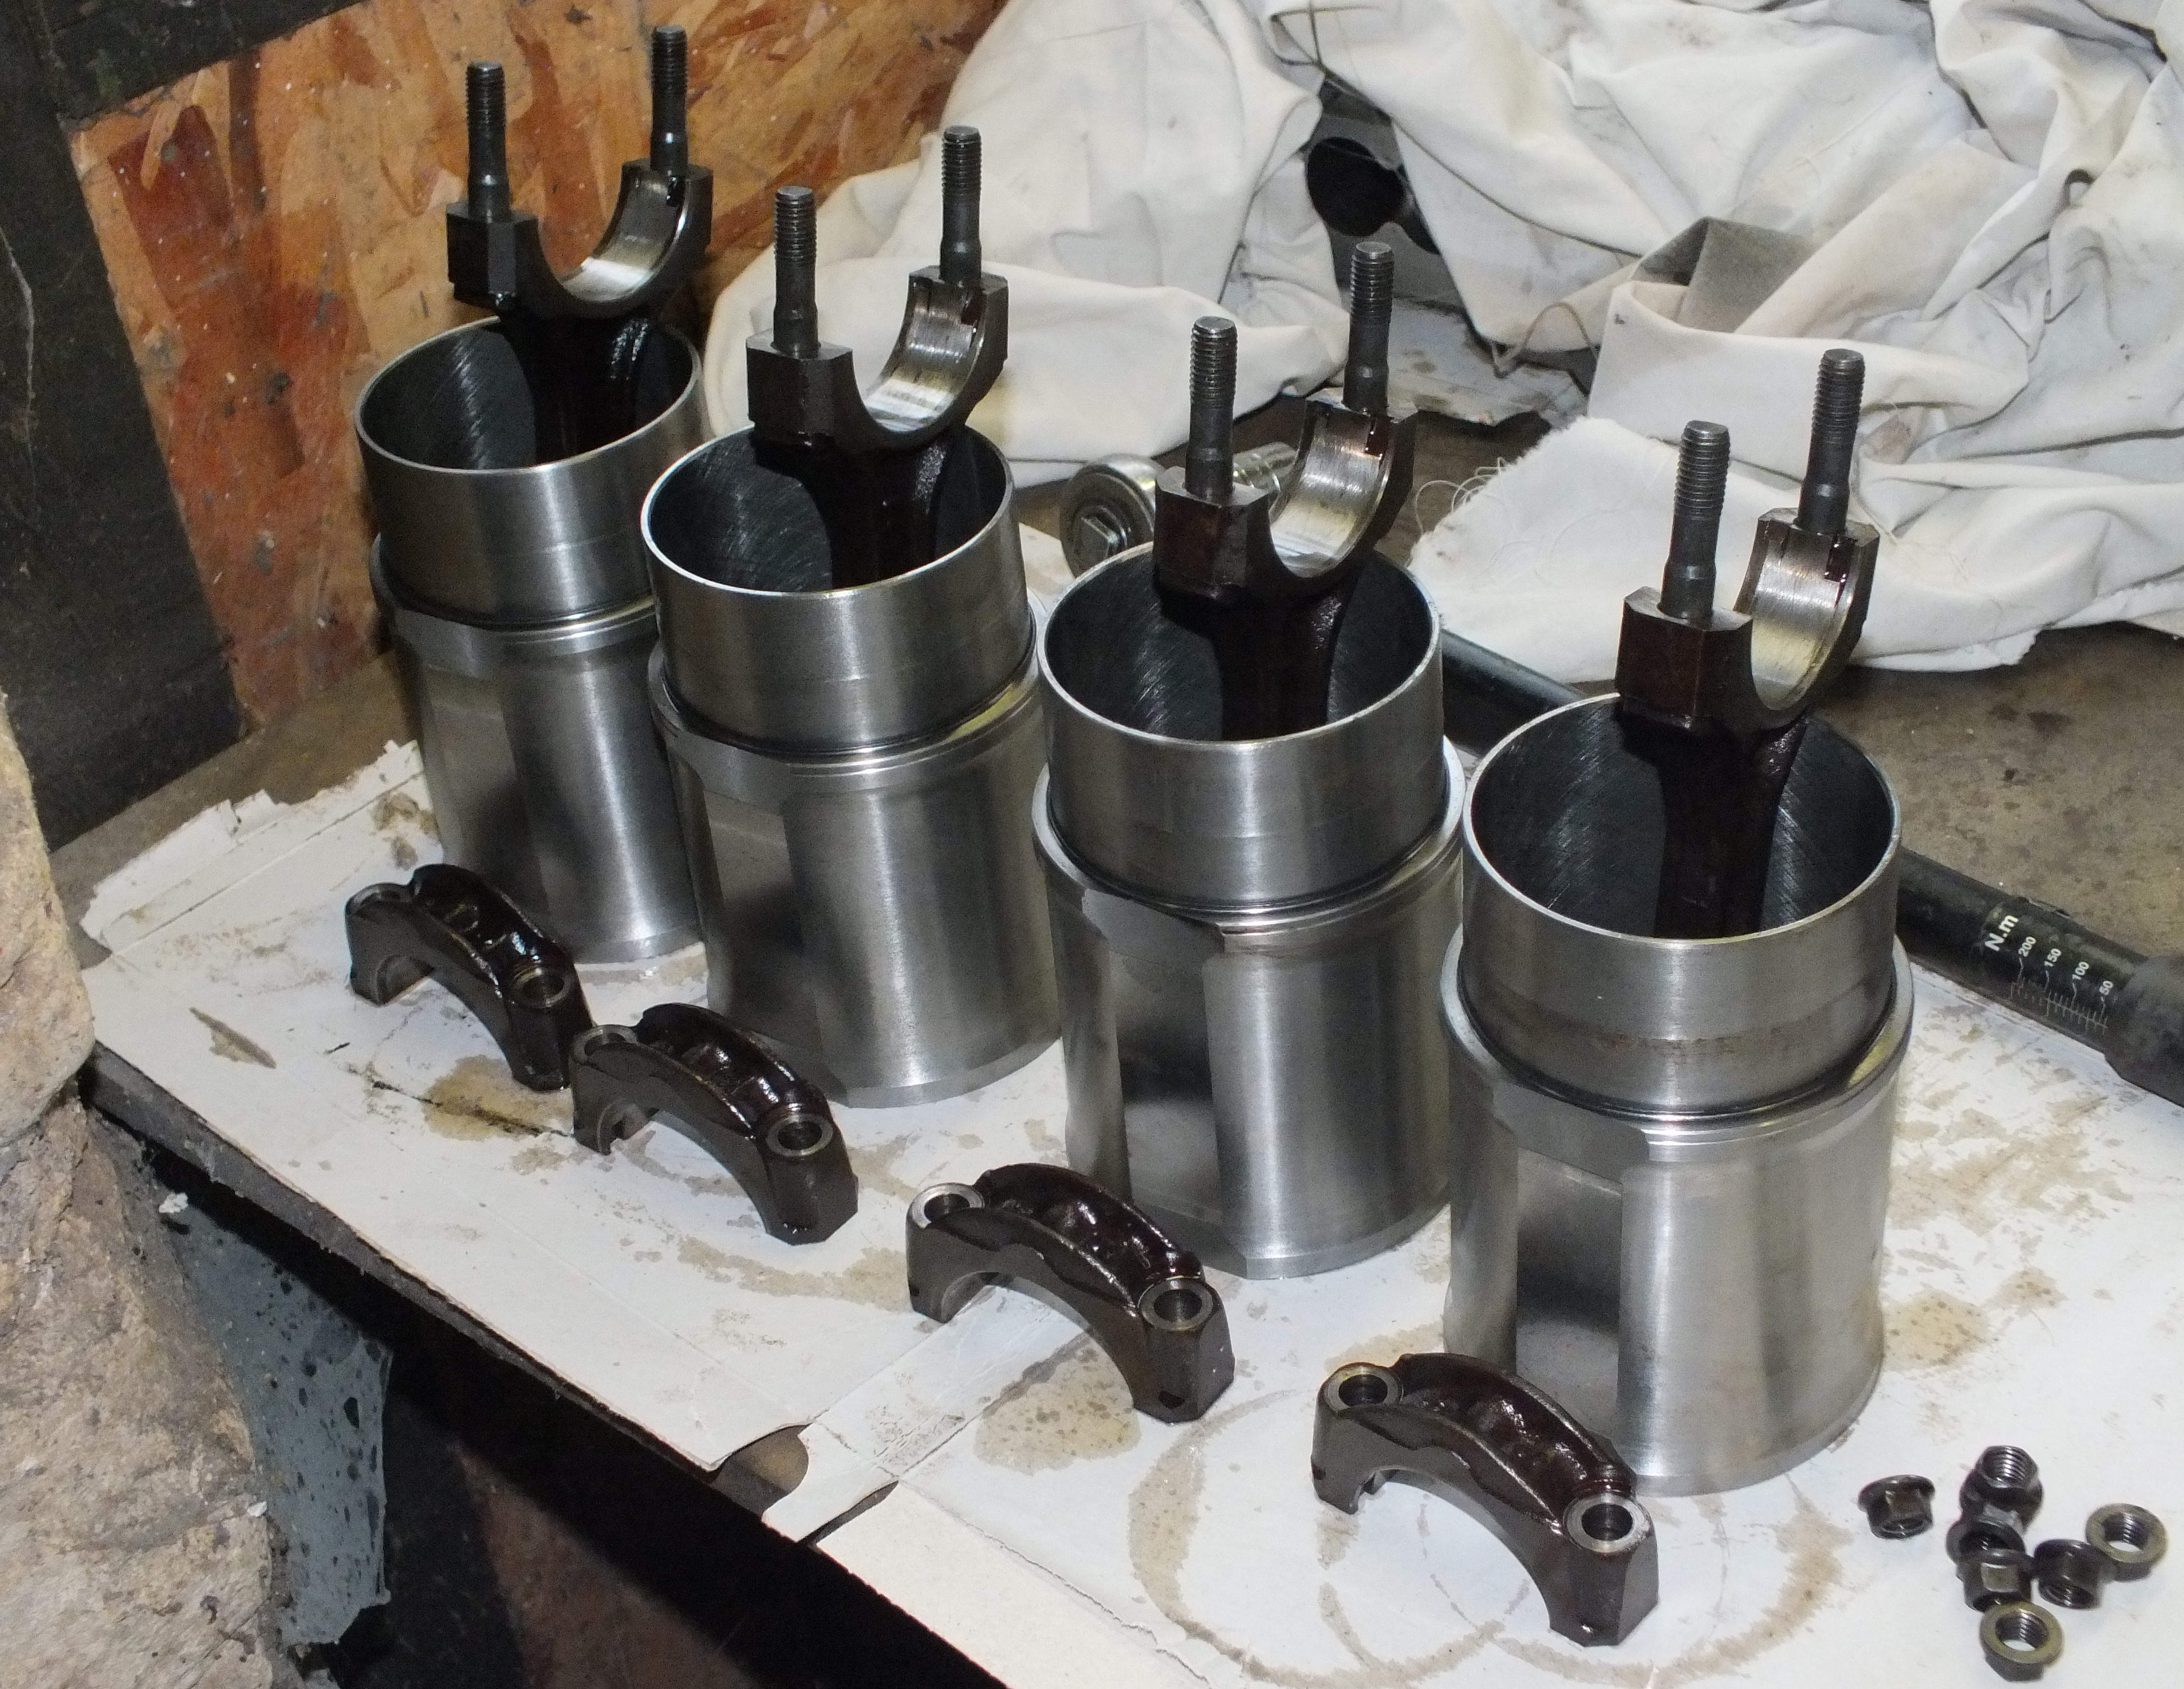
I did buy new liners as the head gasket failure had rusted a couple of the bores. In the photo the pistons have been fitted into the liners.
They go into the block together to avoid messing around too much with the bottom liner seal which has a smear of silicone sealant as well as the rubber O-ring for double protection against leaks.
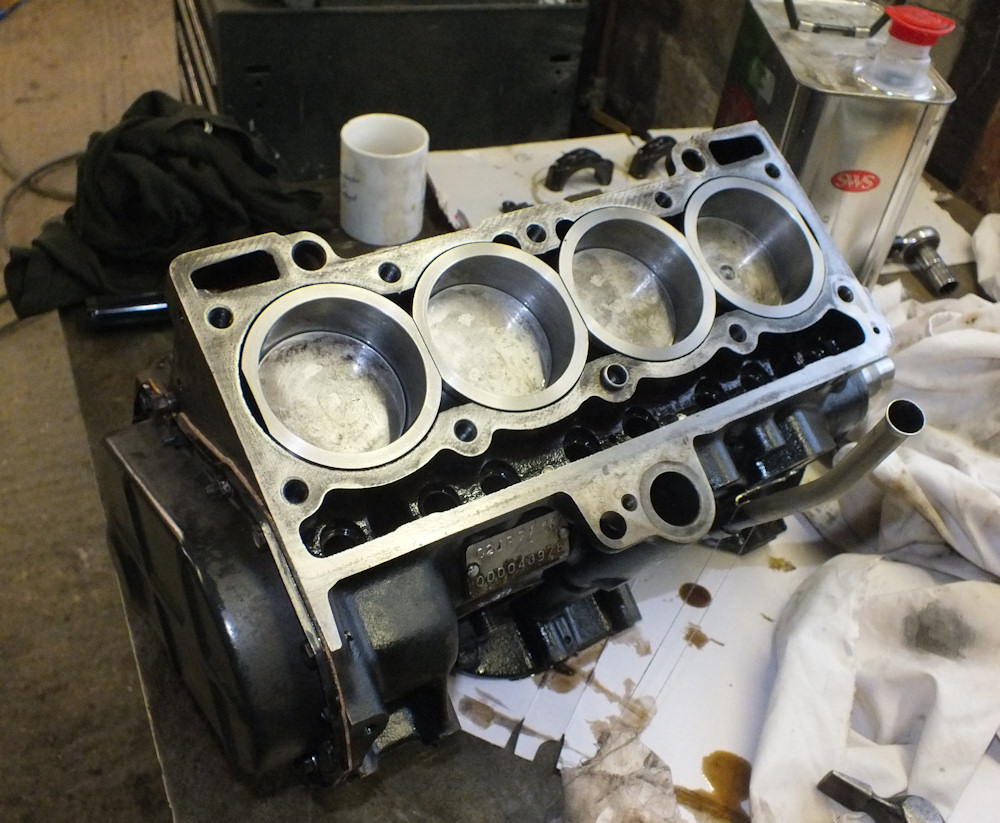
The reproduction liners I bought in the UK didn't sit in the block correctly. I had more than 0.04mm difference in height between liners whichever way around I fitted them. I tried some liners from Mecaparts and they were fine first time. Turns out the liner seats on the Mecaparts liners have a rounded edge and the UK ones (made in Germany) have a square edge. I think the UK sourced ones must have been sitting on the rusty area outside the clean area protected by the original liners and needed the edge rounding off.
I tend to refit the cylinder head as soon as the liners and pistons have been installed into the block so the sealant doesn't have a chance to dry out. A bunch of planning is needed to make sure the cylinder head is clean and ready, that the cam followers are in place, and that the bearing shell is fitted to the conrod.
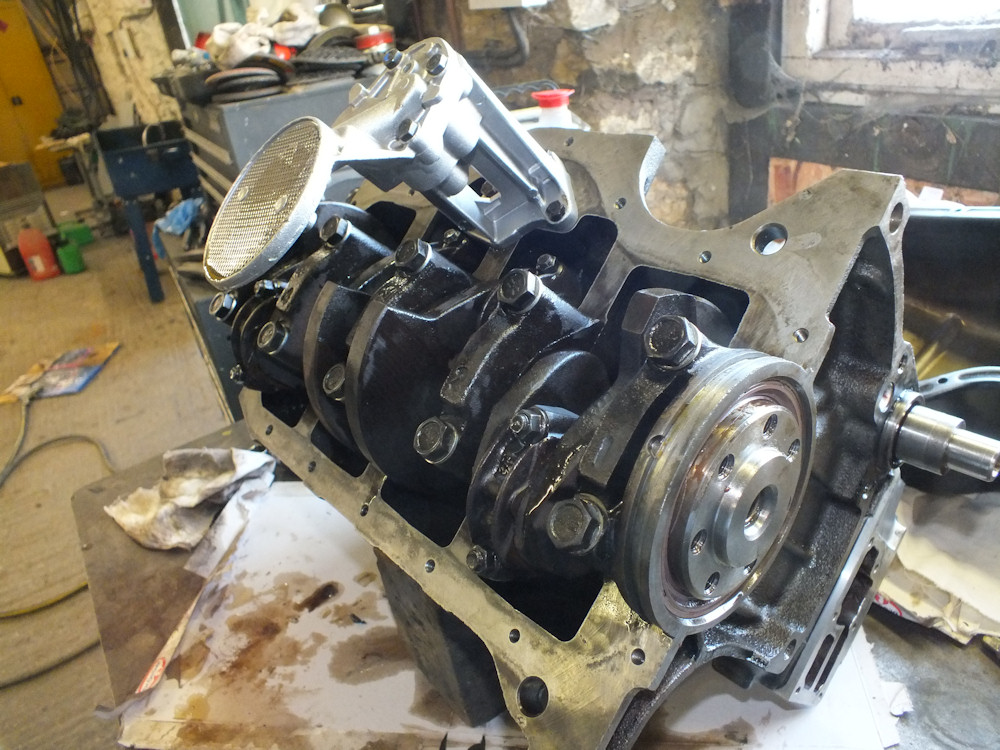
Once the head was on and torqued up the conrods could be connected to the crankshaft.
I fitted a new oil pump as the old one won't have been improved by mucky oil. Also, despite the vast expense I like shiny bits.
I forgot to fit the dipstick tube extension before fitting the sump - spotted it later in the collection of bits to refit to the engine and had to take the sump off again to fit it. The only other part left is the new camshaft oil seal which goes in the gearbox bellhousing on this car.
Another shiny new part is the waterpump. The seals tend to fail after a long period of disuse and the original one had corroded inside through lack of anti-freze. The new one was from BCA and included all of the plugs and pipe tappings needed to set it up to Renault 5 spec which was a great relief as the fittings had rusted in the old pump.
There is still a big pile of bits to bolt on.

The TX has two water pump belts which also drive the power steering pump. To support the extra load there is an extra camshaft bearing located in the gearbox bell housing and this makes the gearbox a real pain to fit and remove.
Only a few bits to go on before the engine is fully dressed and ready to go back into the car.

Last update on the engine 11th March 2012.
Next: Reassembly
Back to: Renault 5 Restoration