Clementine's Garage
Clementine the Cat
 
Image of flower
Yellow R4
 
Réparateur d'automobiles

R4 TL restauration

Hi Jurjen,
I agree with Mojobaby.
Clean out the rims as much as possible and start measuring again. These thin paper seals actually do the job. As long as everything is super clean.
2 paper seals wil leak. if you don't trust it you can try to make an extra seal with thinned out epoxy or with 2 component paint. But it is really not necessary to do that.

Regards, Robert
 
Hi Jurjenz
I can't add any technical comment but I can add words of encouragement. Well done you've attacked the problem head on keep going and I reckon it will be sorted soon. :hug:
 
Hi guys,

Thanks for your thoughts, advice and support. Really appreciated! :hug:

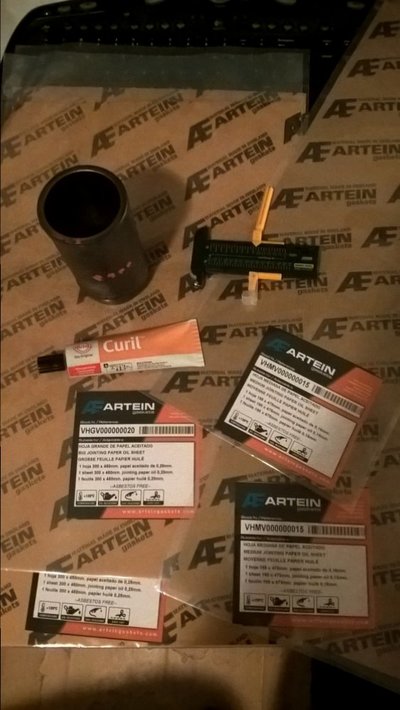
Today I got a few packages from the mailman: a brand new radiator and the first batch of materials to deal with the seals. Tomorrow I will receive the feeler gauge with the fine measurements.

WP_20170207_18_23_03_Pro.jpg

I will keep you updated!
 
Last edited:
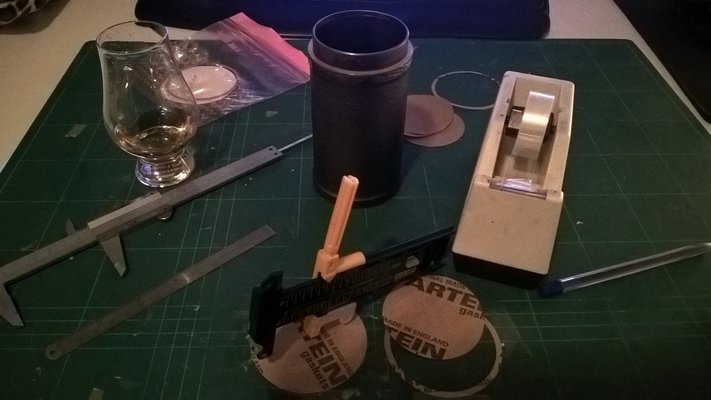
WP_20170207_20_57_14_Pro.jpg Some careful cutting, it fits perfectly around the liners! :cool:
 
Last edited:
Try number 2 on the liner seals..

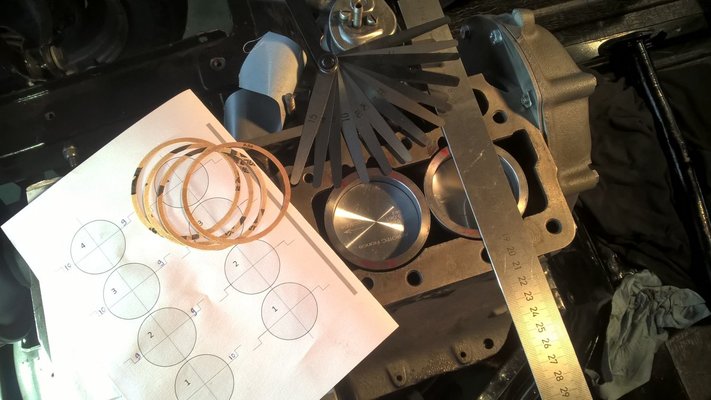
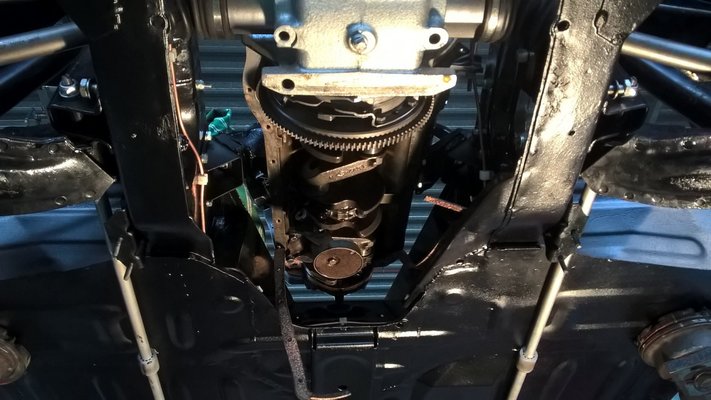
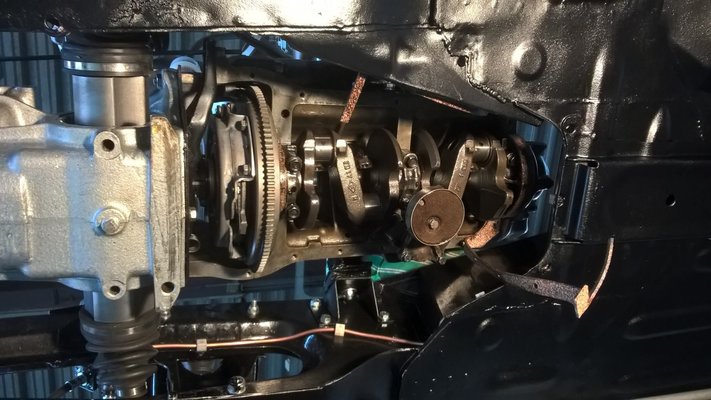
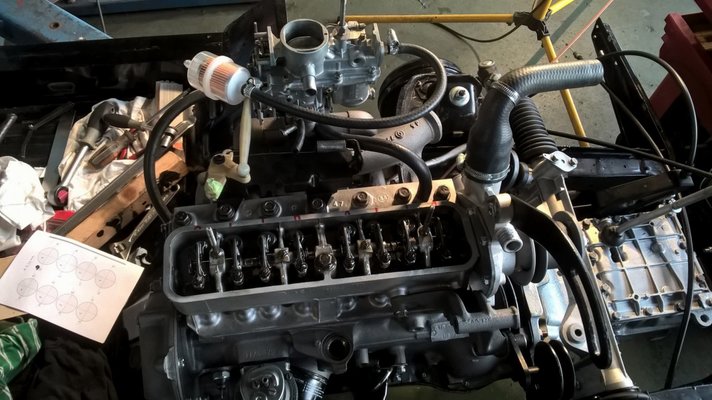
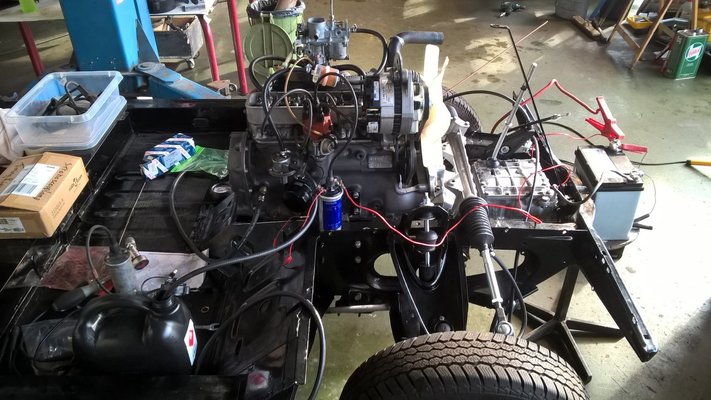
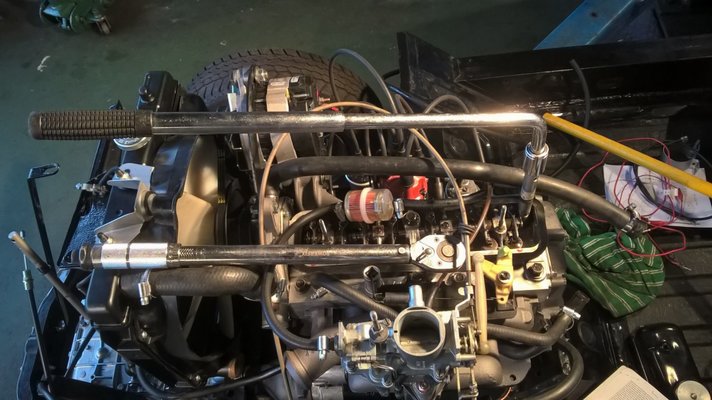
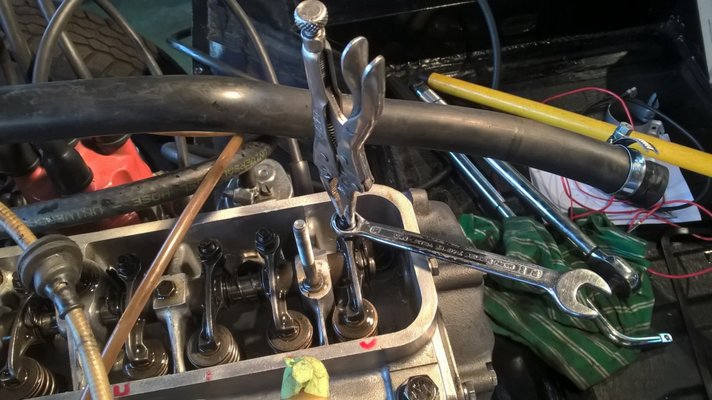
But now equipped with my new homemade seals and fine range of feeler gauges! I had to use 0,2 mm paper in order to fit in the range from 0,04 - 0,12 mm. Eventually the liners came up around 0,10. I hope this is good enough this time! I alse put a thin layer of engine sealant. Then I put in the liners, head gasket and the cilinderhead, adjusted the valve clearances, put on the carterpan (ennoying job, much easier when the engine was on the enginemount). Filled up the engine with 20W50. Tomorrow I wil assemble the alternator and the ignition system.

WP_20170218_10_59_39_Pro.jpg WP_20170218_14_11_46_Pro.jpg WP_20170218_14_11_56_Pro.jpg WP_20170218_14_12_03_Pro.jpg WP_20170218_17_19_14_Pro.jpg WP_20170221_14_04_46_Pro.jpg WP_20170223_11_02_00_Pro.jpg WP_20170223_11_30_26_Pro.jpg WP_20170223_12_52_16_Pro.jpg

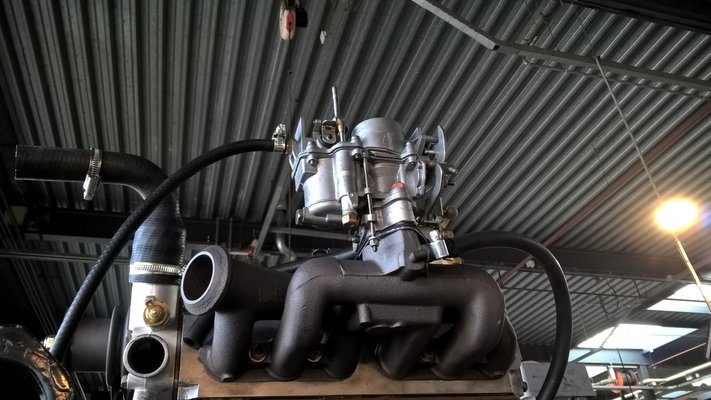
Quick look around;

To be continued!
 
Last edited:
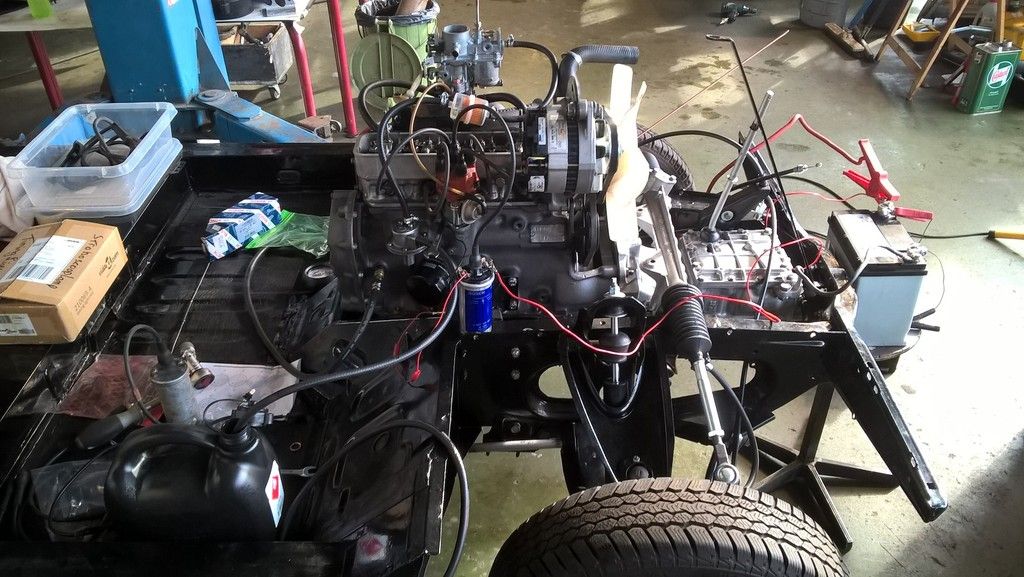
Today was D-day,

You now what this means....:laughing::laughing:

WP_20170221_14_04_46_Pro_zpsx8h6lhqm.jpg


It has been a long and learnful experience with some setbacks so I was a bit nervous on making the preparations for the first start.

First thing to do was to build up & check oil pressure and make to make sure fuel was pushed in the carburator:

Then the magic moment, starting the engine. It was spot on!! :D:D

That the car is now alive is really a huge mental boost. I have been working since octobre '15 only on 'dead' parts, but now the engine is running - wow!

I still have a lot to do though, so the next things are:
-adjusments to get correct ignition timing
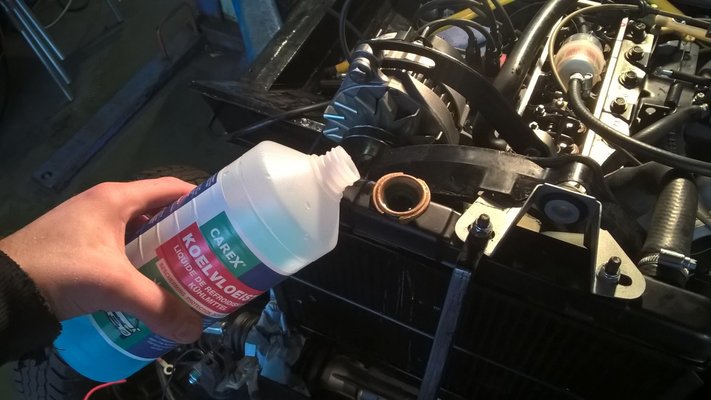
-assembling coolant system (fingers crossed on seals..)

And offcourse, thanks for all your support and advice on this fantastic forum. I couldn't have managed it without your support - so let's have a beer on me! :drunk::drunk:
 
Bring out the beers and feast. Congratulations. Will you be ready for Thenay this summer? Just kidding and giving you some pressure.:clapping:
 
WELL DONE! A day for CELEBRATION :drunk:

Your hard work and careful preparation has paid off. Such a great feeling :clapping:

Sounds very smooth running even without an exhaust!
 
Such a great feeling when you turn the key (or join the wires together in your case) and things start moving around.

Well done Jurjenz!
 
Well I'm back in the pub again as its Friday night. When. Get home I'll have a better listen ( too loud in here) if it speeds up before stopping it could simply be lack of fuel indicating 1/ no fuel 2/ a blockage. If it just stops I'm not sure - maybe another pint will add some inspiration . Well done so far:clapping:
 
Hi guys!

I have troubles adjusting the engine to a +/- 700 RPM idling. A quick overview on the things I have done:

-New bougies
-New bougiecables
-New contactpoints & adjusted dwell angle at 57 degrees
-Adjusting timing point to (more or less) 10 mm from marking point on engine
-New fuel pump,
-Adjusted measurements on carburator according to the manual settings


1. I worked on the settings while engine is on running temperature
2. turned the mixing screw 3 x 360degrees out
3. When choke valve is closed, RPM is over 2000
4. When I open the choke valve, the engine runs dead at 1500 RPM

I haven't any clue on how to solve this, grrr.

I made a short video about it, please help!


That is a fixed jet on the 32IF. If you unscrew it a little then it will fall out on the road with engine vibration, and I have never found a source for a new one. The idle speed screw is the one with the spring around it to the bottom left of the photo.

I like the video. Are all of the vacuum hoses at the bottom of the carb and on the manifold connected or blocked? I think I could see one not connected. The connections to the bottom of the carburettor allow neat air to bypass the fuel jets so will make the engine run lean.
 
That is a fixed jet on the 32IF. If you unscrew it a little then it will fall out on the road with engine vibration, and I have never found a source for a new one. The idle speed screw is the one with the spring around it to the bottom left of the photo.

I'm not able to use this screw for getting the idling under +/- 1400 RPM, or the will stall. So that means: Too much air, or not enough fuel.

When I use the mixture screw. When I screw it inwards, does this add fuel or air?

I blocked the vacuumhose which goes to the vacuumadvance on the distributor.

I put the air restriction in the vacuum hose which goes directly to the inlet manifold. Doesn't seem to matter if this hose is connected or not.

Argh.
 
The idle speed screw opens the throttle butterfly if you screw it inwards. It adds air that should suck up the appropriate amount of fuel. Does the engine work if you open the throttle and then open the choke?

It has been a while since I played with a 32IF carburettor so a bit of guesswork. If the idle speed screw doesn't do anything the jet is blocked of there is a big vacuum leak. I think the choke has it's own fuel supply. If you unscrew the brass bung on the float chamber to the lower right of your photo you will be able to use a screwdriver to remove the jet and check if it is blocked.

Any vacuum pipe needs to be restricted - Renault put a plastic insert inside the pipes with a 1mm hole (apart from the brake servo tapping in the manifold which is a sealed system). You could clamp closed all of the pipes that connect to the manifold and the bottom of the carburettor to see if that helps.
 
Hi Malcolm,

The engine keeps on running when I open the throttle & choke valve, but that's with 2000 rpm or more.

I gave it some thoughts:

1. Check for vacuum leak on base carburator: when I removed the carb for the first time I noticed that the thick insulation plate had a crack in it. I did put some sealant in it and let it dry, but this is the first part I'm going to replace! It should clarify a lot..:whistle:
2. Check for vacuum leak on manifold
3. Check for vacuum leak on cilinderhead
4. Check on dirt on main & idling fuel jets
5. Check on vacuum hoses

The initial throttle opening gap should be 0,7mm. This the clearance when the choke valve is fully open right?

:waving:
 
Ininitial throttle opening should be 0,7mm with the choke fully engaged.

If you have that done try and look at the clearance of the acceleration pump. When not in use it should just touch the adjustment screw.
 
Hi Jurjenz, when I first started my car with the 28IF carburetor, the same thing happened to me. I worked out that it was the throttle butterfly that was opened too far. At that stage I had no idea how to set it.

Like Harbourseal says, when the choke flap at the top is fully closed, there has to be a very small space, 0,7mm, between the edge of the throttle butterfly and the side of the carburetor.

I'm not quite sure how to adjust the 32 carb (the 28IF has a rod) but I'm sure Malcolm is quite correct when he says the idle speed screw is used to open and close that gap.

At the moment you're idling with the throttle wide open!
 
Hi!

Hmmm, that does make sense! I adjusted the throttle plate gap to 0,9mm, just as the instructions shows, but on the next sheet, they're talking about 0,7mm. Let's see what will happen when I re-adjust it to 0.7..


  • manual plate gap.JPG
    manual plate gap.JPG
    108.7 KB · Views: 11
  • manual plate gap 2.JPG
    manual plate gap 2.JPG
    121.5 KB · Views: 12
Well, I did some tweaking on the engine today. I finally managed to keer her running on 800rpm idling with the chokevalve fully open. Yeahh.

So what did I do:
-Put some liquid sealant on gaskets base carburator to prevent air leaks
-Re-adjust throttle plate gap to 0.7mm
-Put the airfilter on
-Attached tube on carburator - ignition vacuum control

I don't have a CO meter, so some final adjustsments must be done by a garage.


It's time to close this engine chapter, next, the body!
 
Back
Top