Boot floor repair
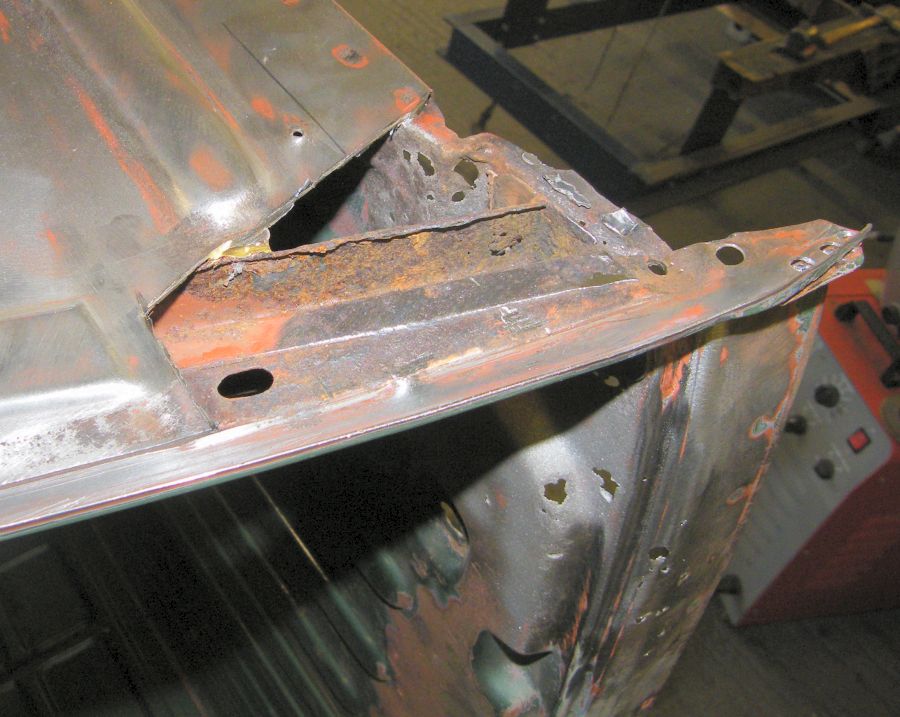
I've never seen a crossmember at the rear of the boot floor in this state before.
The rest of the body was fairly sound, but this part had completely rusted away. No worries - I'm getting a new original boot floor.
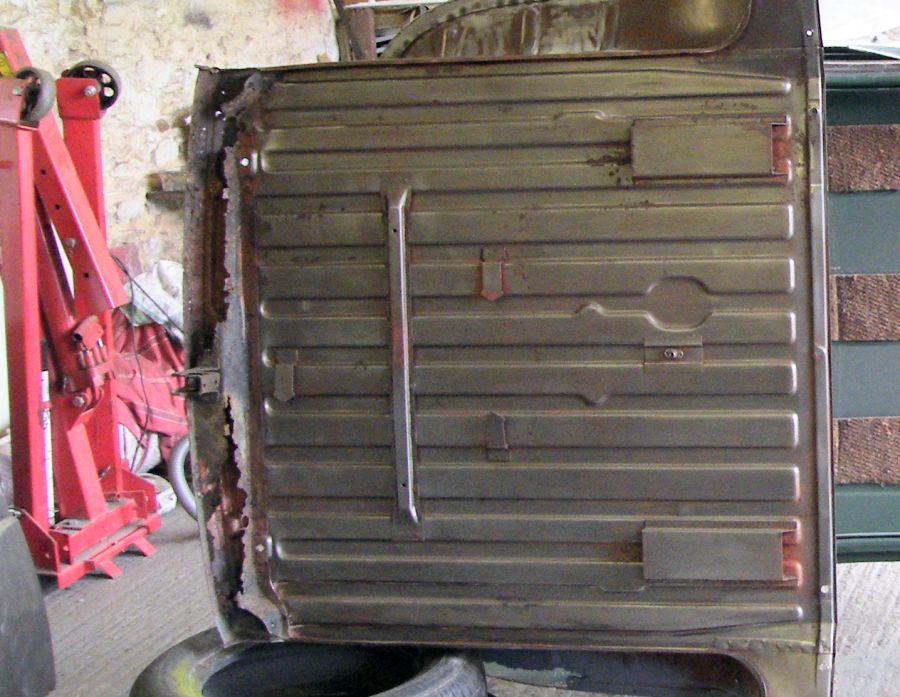
I supported the body on it's side on tyres. The body is quite light so should be OK, but I'm worried about bending the apex panels I've just fitted.
Here's that new boot floor panel being delivered. Though now I'm tempted to save it for the '65 project. I've been collecting panels for that car which would need to be reassembled from the ground up if I was ever to attempt it. I almost have enough panels to give it a try now.
If original boot floors were plentyful, or even available, I'd definately have used this floor on this project. As it is I'm not sure I'd ever see another one, and out of the cars I have this one is the one that needs it least.
Oddly enough, with the crossmember removed the boot floor panel itself still seems to be in a reasonable condition. The back edge will need to be replaced, and the corners need a little work, but the majority of the panel is in good condition.
All the bits that look like rust holes in the photo are rust holes. That corner looks like it's been sprayed with buckshot.
It's asking for trouble attempting this repair with the car on it's side - they go out of shape easily enough when they are jigged up and bolted to the chassis. On the other hand I don't like working underneath cars.
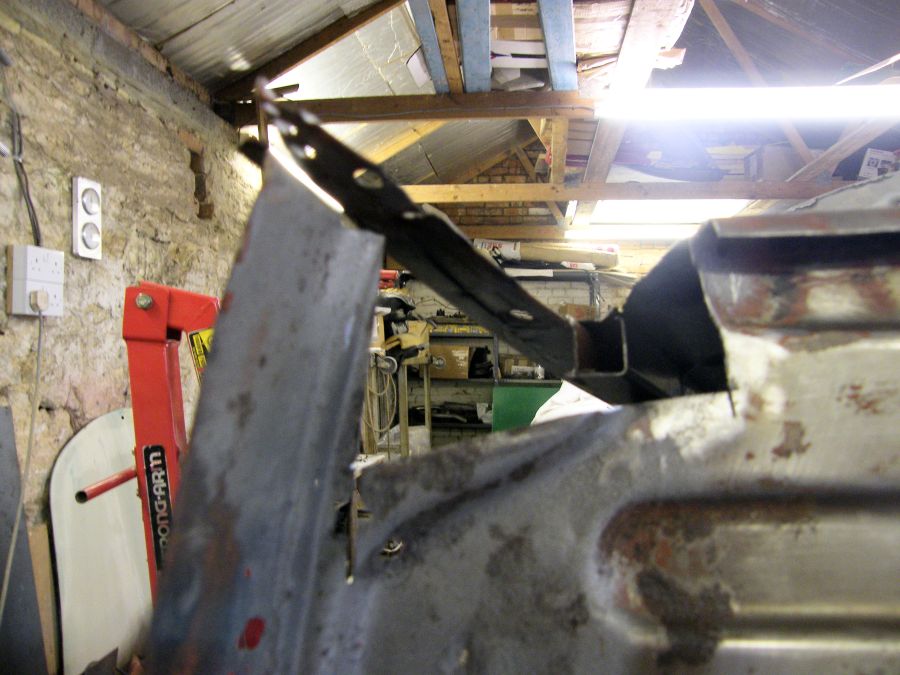
My compromise was taking a few measurements and supporting the corner of the boot aperture with a steel bar to stop it from moving around during the repair. It's welded in place, but not very well, so should be easy to grind off after the repair.
Here's a bad photograph of the hole left after cutting the rusty bits away from the corner. There's not a lot of light in this part of the garage for some reason.
It looks like I've gone at it with an angle grinder. And I have, but I've been quite careful to preserve that section at the side of the tailgate with the rolled edge. It was still in good condition and I don't like making rolled edges. Everything else I hacked off like a mad axeman.
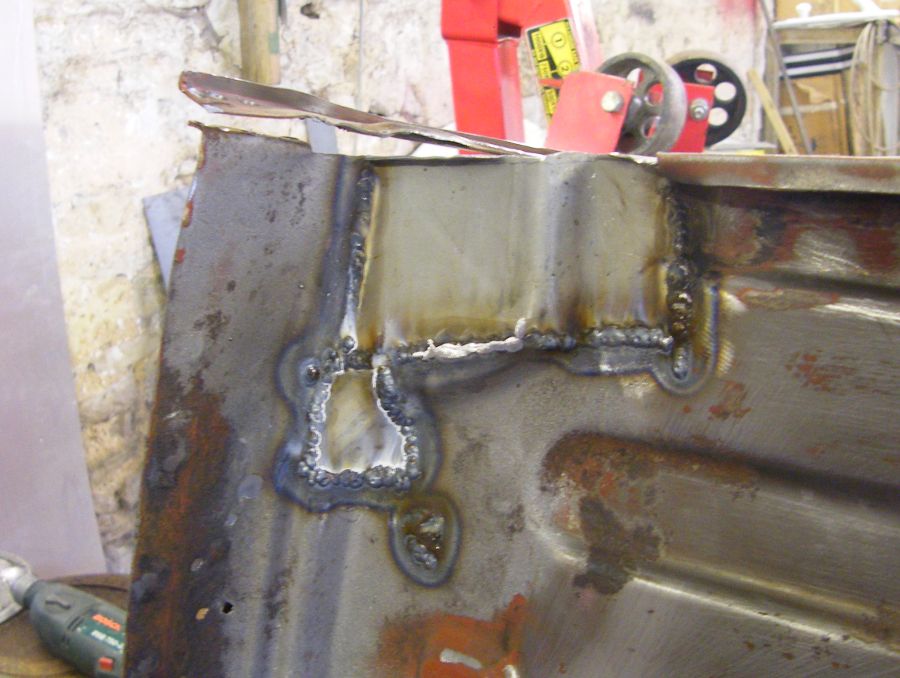
The repair to the boot floor was fiddly. The shape is complicated in that corner, and I ended up making the repair from two sheets of metal.
It looks ugly in the photo, but the two repair sections were quite accurately formed so that when but welded in position the weld could be ground off the top edge to leave a decent looking repair.
The vertical box section in the corner of the boot floor is open at the top, so it fills up with dead moths and rusts away from the inside.
The replacement section was cut from slightly further up the box section on a scrap car. This was the next bit to be welded back in place.
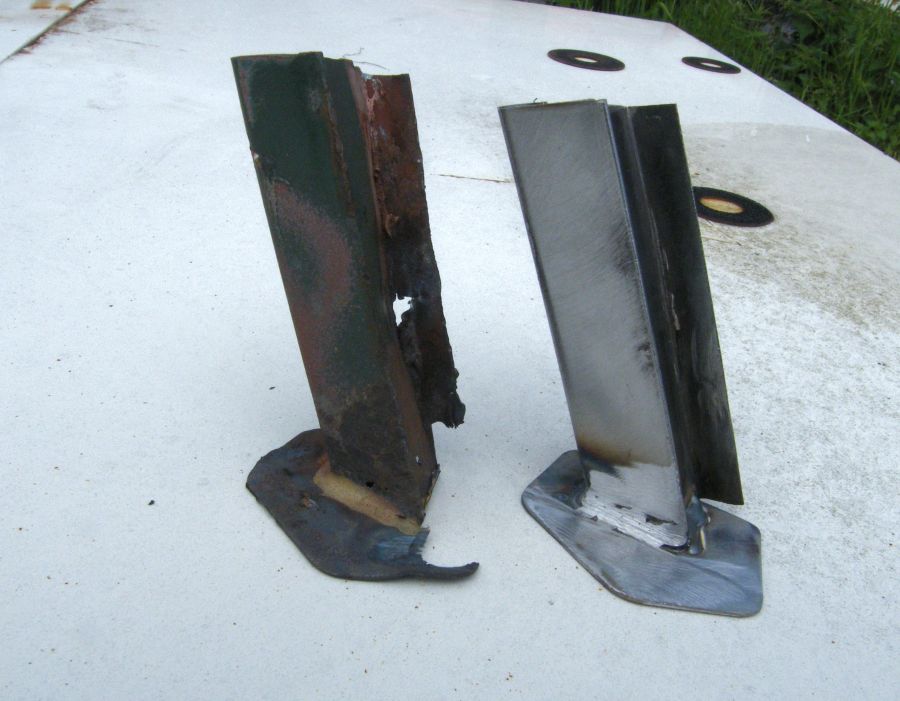
I'd bought a new crossmember from Der Franzose (to the right of the two rear crossmembers in the photo), but it isn't useful. It seems to be a cover panel designed to hide the rusty bits rather than a replacement panel (they described it as quality 4, and the useful panels are quality 3 or better). Even after re-bending half of the bends it's still not the right shape.
So I made my own (left of the photo). Mine is a bit special as it extends all the way to the edge and can be boxed in to stop the crossmember filling with mud thrown up by the rear wheels. I'll need to modify the chassis rails a little to make it fit. The curve meant it didn't turn out exactly as planned, and even the plan itself had been a little flawed.
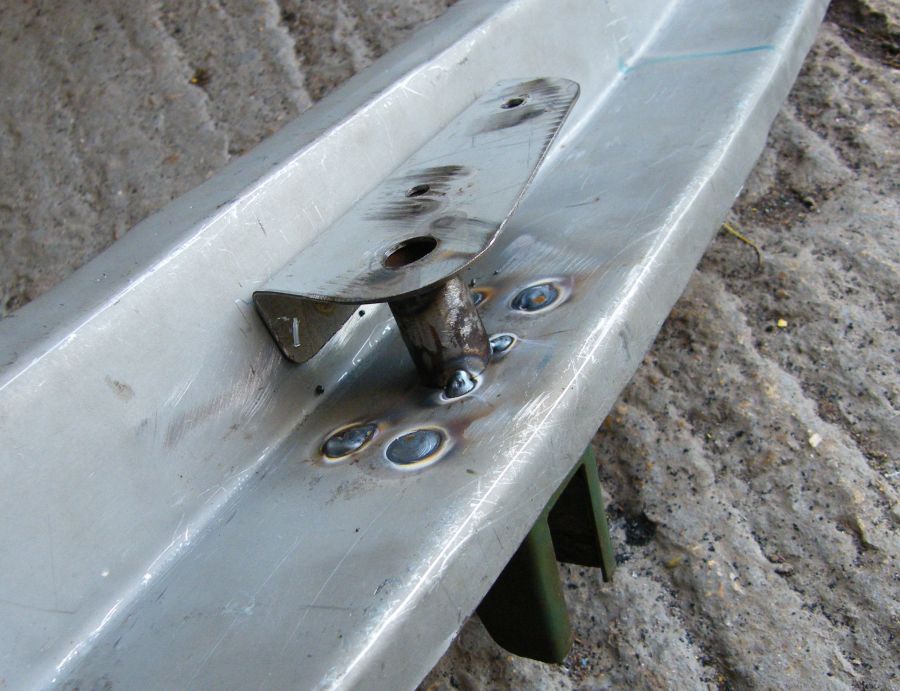
I've no idea what the strengthening section for the spare wheel hanger on the rear crossmember looked like as mine had rusted away quite badly. This is my best guess based on a little industrial archeology and a careful examination of the spot weld positions on the new boot floor (which by this stage I was regretting not using).
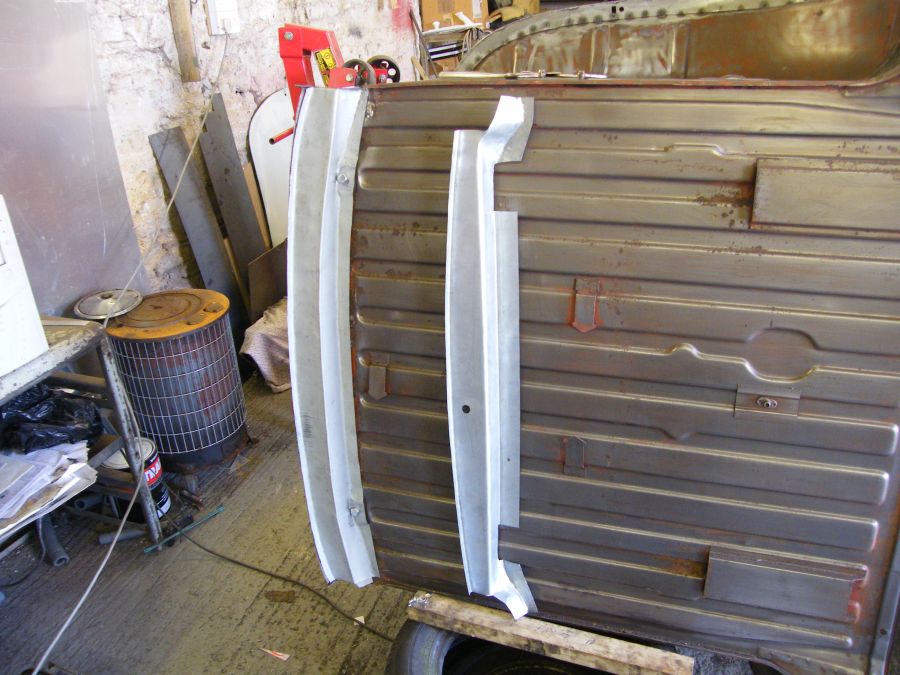
The lower 30mm of the rear of the boot floor had to be replaced. I sliced the old section out and welded in a strip of metal very carefully.
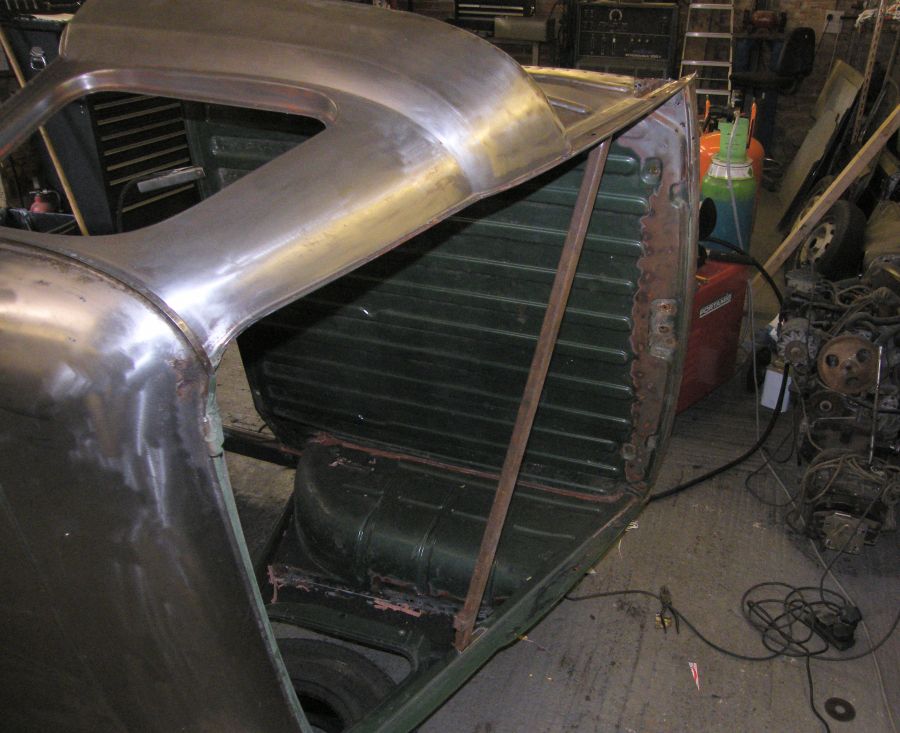
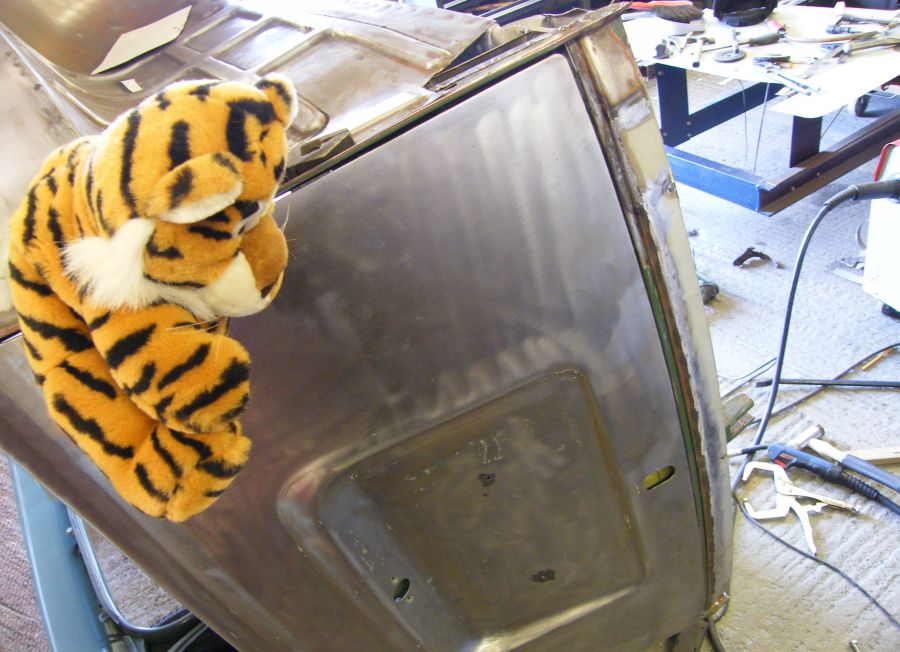
With this done Clementine inspects the fit of the boot lid (embarrasingly this was the first time in the operation that I'd actuallt fitted the boot lid for the check). Fortunately the steel bar used to brace the tailgate apperture seems to have done it's job brilliantly.
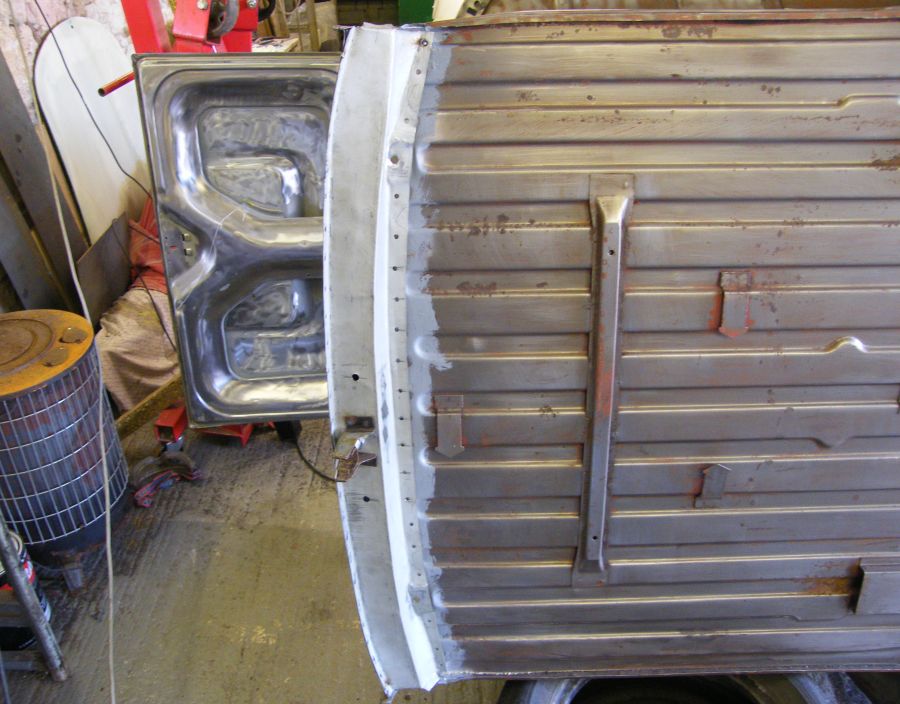
After painting the rear of the boot floor the crosmember goes on.
Turns out none of my welding clamps or G clamps were large enough to fit around the crossmember, so a couple of engine valve spring compressors were used to clamp the front of the crossmember to the boot floor for welding.
Turns out the crossmember was a little close to the rear chassis legs. Still a bit of fettling required there.
I've boxed in the ends of the crossmember, and put a little rolled edge on there so the the untrained eye might think this is a Renault creation rather than some crazy modification.
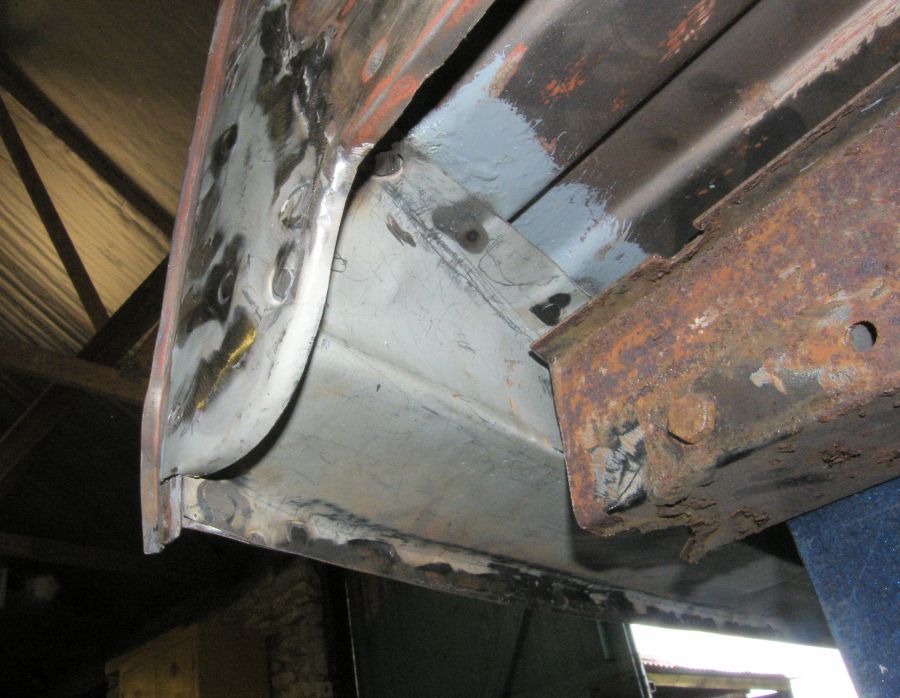
Here's a photo of the new corner of the boot floor taken from inside the car. The black bits are where I welded from the other side of the panel and set the paint on fire.
Everything has ended up roughly the right shape, and careless application of sealant should hide the bits that aren't quite right.

That's all for now on the boot floor. I'm tidying up bits and pieces in preparation for shotblasting now.
Next> Shotblasting the chassis, or back to the Gordini Project