Building a Stainless Steel Exhaust
The standard Renault 4 exhaust is restrictive - the pipe diameter is only about 30mm, but worse than that, I cut a silencer open and found the design to be very restrictive. It would be no good for an engine with 3 times the power of the standard 34hp offering.
You can have exhausts made up for a reasonable price, but that would involve tailoring for me which isn't economical. Instead I'm building one from bought pieces.
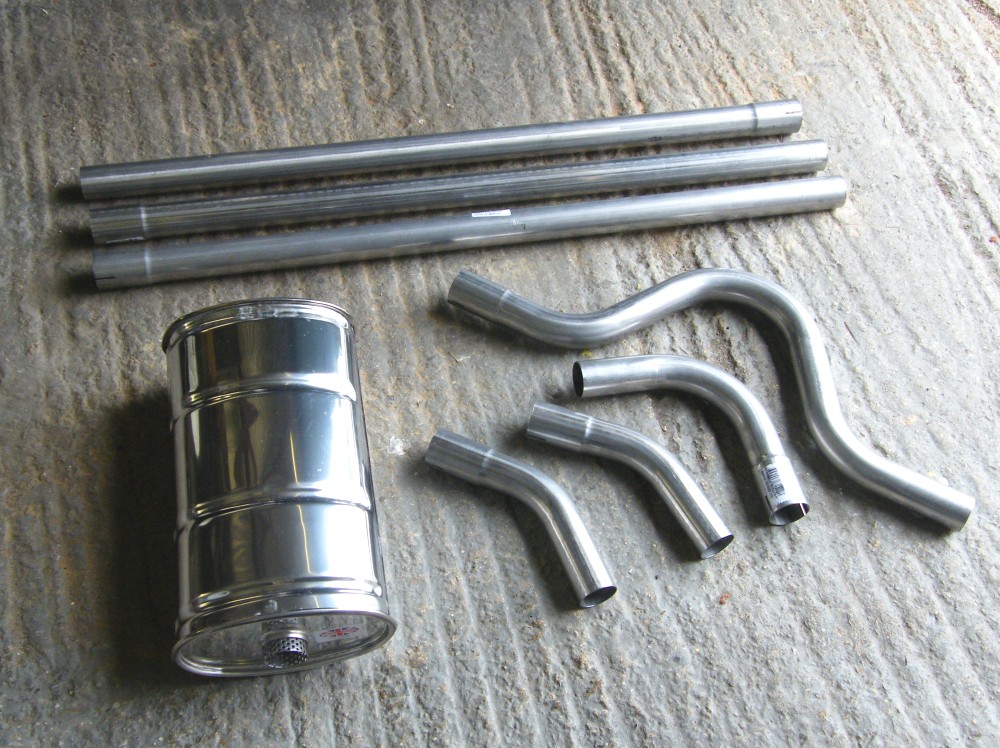
Too many of the aftermarket stainless steel silencers advertised in the UK are "sports" orientated and are intended to be noisy. Birchills Automotive can make them to size ready to weld pipes onto the ends. This one is straight through, but has a slightly larger volume than the standard R4 silencer so shouldn't be too noisy.
The bends came from Merlin Motorsport and are 1.75 inch diameter. The funny pipe with lots of bends is intended to go over an axle, but I thought the shape could save time routing the exhaust around the handbrake cable and rear anti-roll bar.
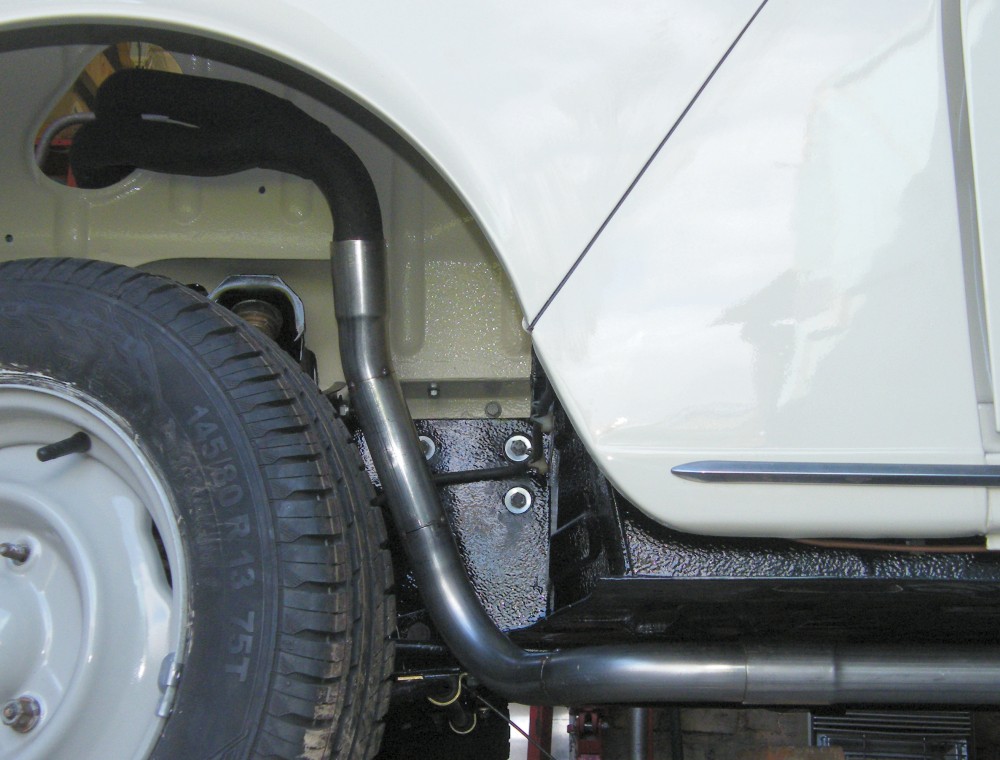
I'm assembling the exhaust by bends (or parts of bends) butt welded together. The front was a bit of a challenge - there is only a small gap between the wheel on full RH lock and the anti-roll bar, and the exhaust needed to go through a 90 degree bend and then go towards the outside of the floor to avoid the torsion bar mounting.
The standard exhaust runs almost at the edge of the floorpan, and it gets in the way when jacking that side of the car. I've gone further inboards to make jacking easier.
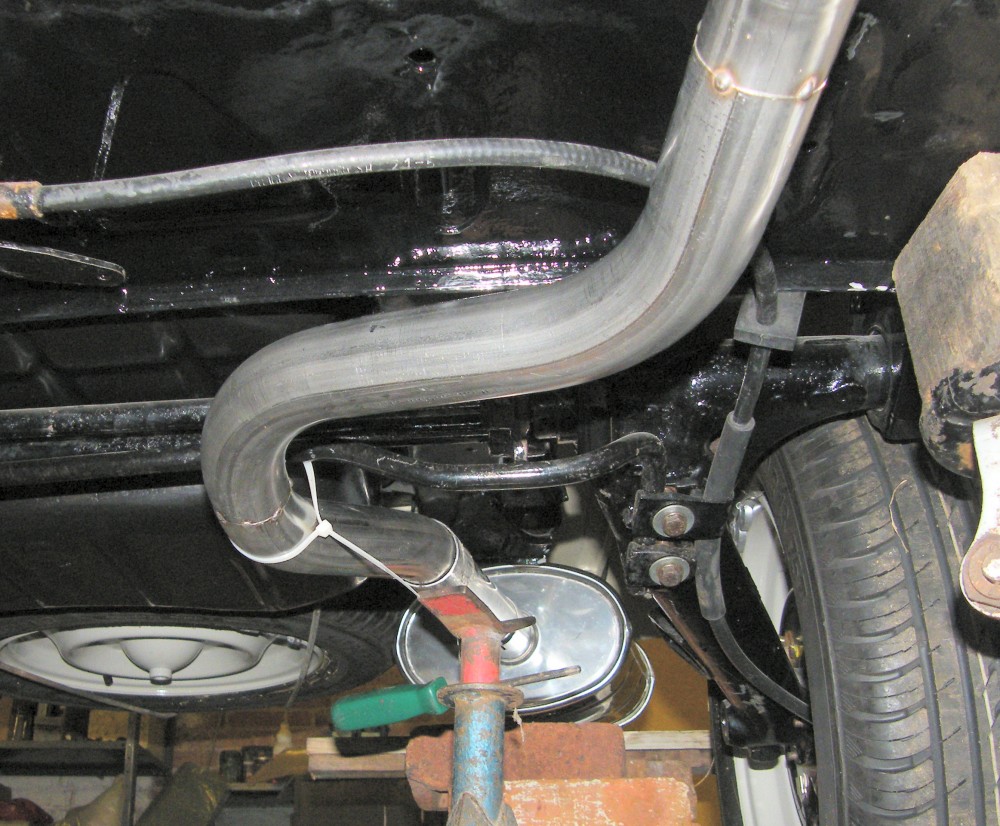
The rear anti-roll bar was only used for certain models, and rather than fit a special exhaust, Renault put a bend in the anti-roll bar making a gap to clear the original exhaust.
That's not helpful for this project. The original exhaust was 32mm diameter, and this one is 47mm and doesn't really fit through the gap. Instead I've routed the exhaust around the bend in the anti-roll bar.
Here are the completed exhaust sections (complete apart from the mounting brackets). The joints are all roughly in the original positions.
I couldn't find a silencer similar in size to the original, and the one I have used is 25mm larger in every dimension. That made it very fiddly to fit while allowing clearance between the road wheel on one side and the spare wheel on the other.
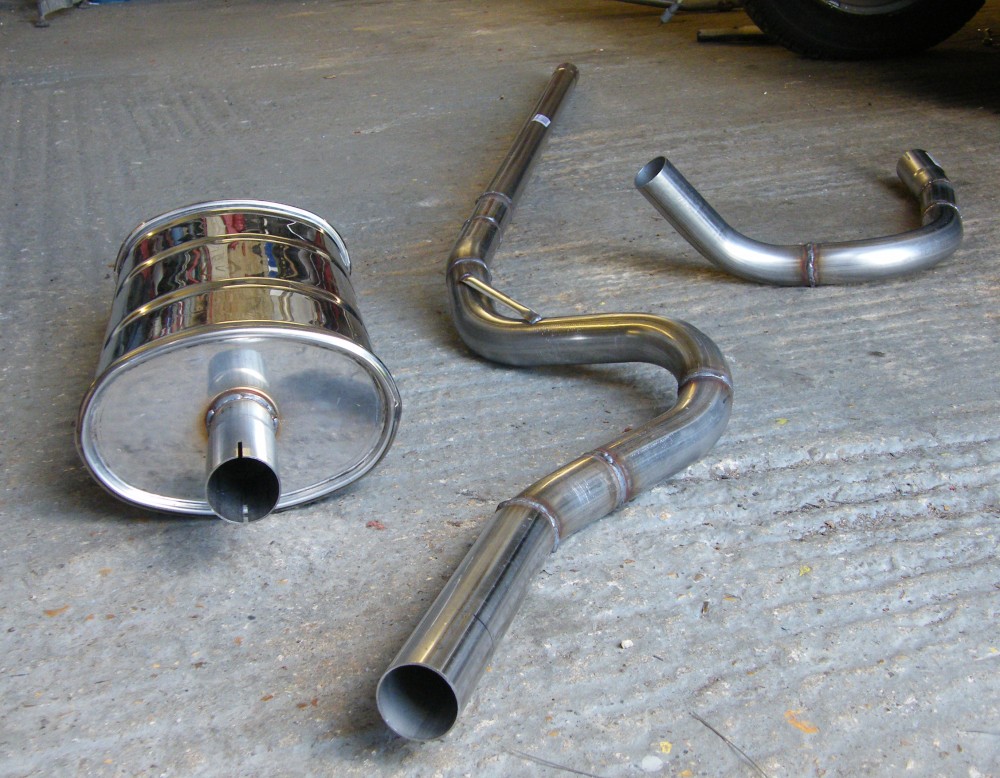
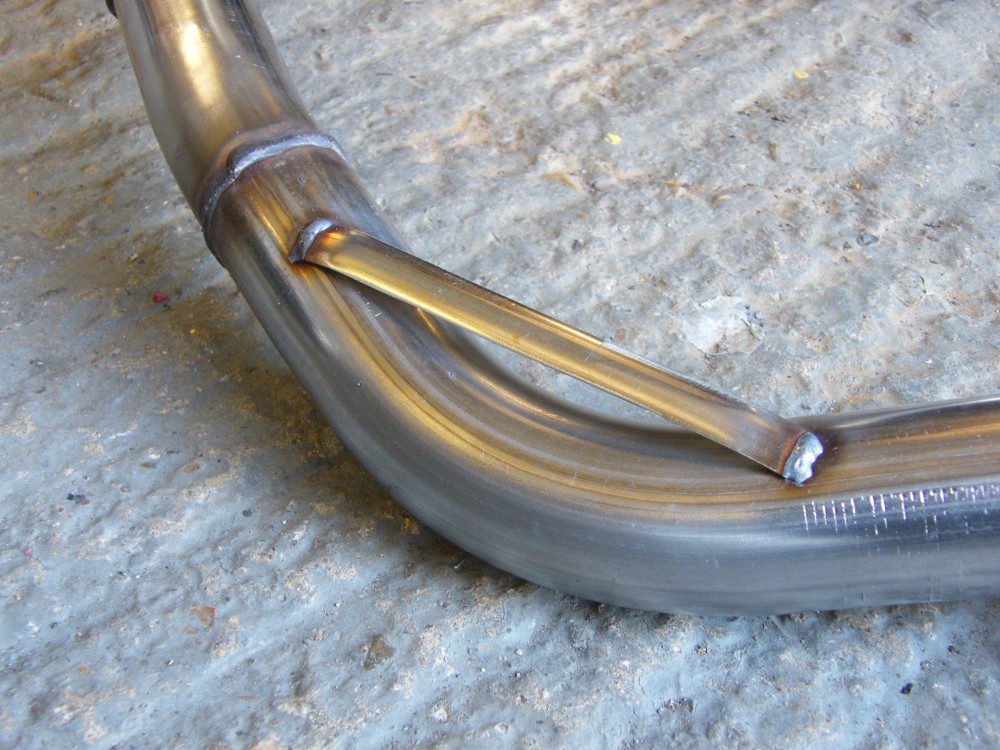
The original exhaust has an odd bend with a brace across it just forward of the rear suspension. The bend is there to clear the handbrake cable, and the brace offers a cooler surface for the handbrake cable to touch should it ever contact the exhaust.
I couldn't resist reproducing the feature.
The completed exhaust fits quite well. I've not finished making the exhaust mountings yet, but they will be placed in roughly the original locations.
Once the exhaust mountings and the rear bumper is in place I'll be able to work out the tailpipe angle. I've saved a 40 degree bend so the tailpipe will point downwards and to the side like the original.

Next: Reassembly! or back to the Gordini Project